Rivian R1S gets protected with Clear Bra and Ceramic Coating
CALL (720) 662-8520
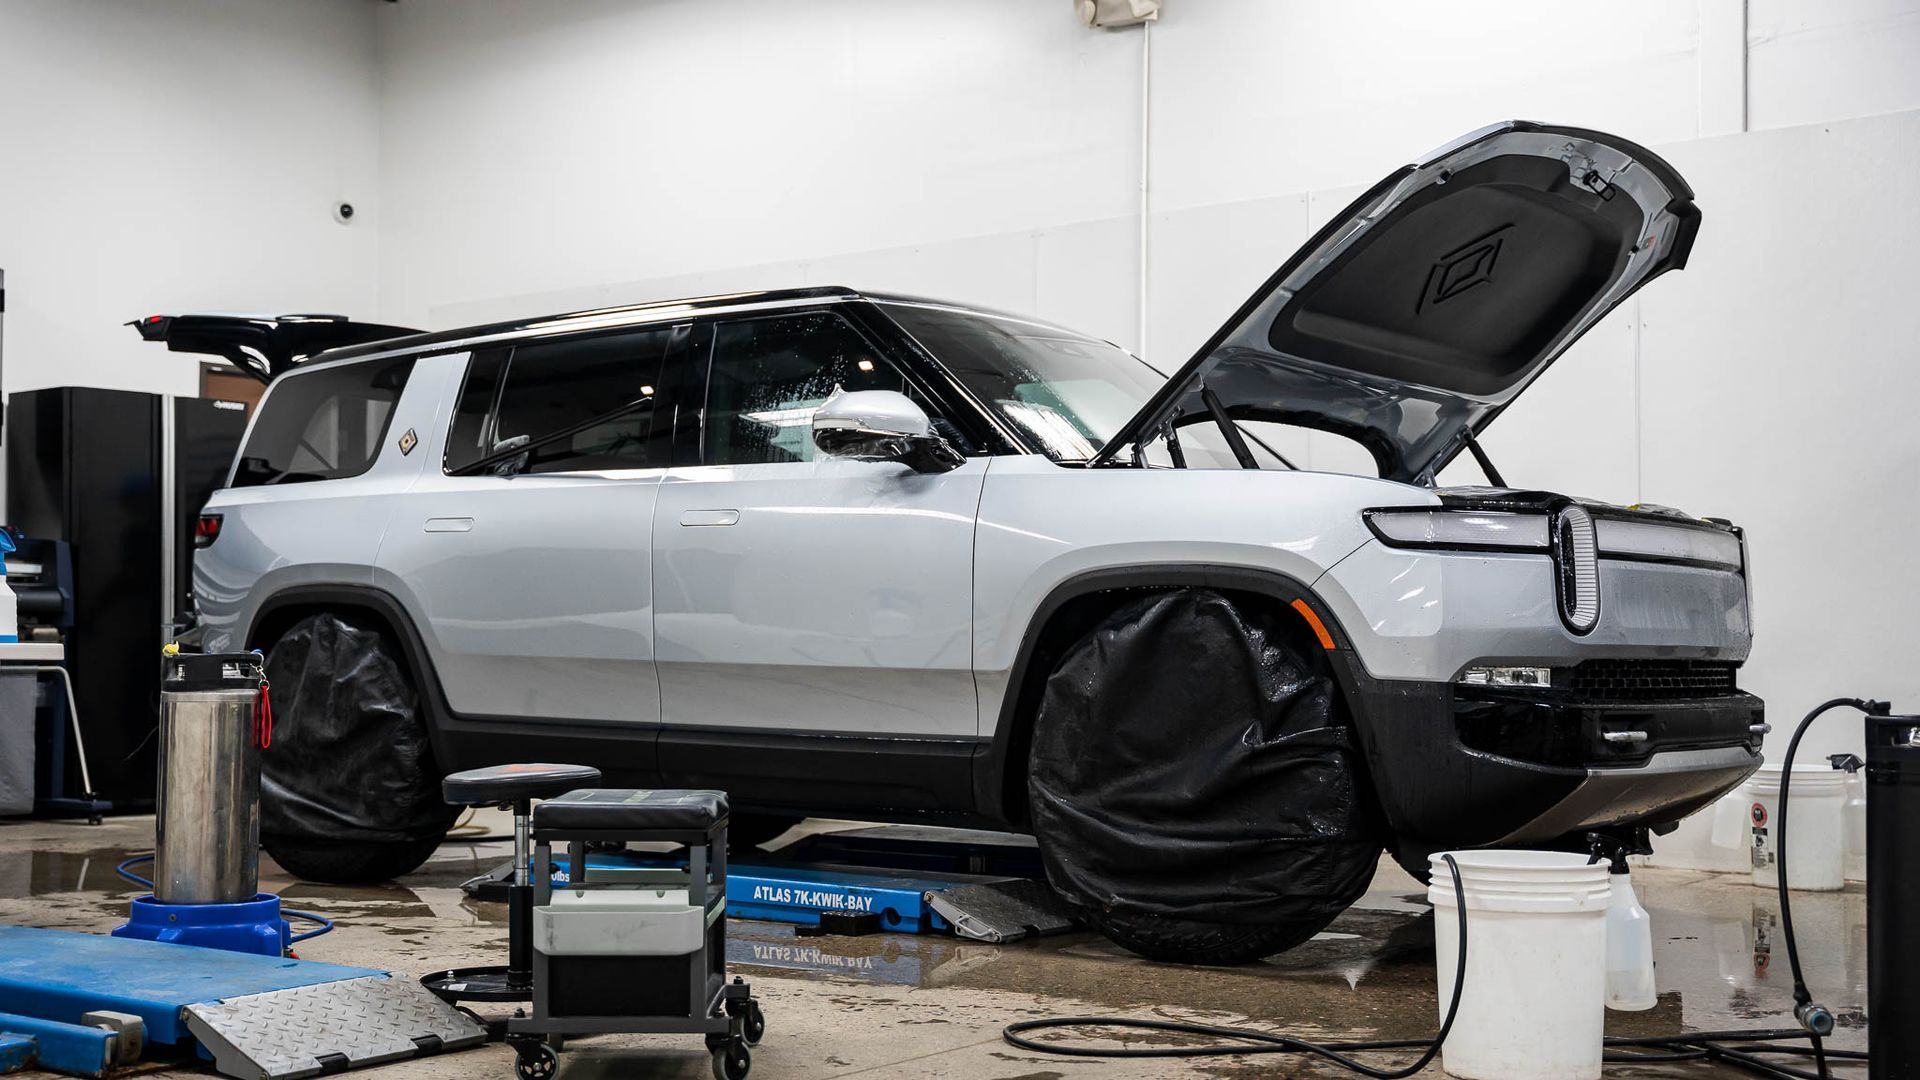
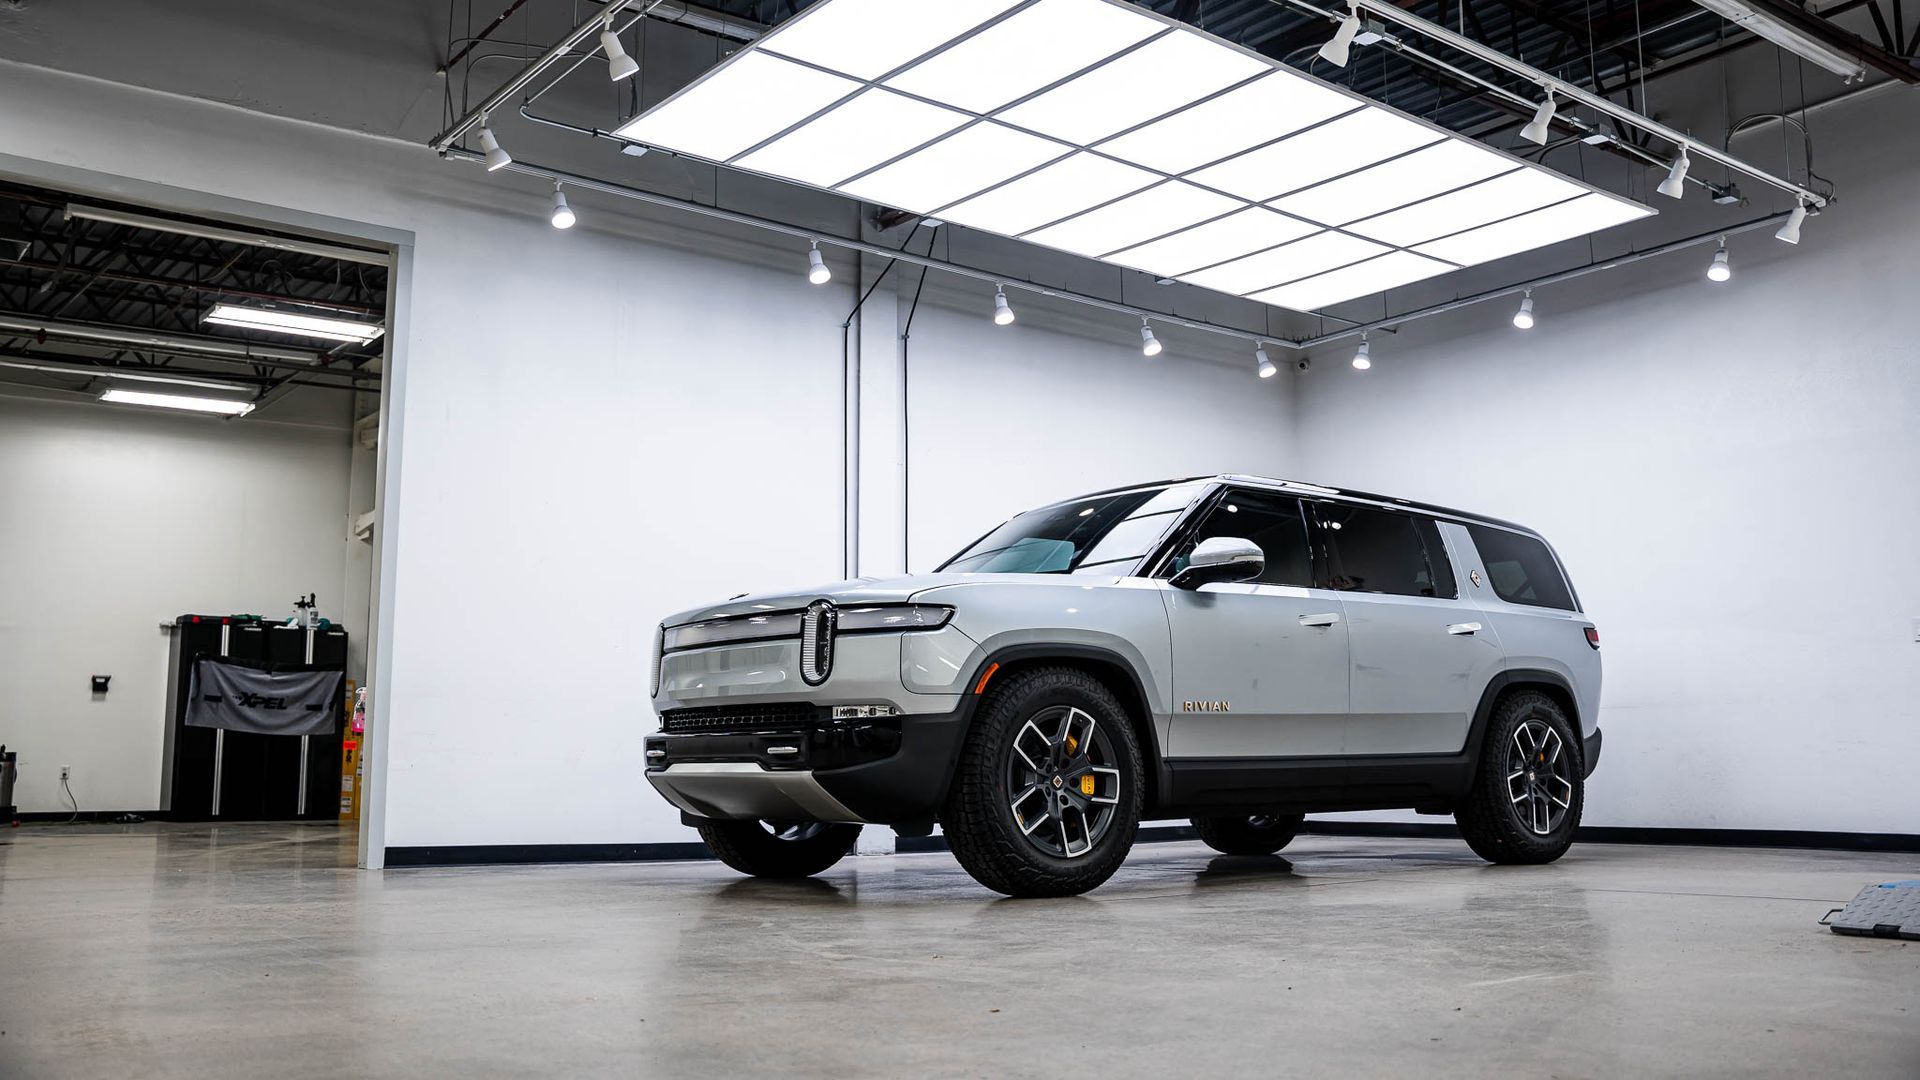
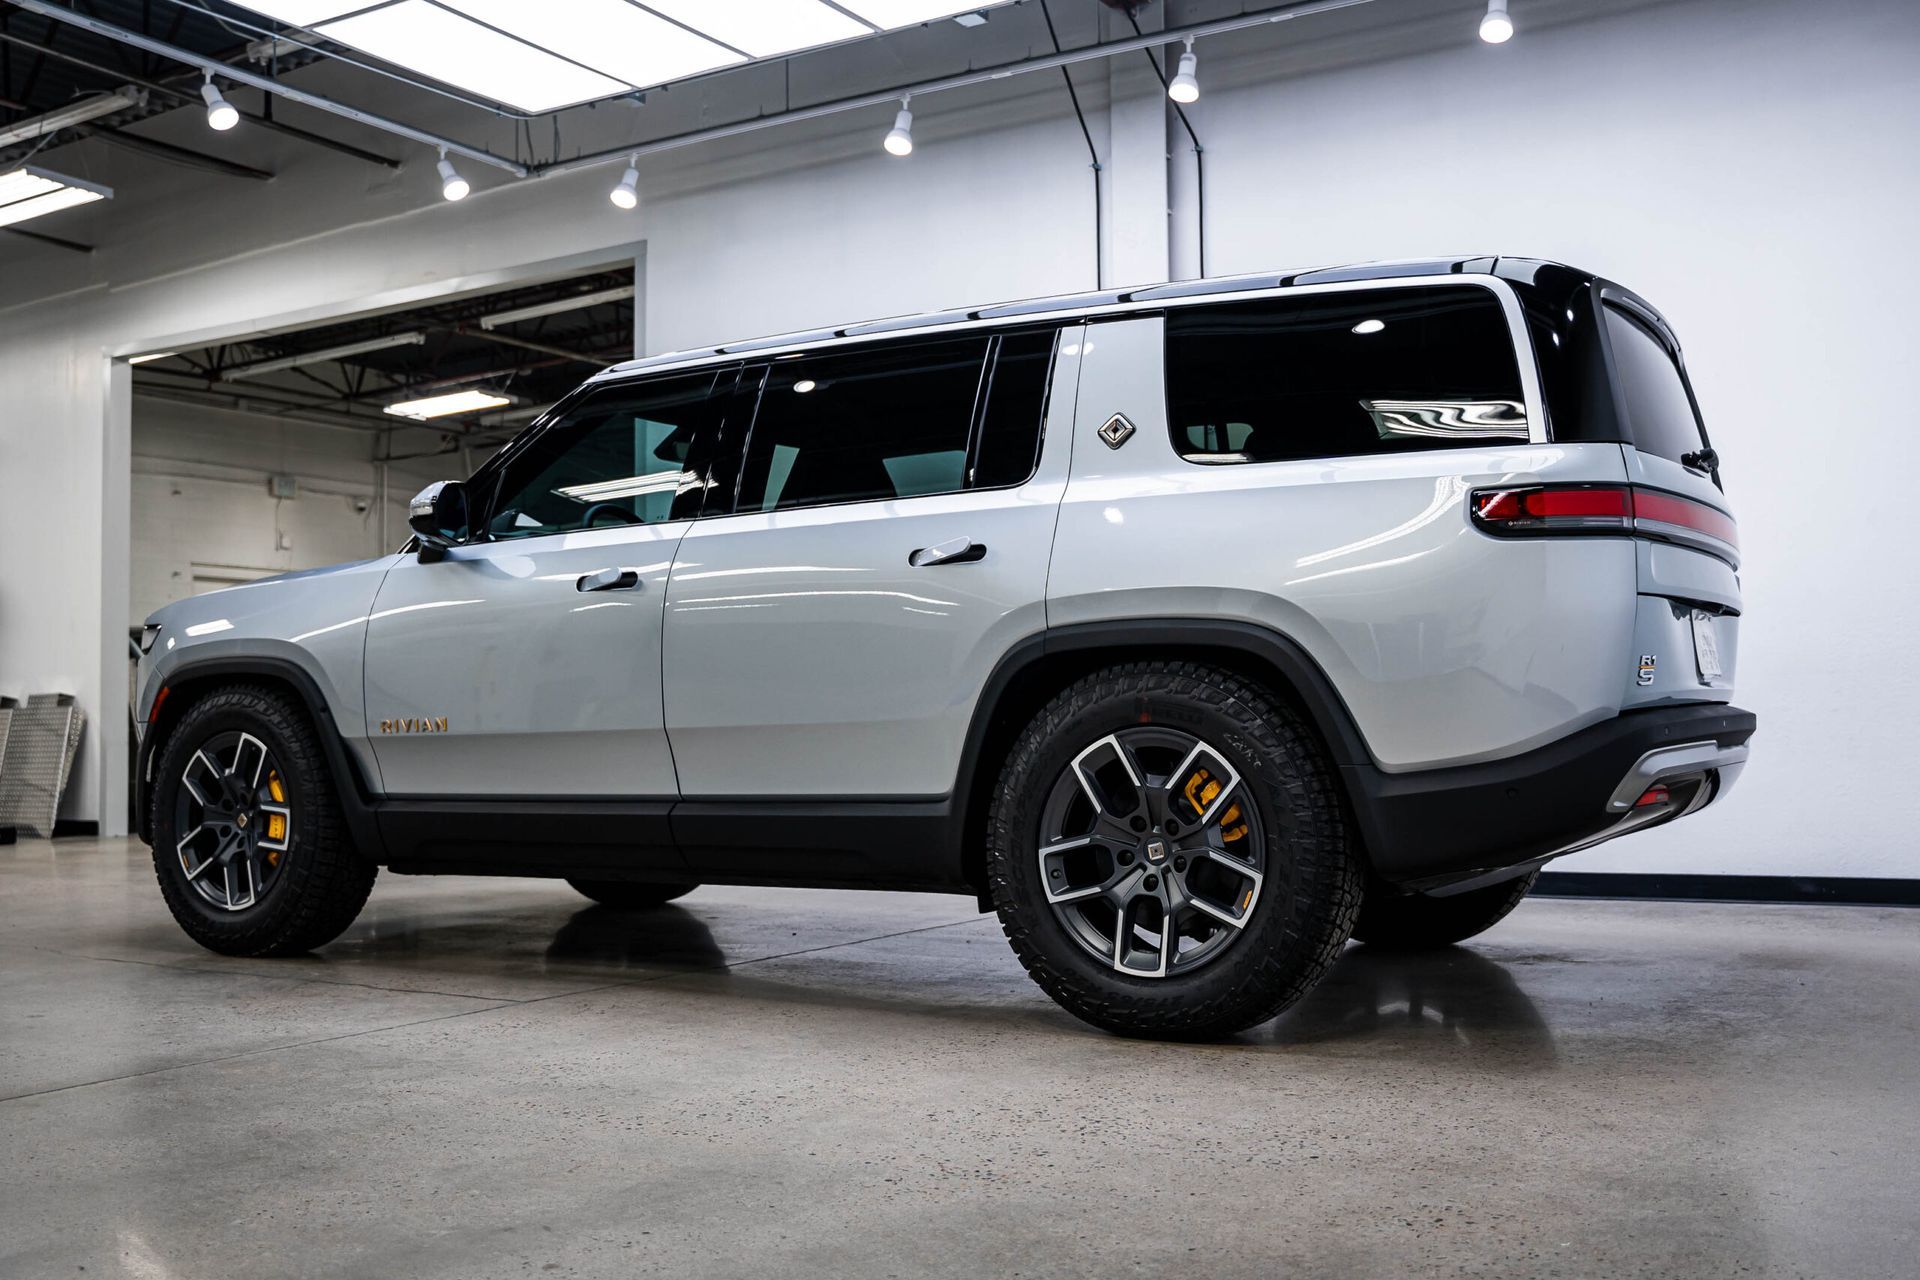
GET A FREE ESTIMATEThe Rivian R1S is definitely one of the most highly anticipated electric vehicles in recent years, and we’re lucky enough to have protected over 30 of these awesome electric vehicles in our facility. We’re incredibly comfortable working on these vehicles and were particularly excited to protect this one in Full Body Paint Protection Film, our Level 2 Ceramic Coating System, and 35% Sides and Rear Ceramic Window Tint.
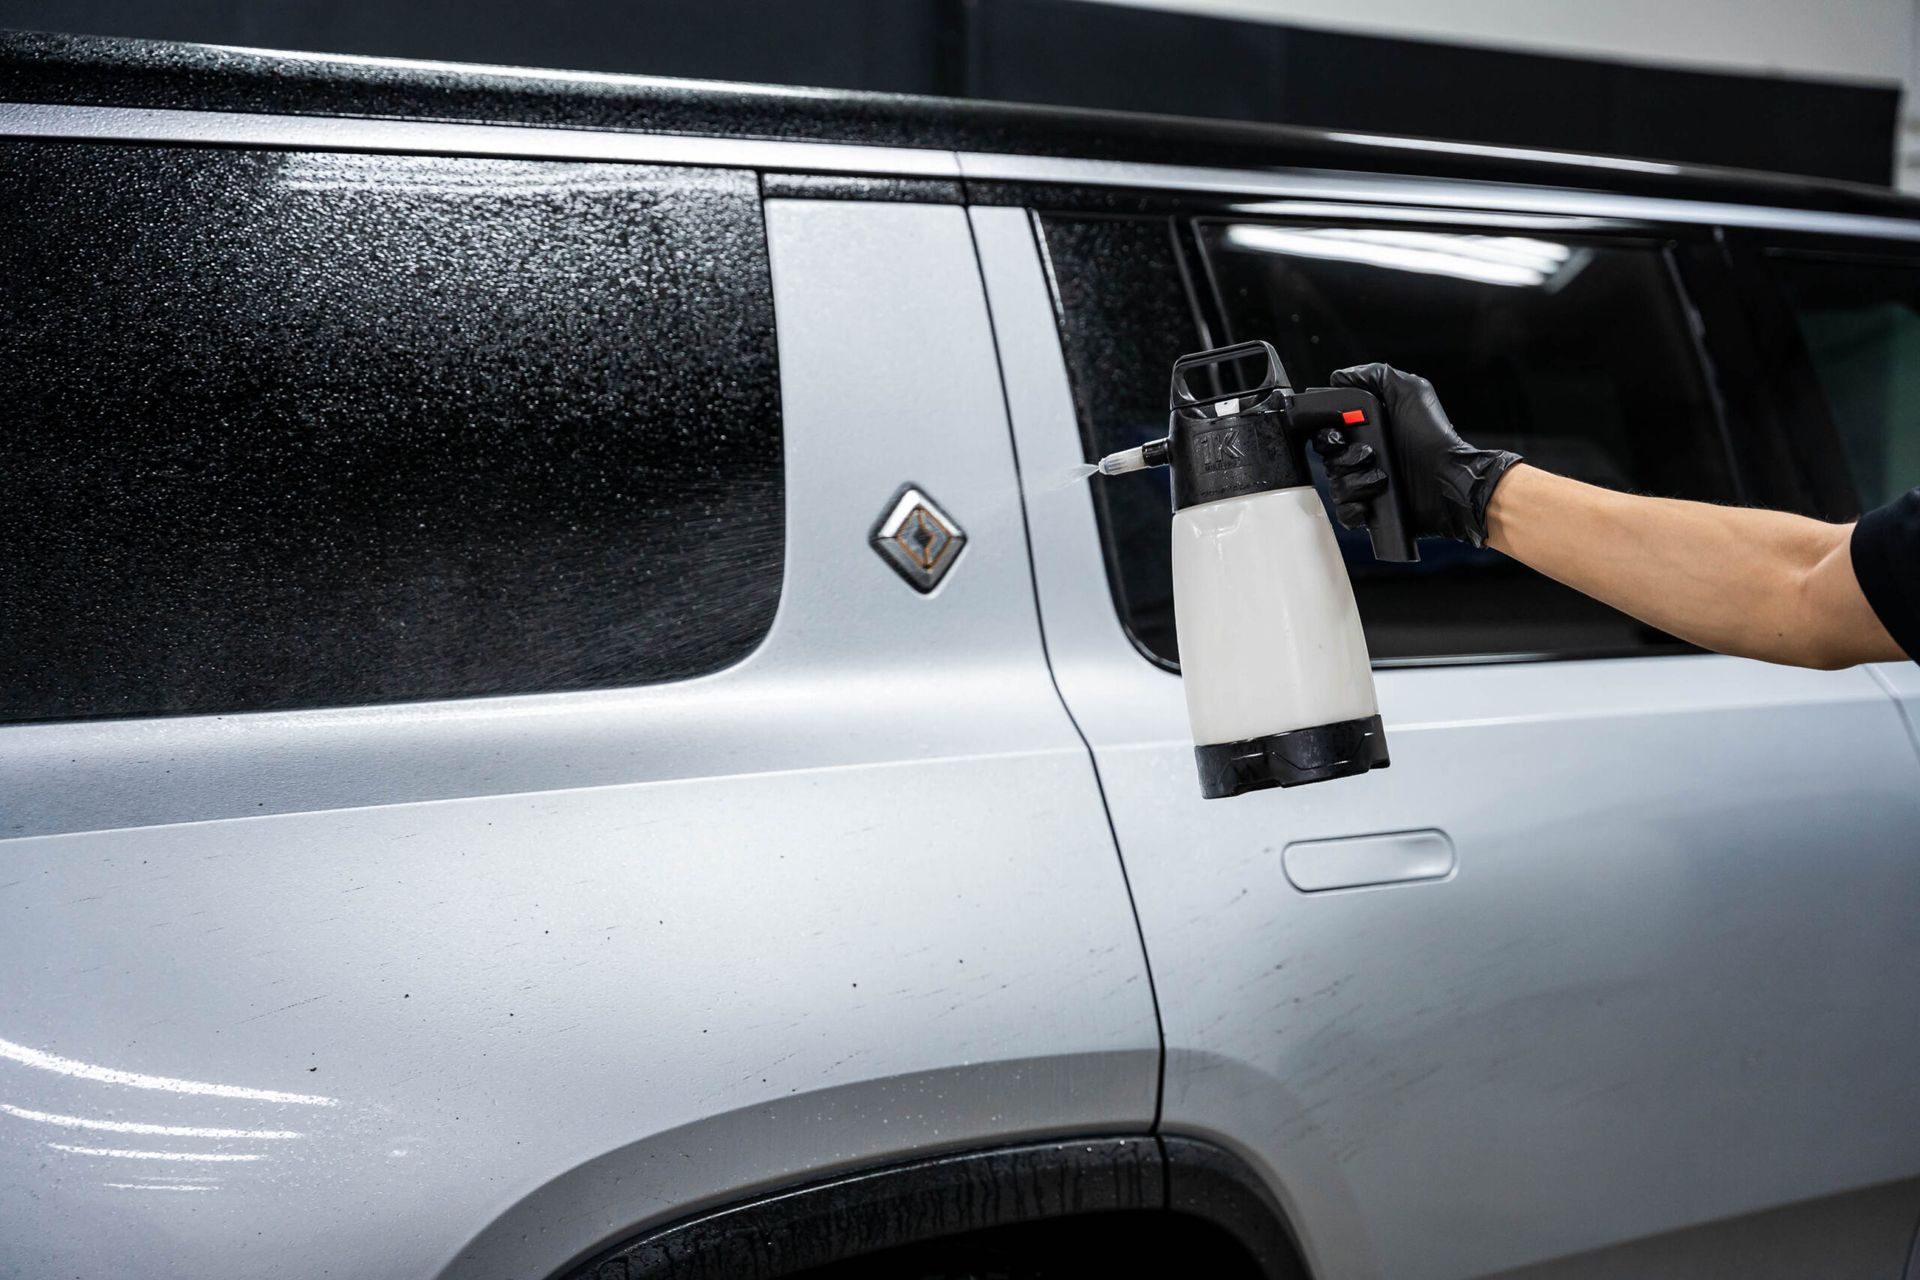
Step 1: Decontamination Wash
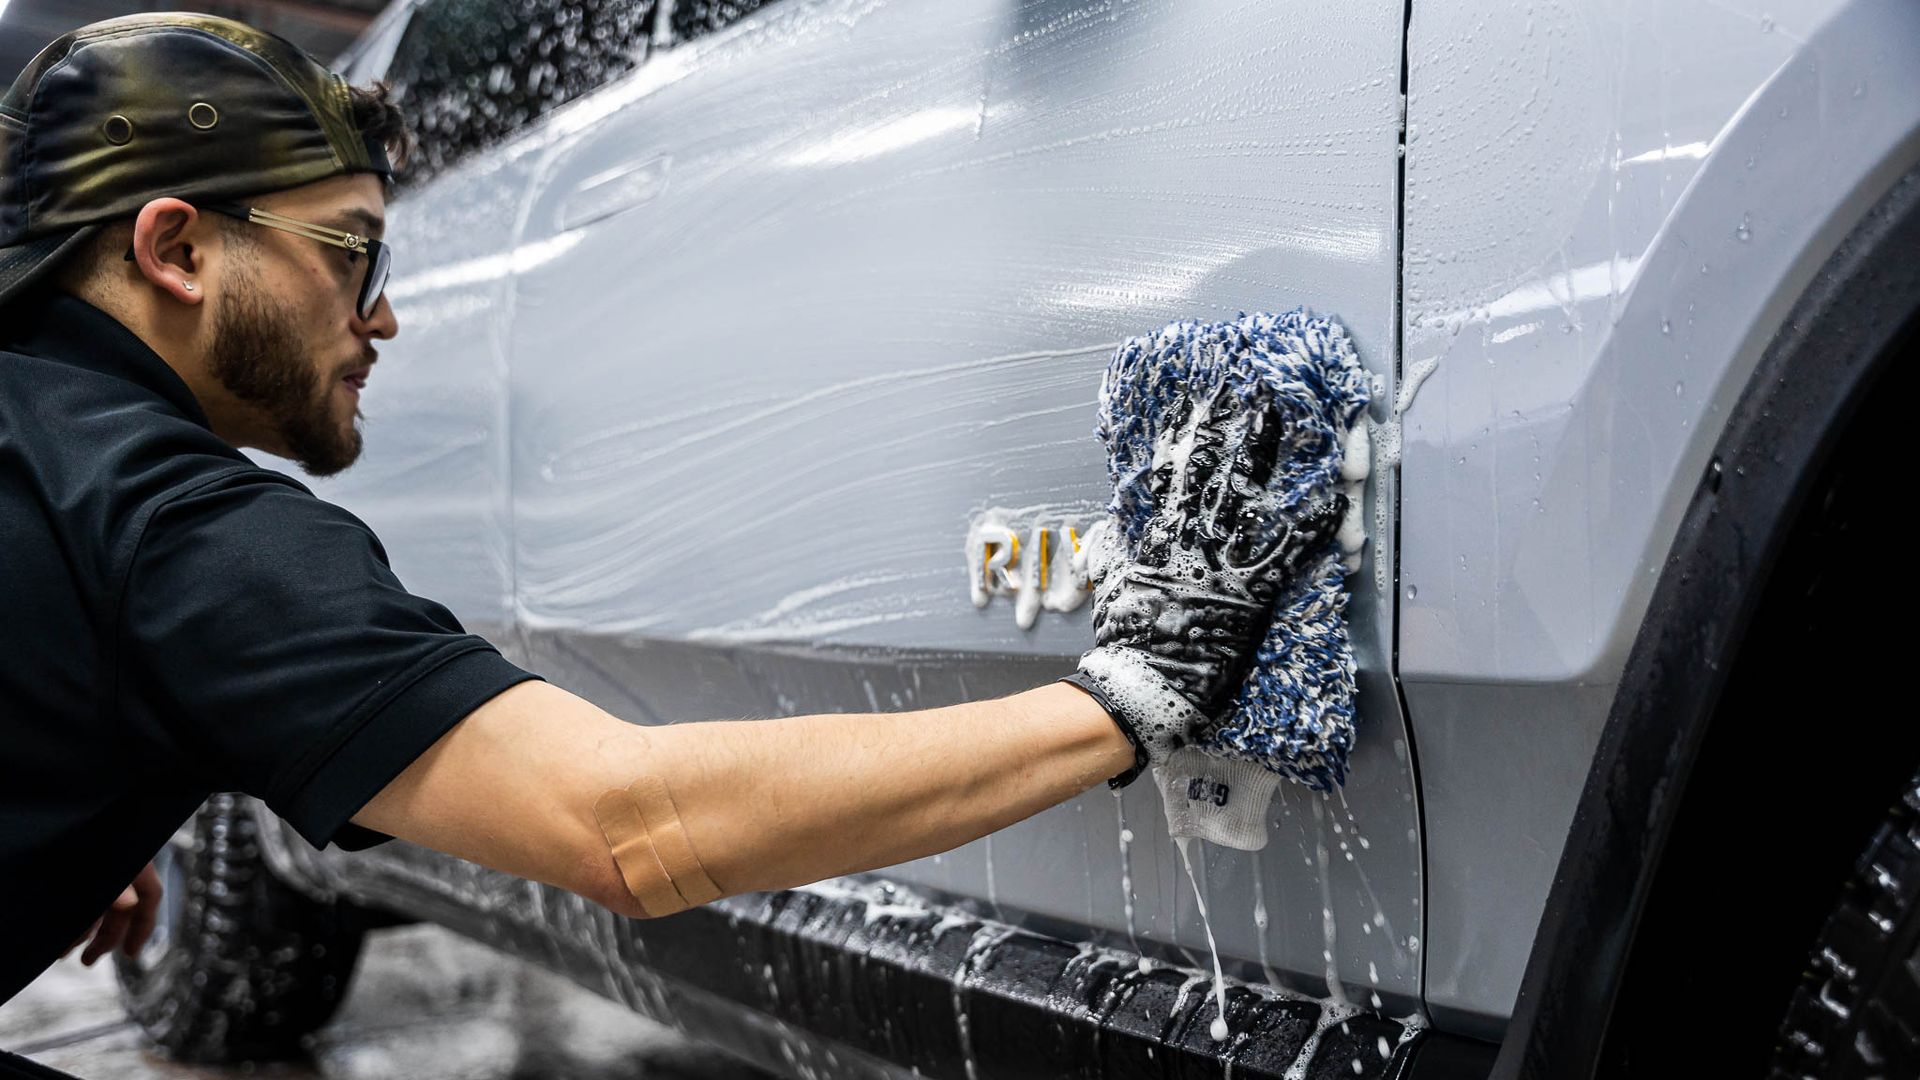
Per usual, before we start on any kind of protection, it’s important to get this R1S as clean and decontaminated as possible. This is an important step because we have to ensure that the film adhesive has a perfectly clean and smooth surface to bond to. First things first, we’ll generously spray the car down in GYEON Q 2 M Iron and Q 2 M Foam to pull the heaviest debris off of the surface of the vehicle as well as remove contaminants such as brake and rail dust.
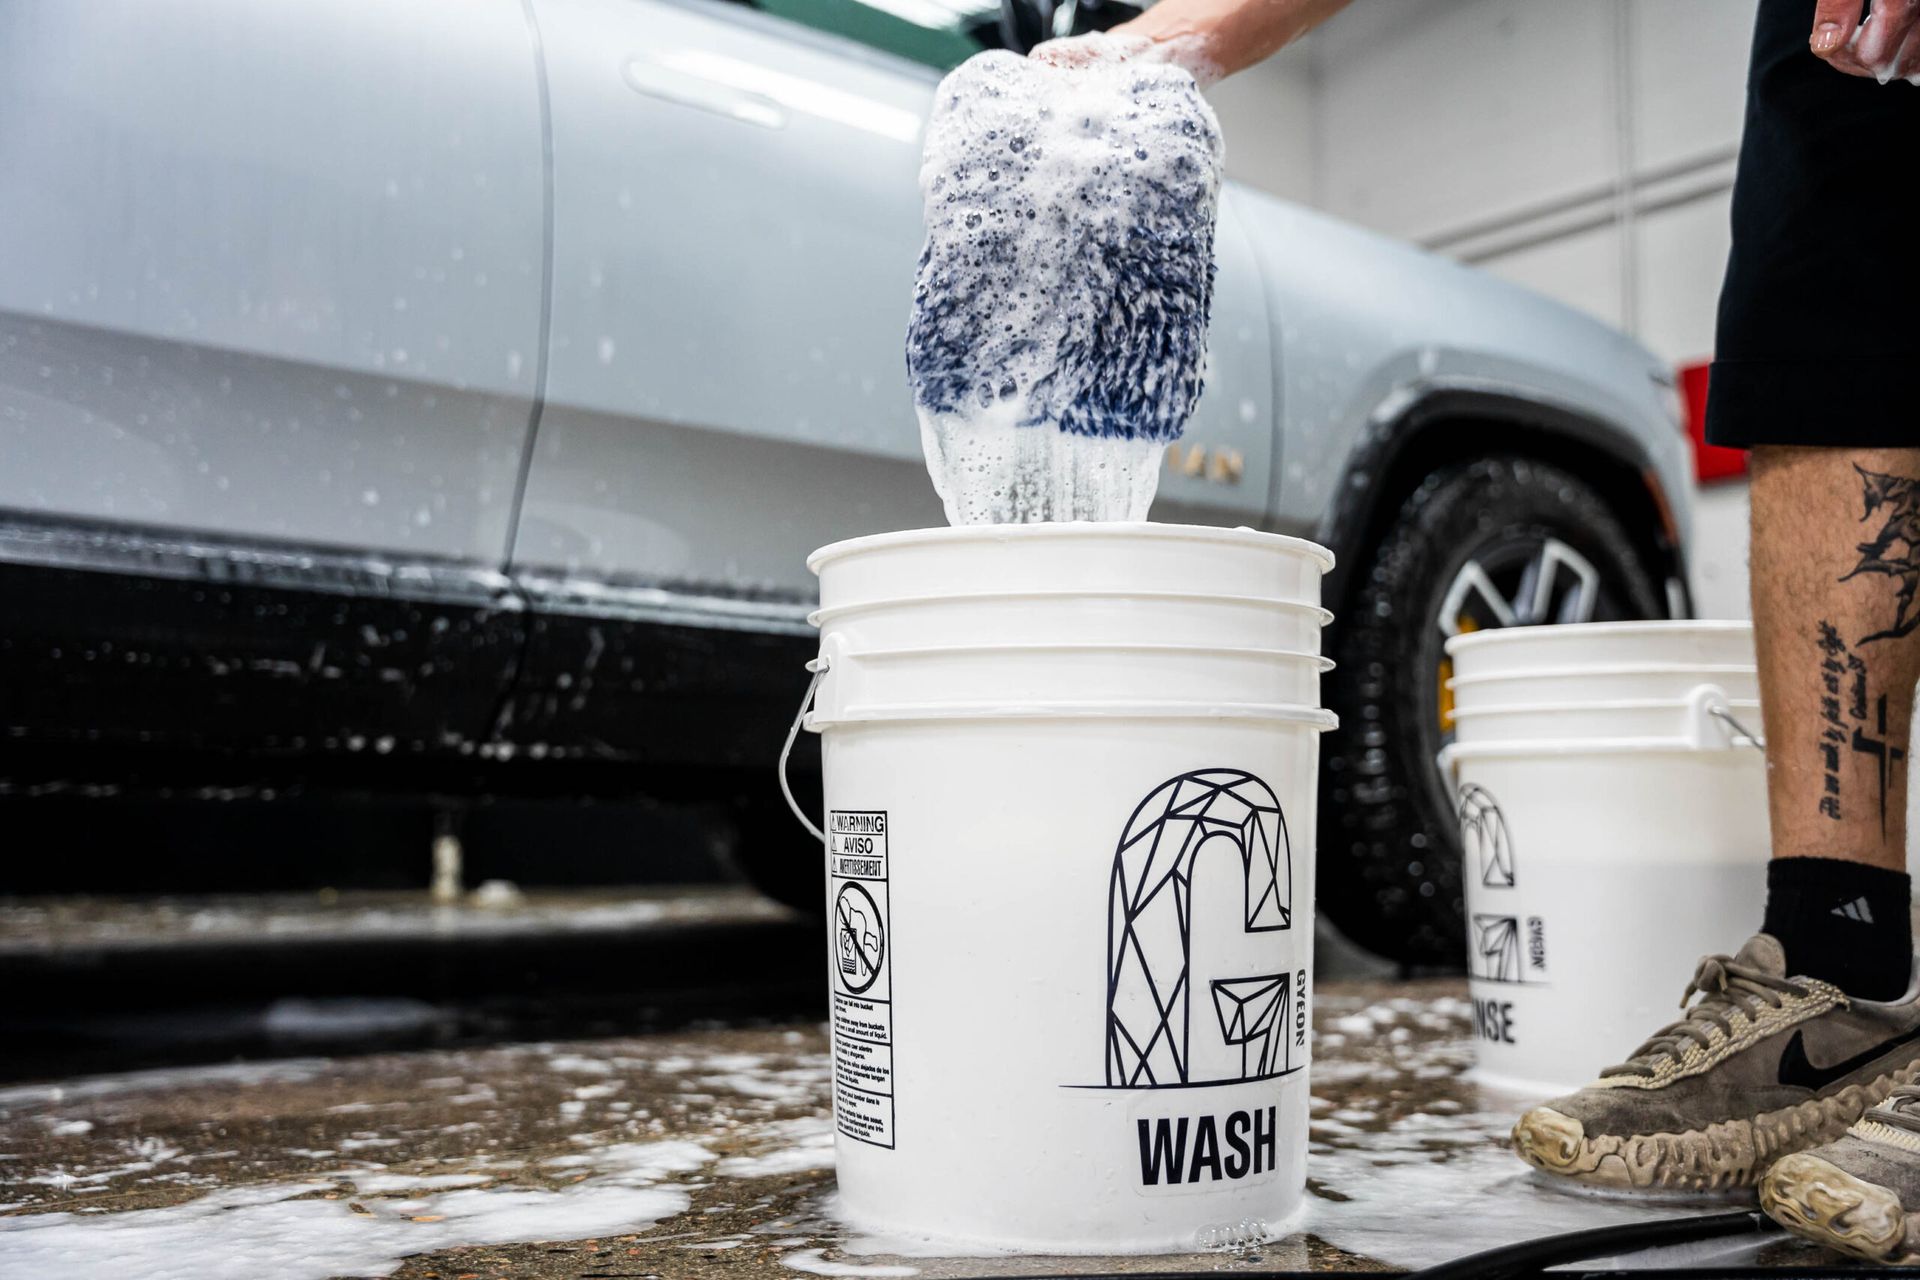
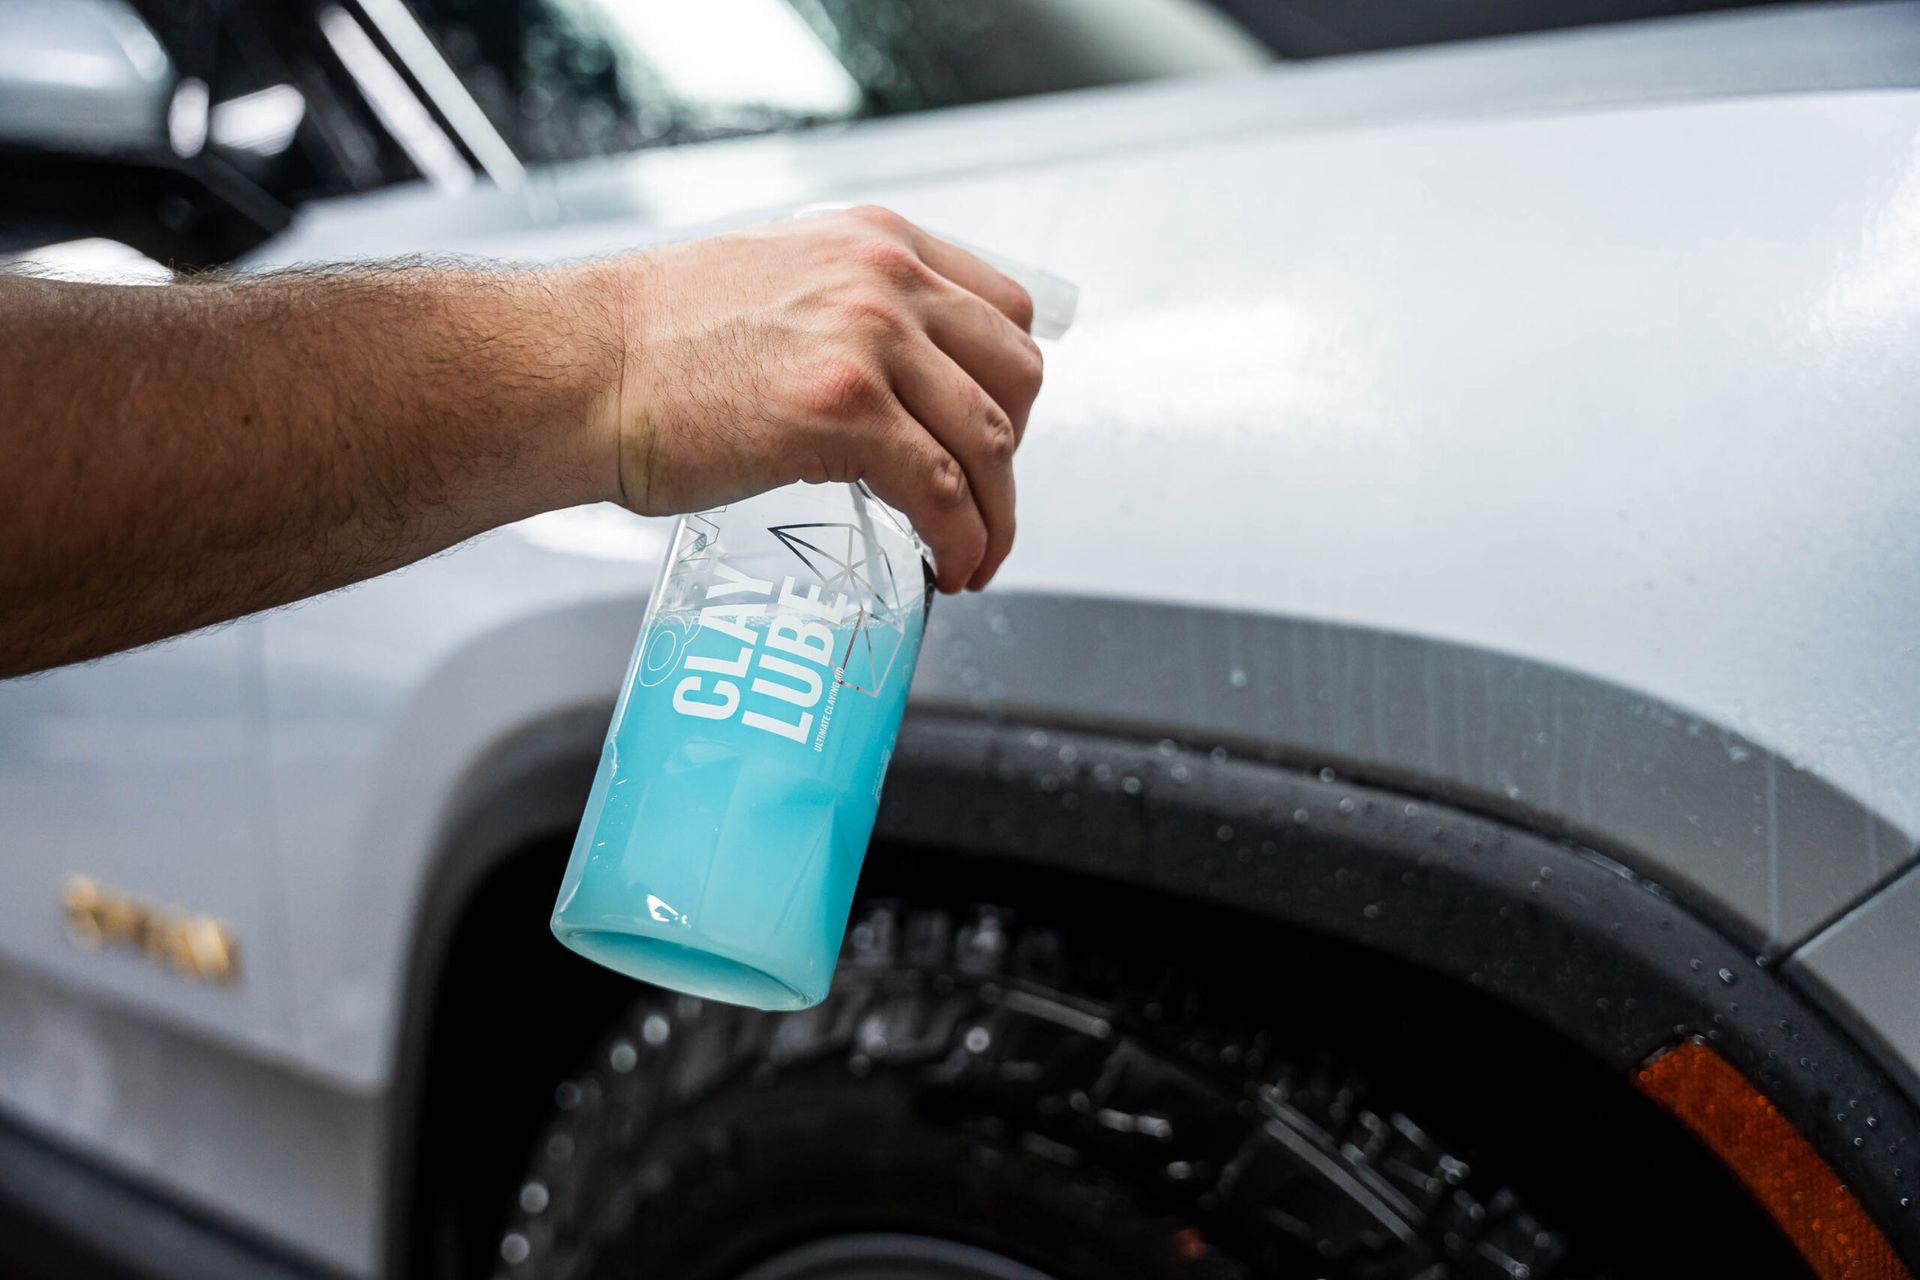
Now that that’s all rinsed off, we’ll begin a gentle hand wash using the three-bucket method and GYEON Q 2 M Bathe. By using the three-bucket method, we’re significantly reducing the chances of re-introducing any contaminants back onto the paint. As the last step of our decontamination process, we’ll clay bar the entire vehicle, removing any embedded contaminants that the previous steps didn’t get off. Finally, we’ll touchlessly dry the vehicle using a BLO Car Dryer.
Step 2: Ceramic Window Tint
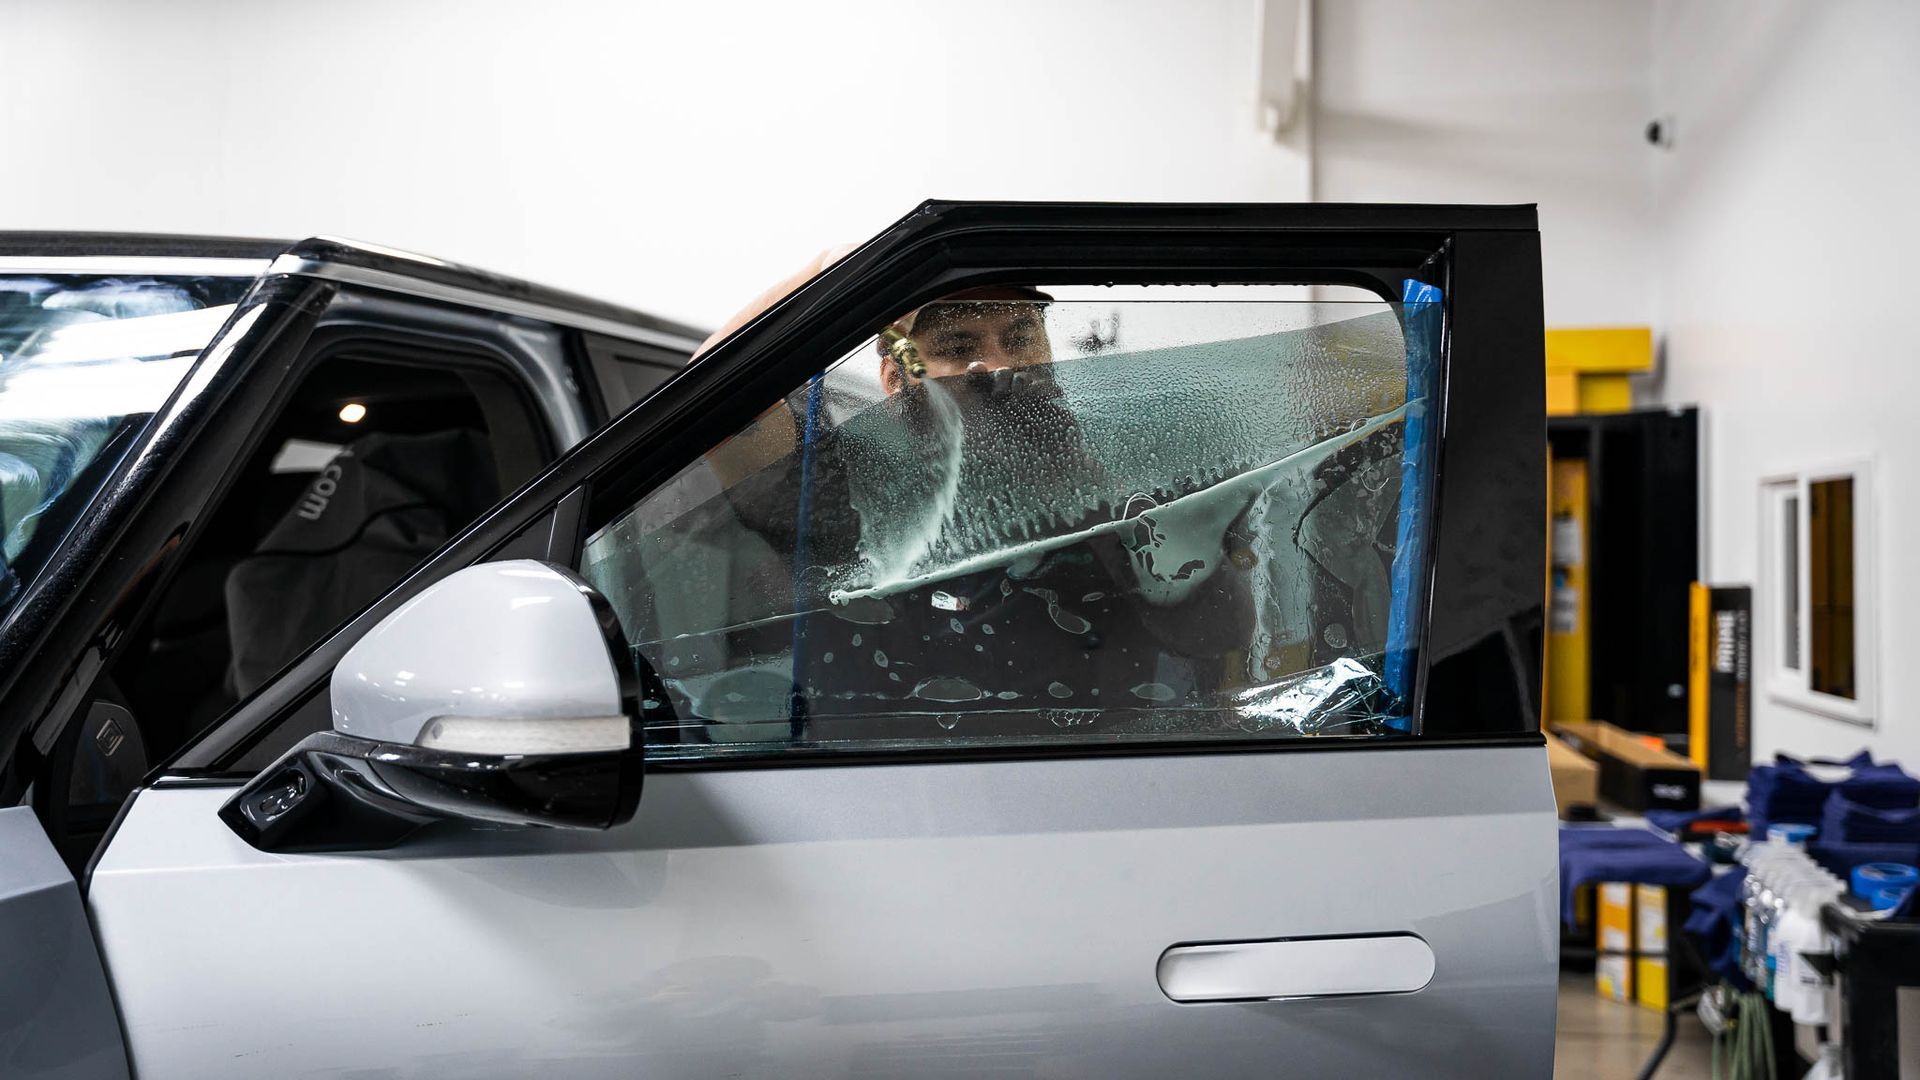
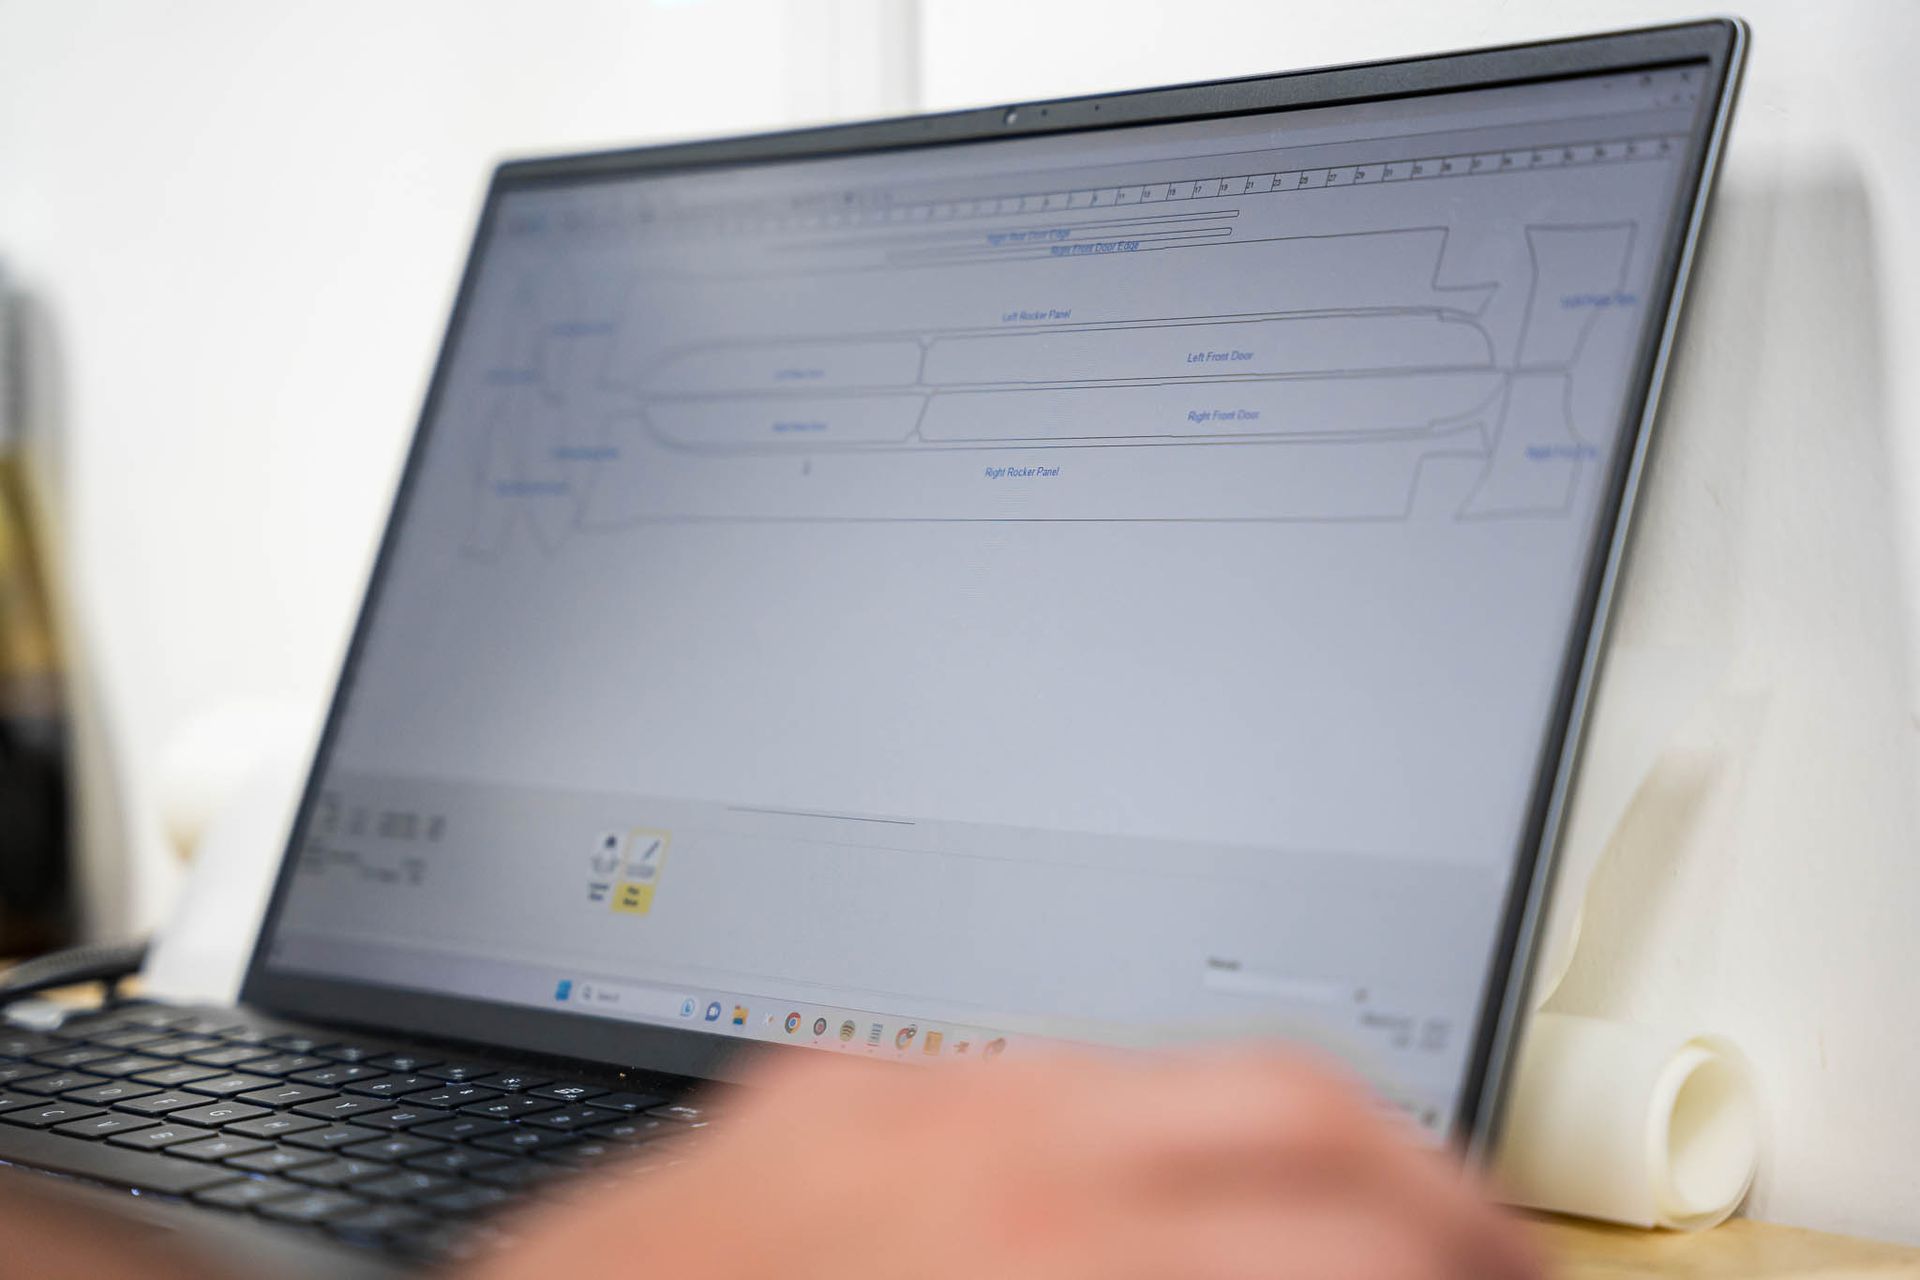
First things first, we’ll begin the installation of our Sides and Rear Tint Package. On this particular vehicle, we’ll be installing 35% Ceramic Tint on every window. We’ll print out the tint patterns for each window using a specialized design software.
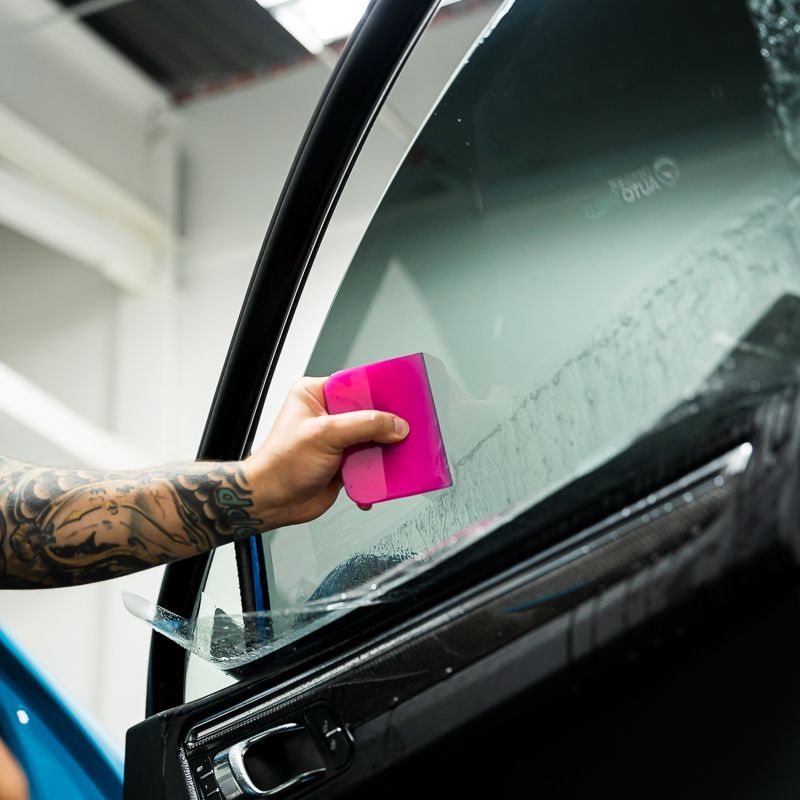
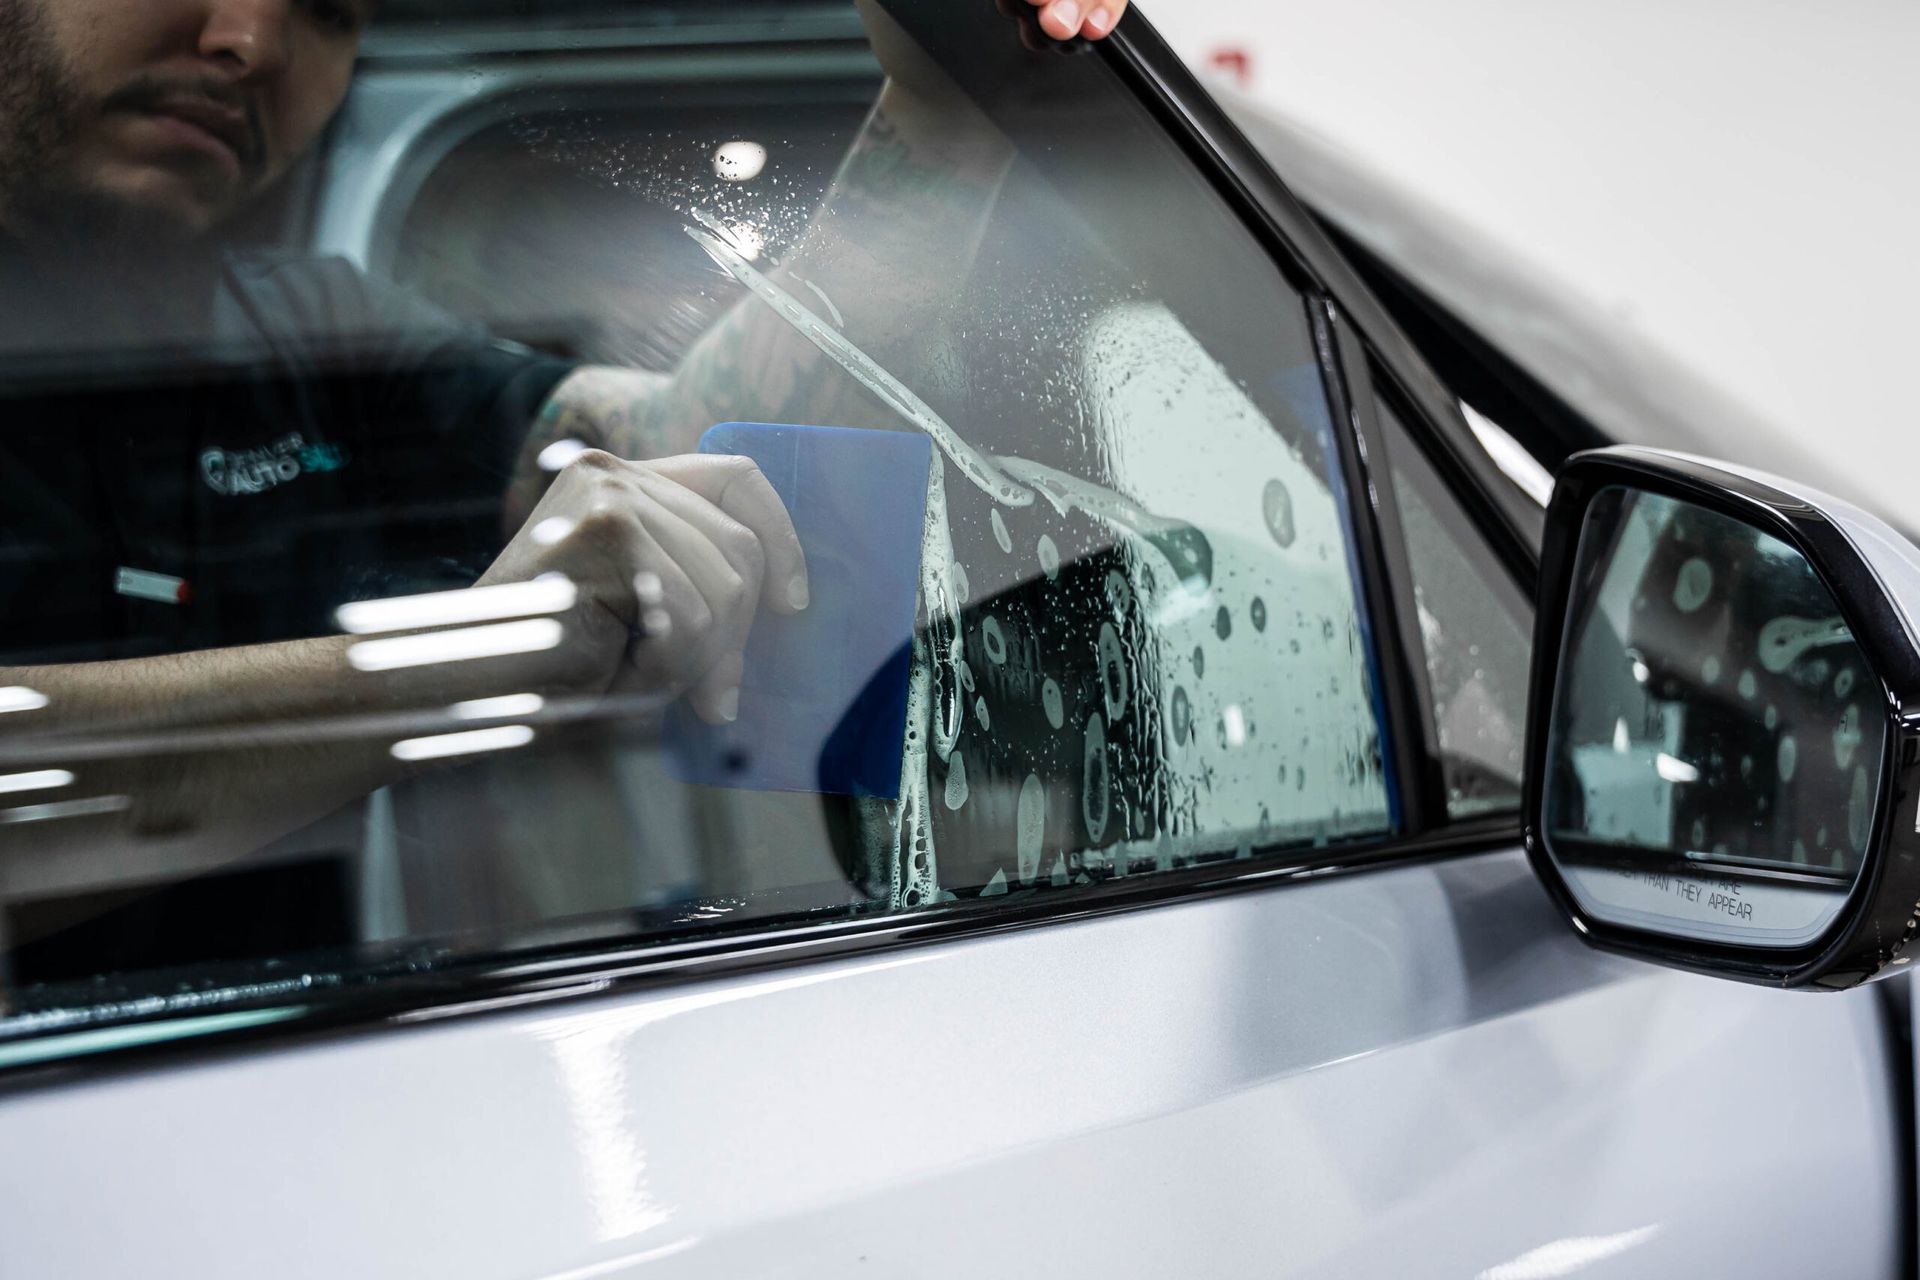
Before the tint is put on the windows, it’s important that the windows are extremely clean so that there’s no dirt underneath the tint. We’ll spray each window with a slip solution, lay the tint on the window, and push the slip solution from underneath the tint with a squeegee. Once we’re confident that there is no remaining slip solution, we can move on to the next window.
Step 3: Paint Protection Film
Now that we have tinted windows as well as clean and decontaminated paint, it’s time to begin installing clear bra. This R1S will be receiving Full-Body clear bra. This package protects your vehicle from road debris, rock chips, bird droppings, and swirl marks.
Before we touch the vehicle, we’ll use the design software to custom design and print clear bra patterns designed for this specific vehicle. This solidifies that there will never be a blade anywhere near your new paint and guarantees a flawless installation without stretching or distortion in the film.
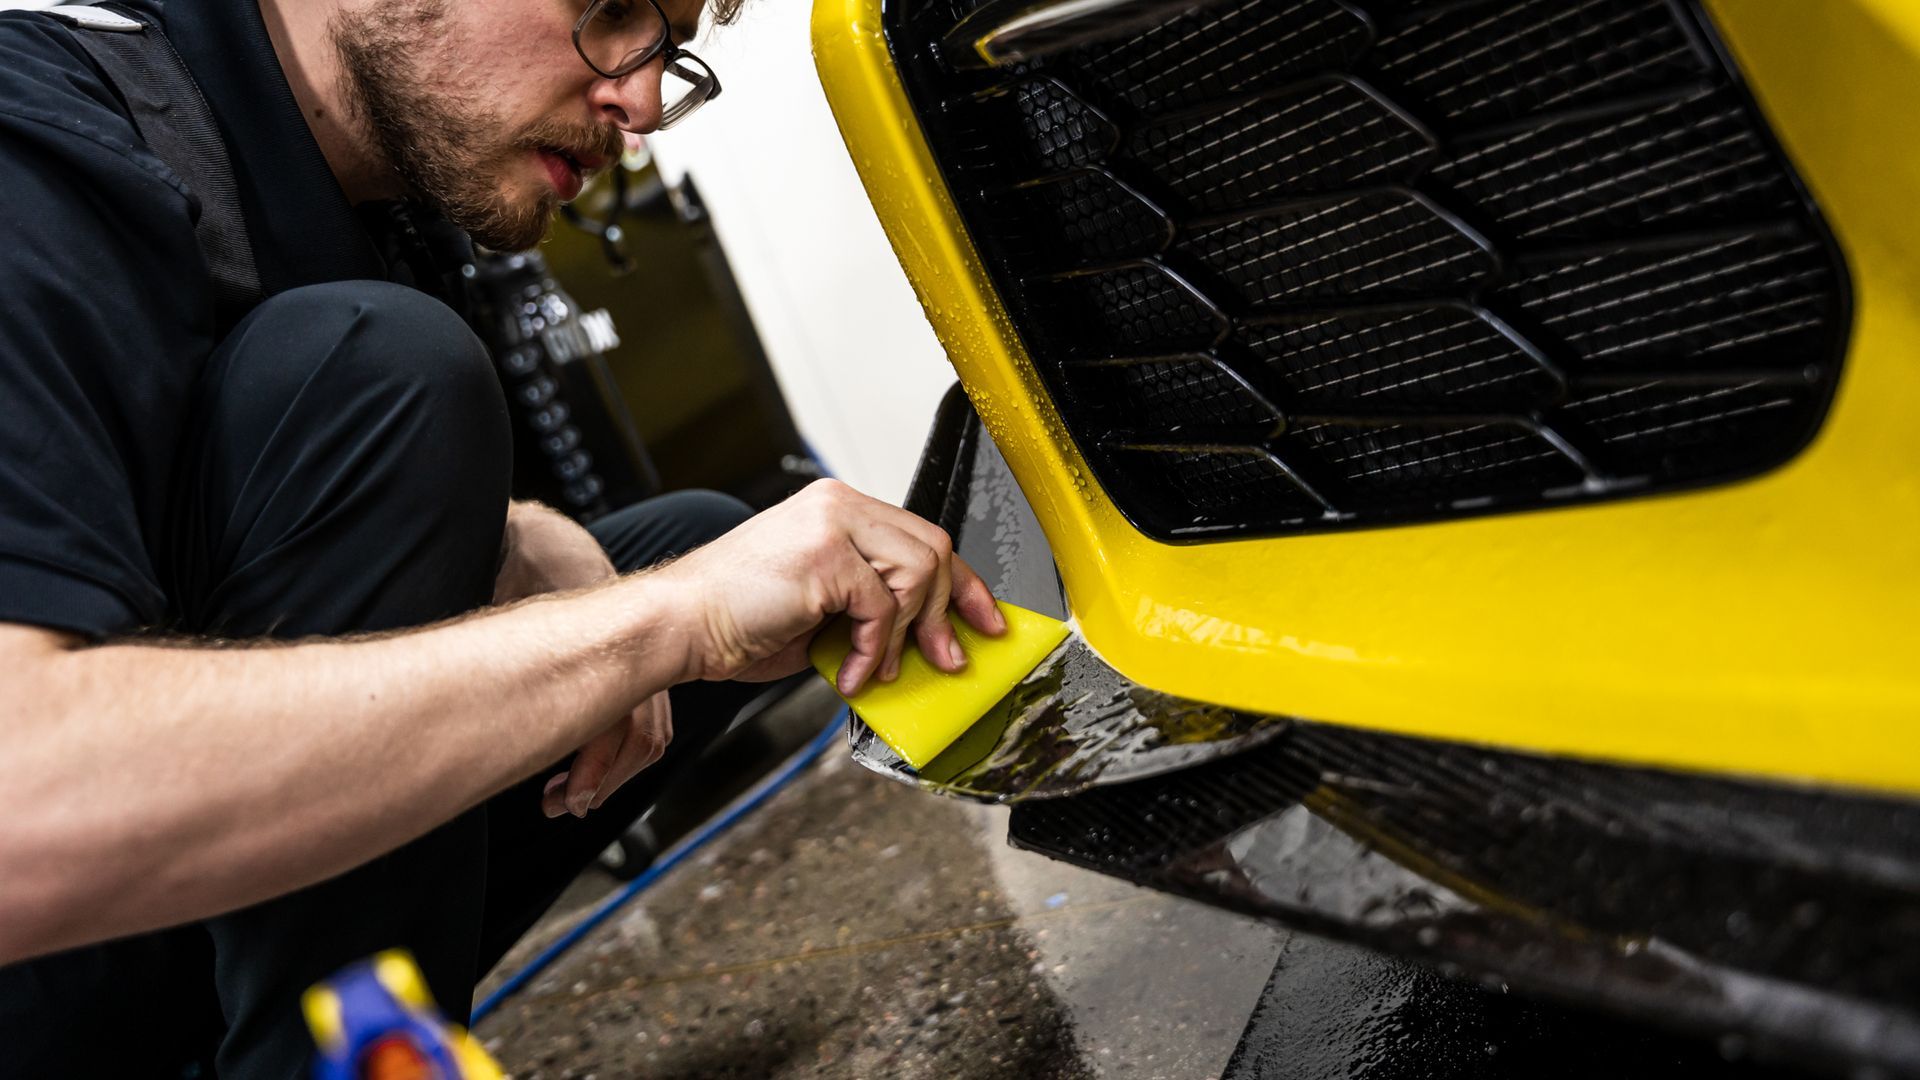
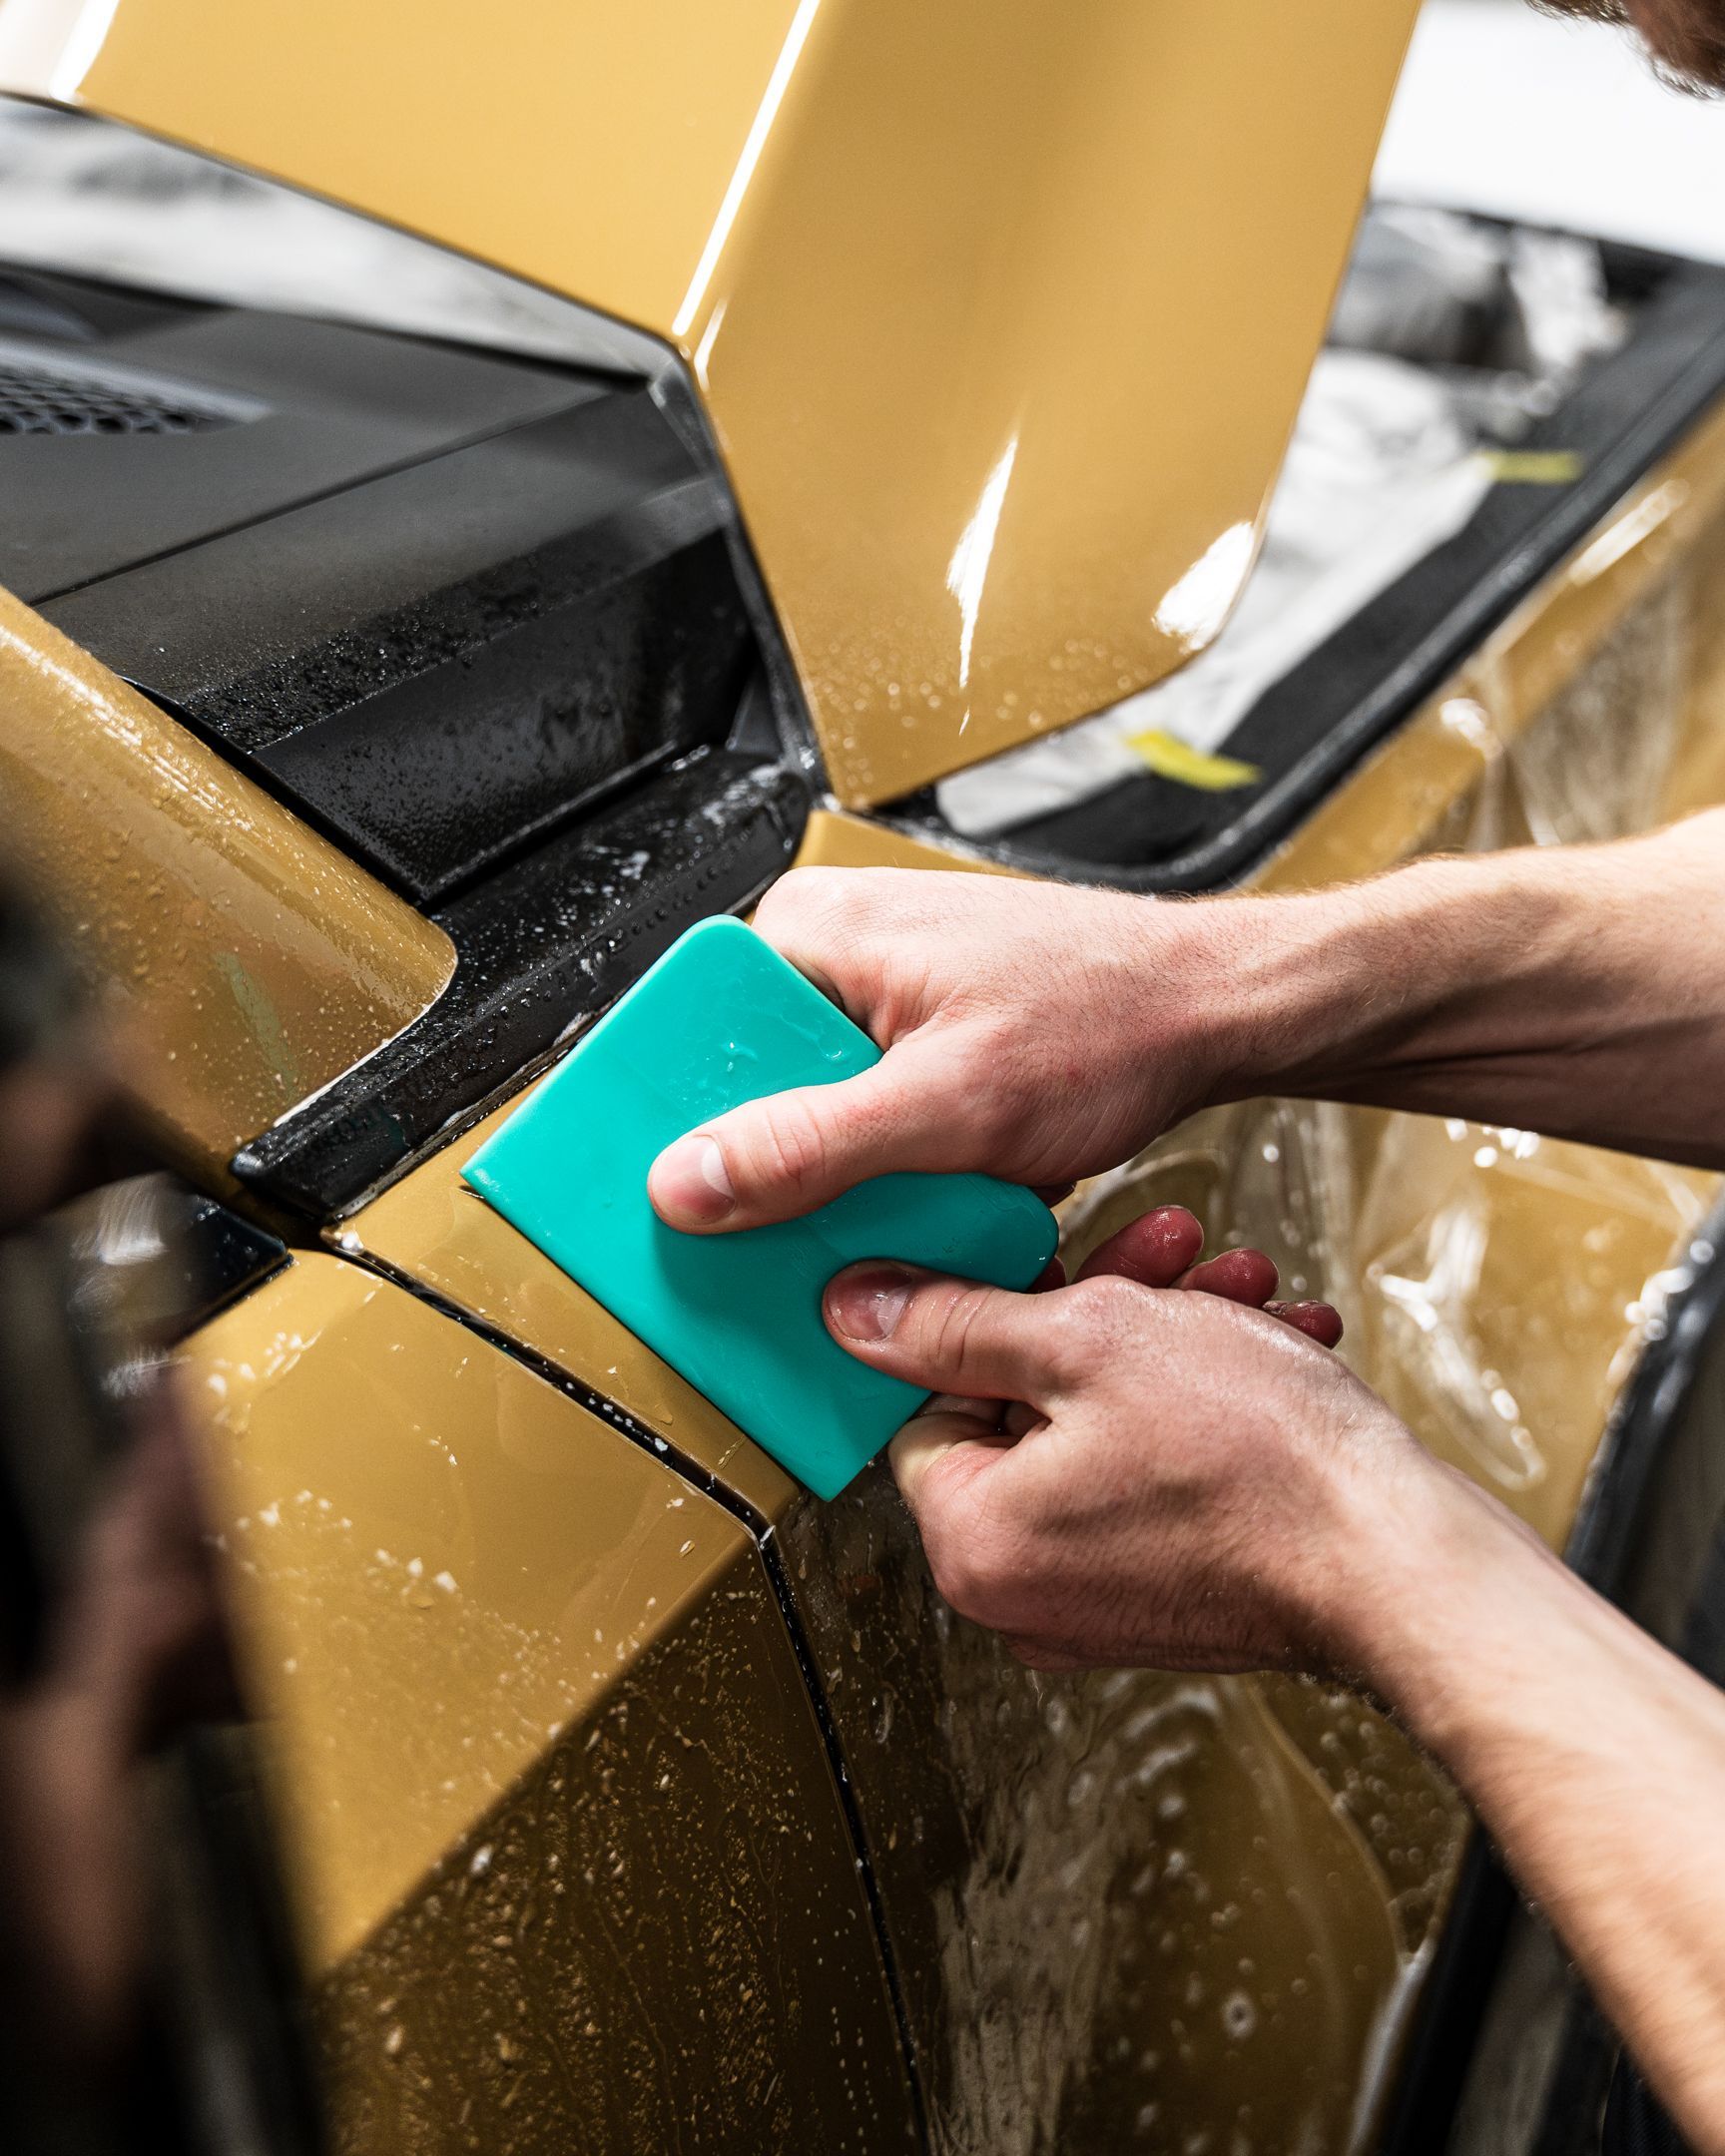
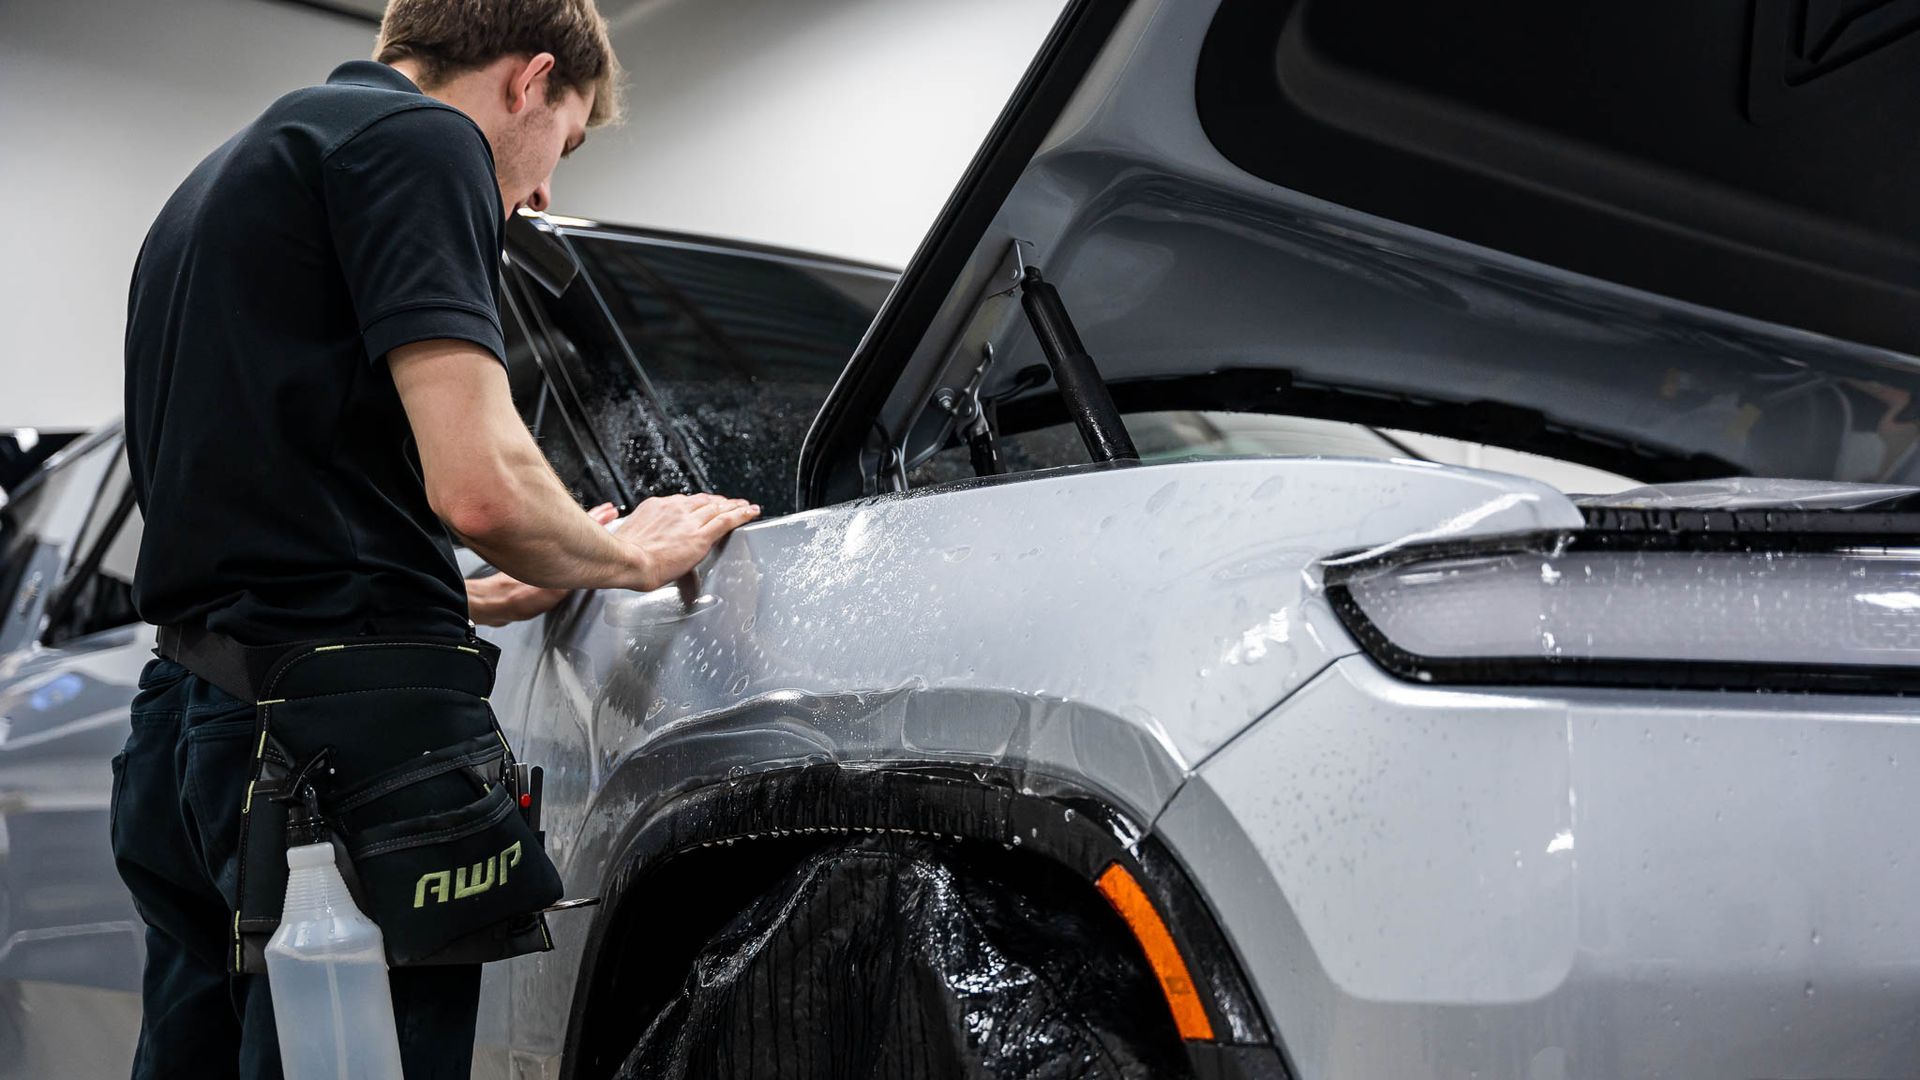
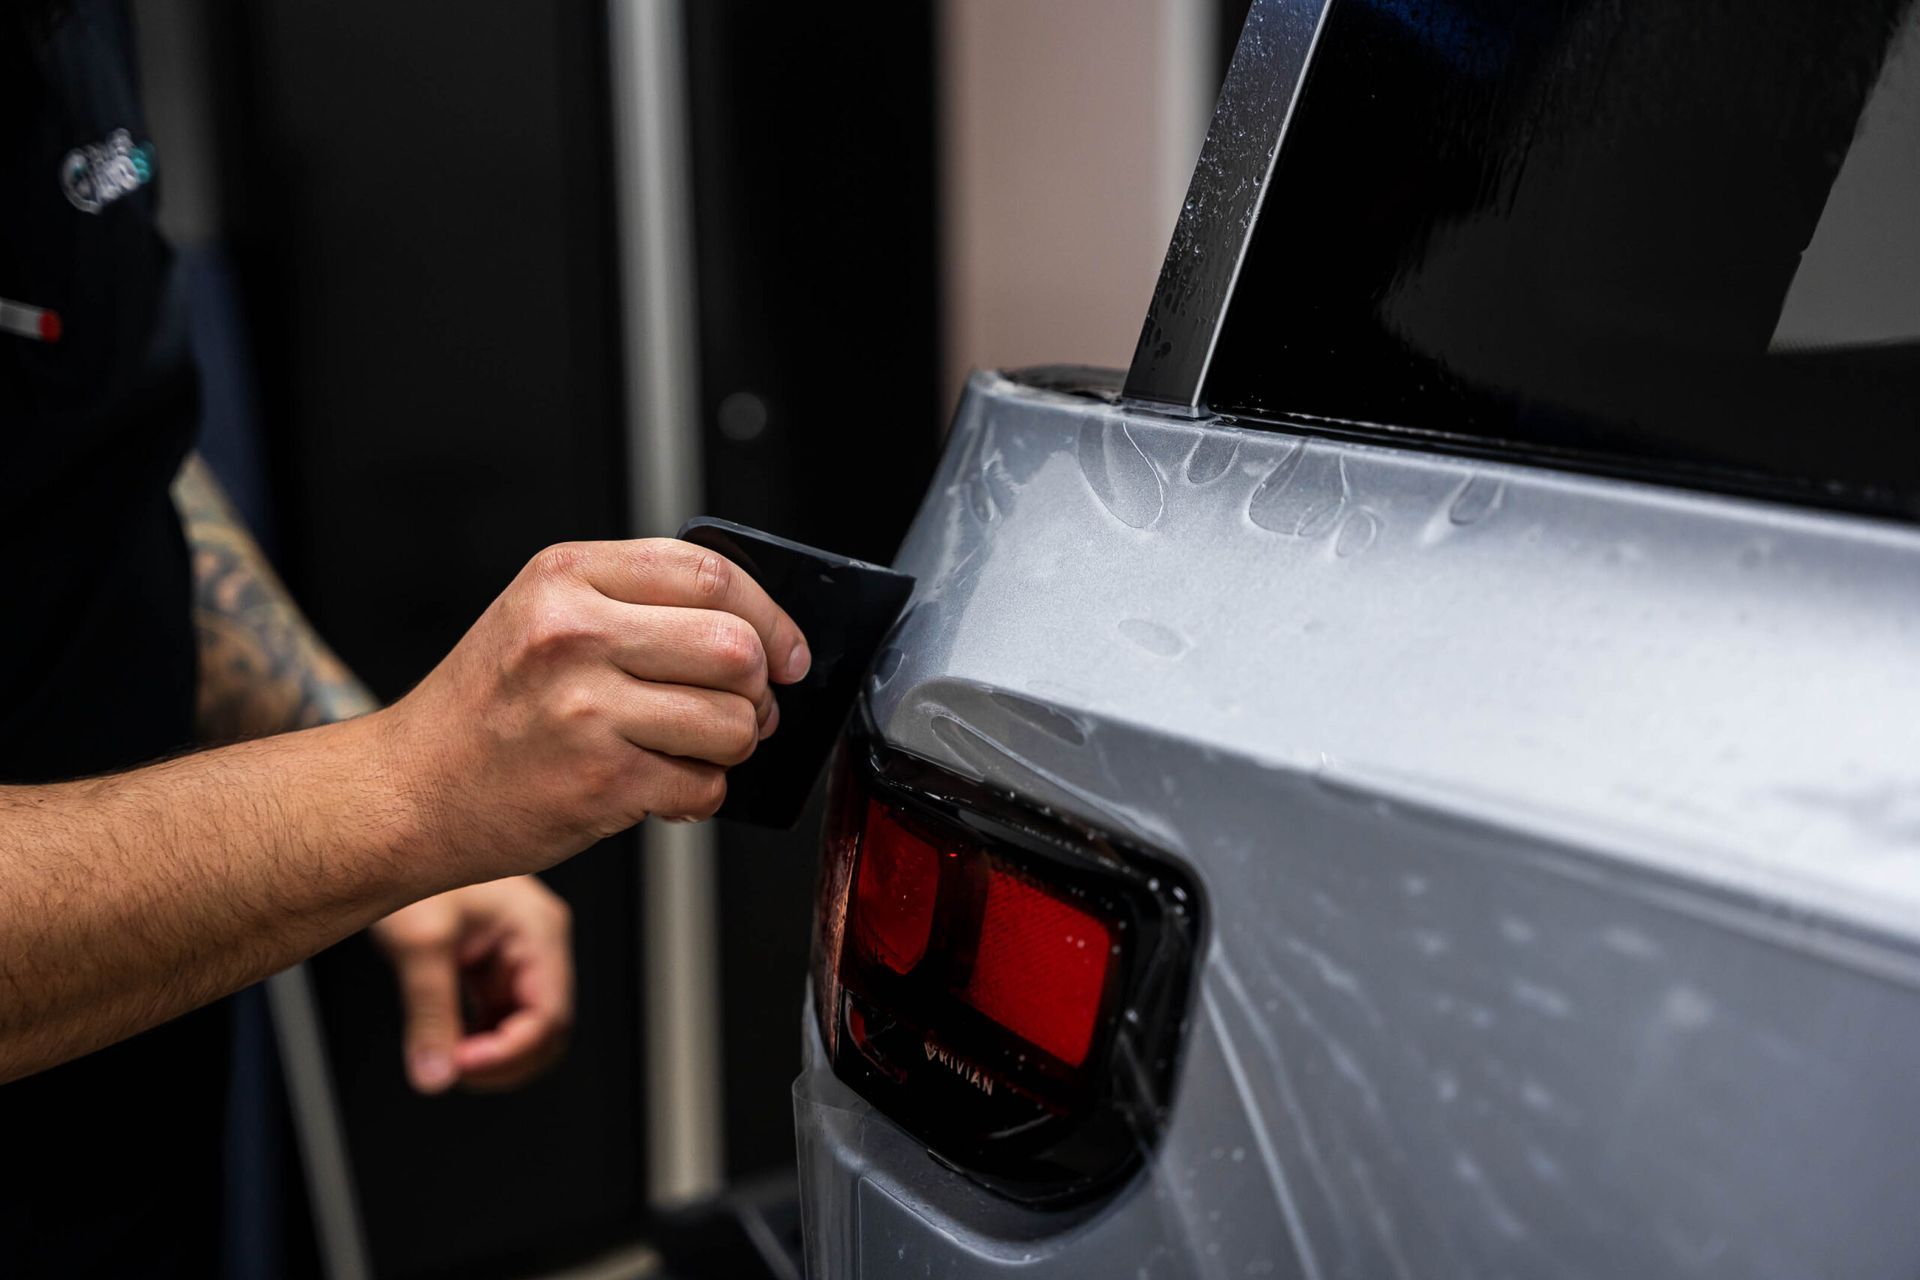
Now that all of the clear bra is printed, we can start the installation. First things first, we spray a slip solution onto the surface of the paint and lay the clear bra on top. Using a squeegee, we’ll carefully push the gel out from underneath the clear bra, adhering it to the car. We’ll work our way around the vehicle using the same method until every painted surface is protected.
To finish up this step, we walk around the car and double-check that there are no air pockets or unwrapped edges. Once we’re confident that there are no imperfections, the vehicle will move underneath our light booth for a ceramic coating installation.
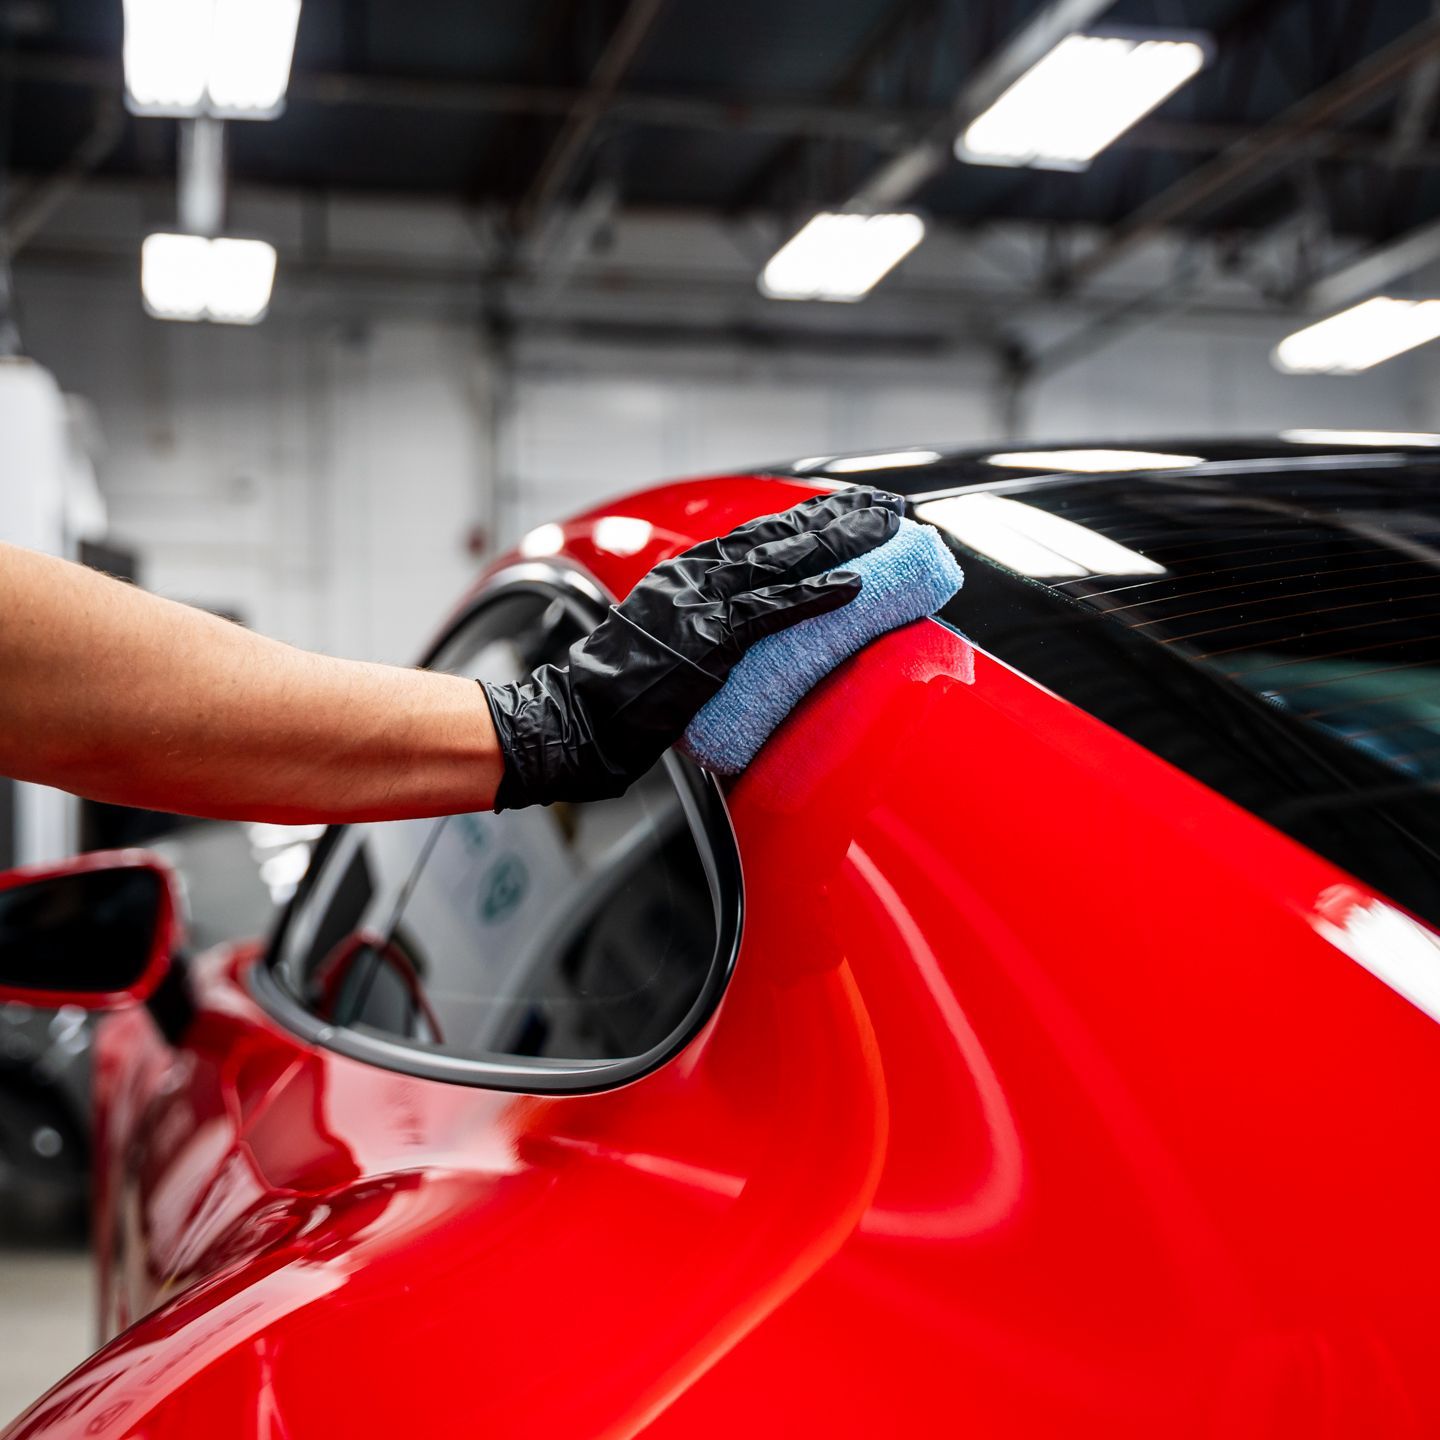
Step 4: Ceramic Coating
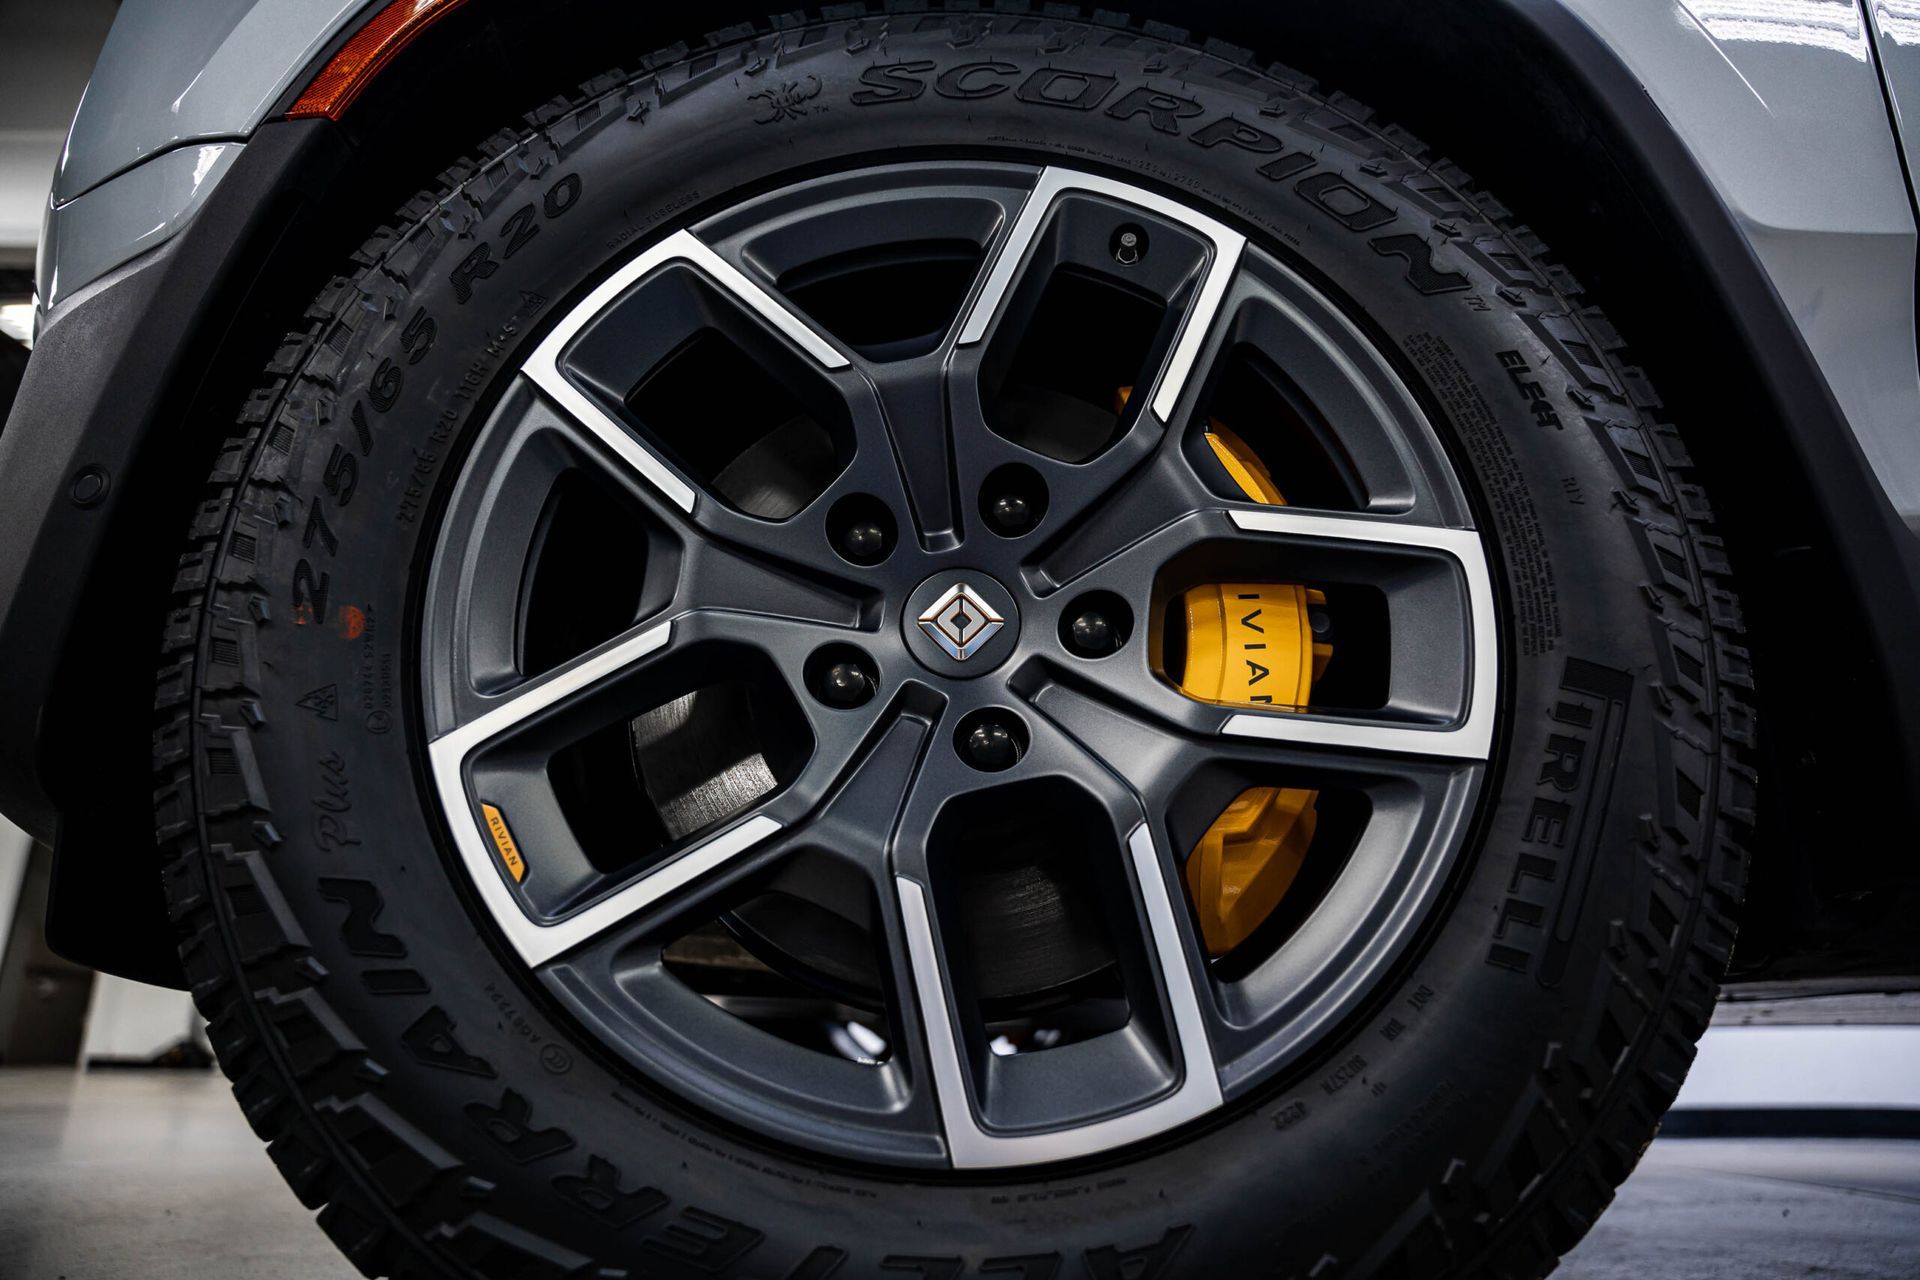
This R1S is receiving our Level 2 Ceramic Coating System which includes 2 layers of ceramic coating on painted surfaces as well as coating on the wheel faces and windshield. This is a professional grade coating and our highest-end package, providing exceptional protection from harmful UV rays and chemical chemical damage as well as incredibly easy cleaning due to its hydrophobic properties.
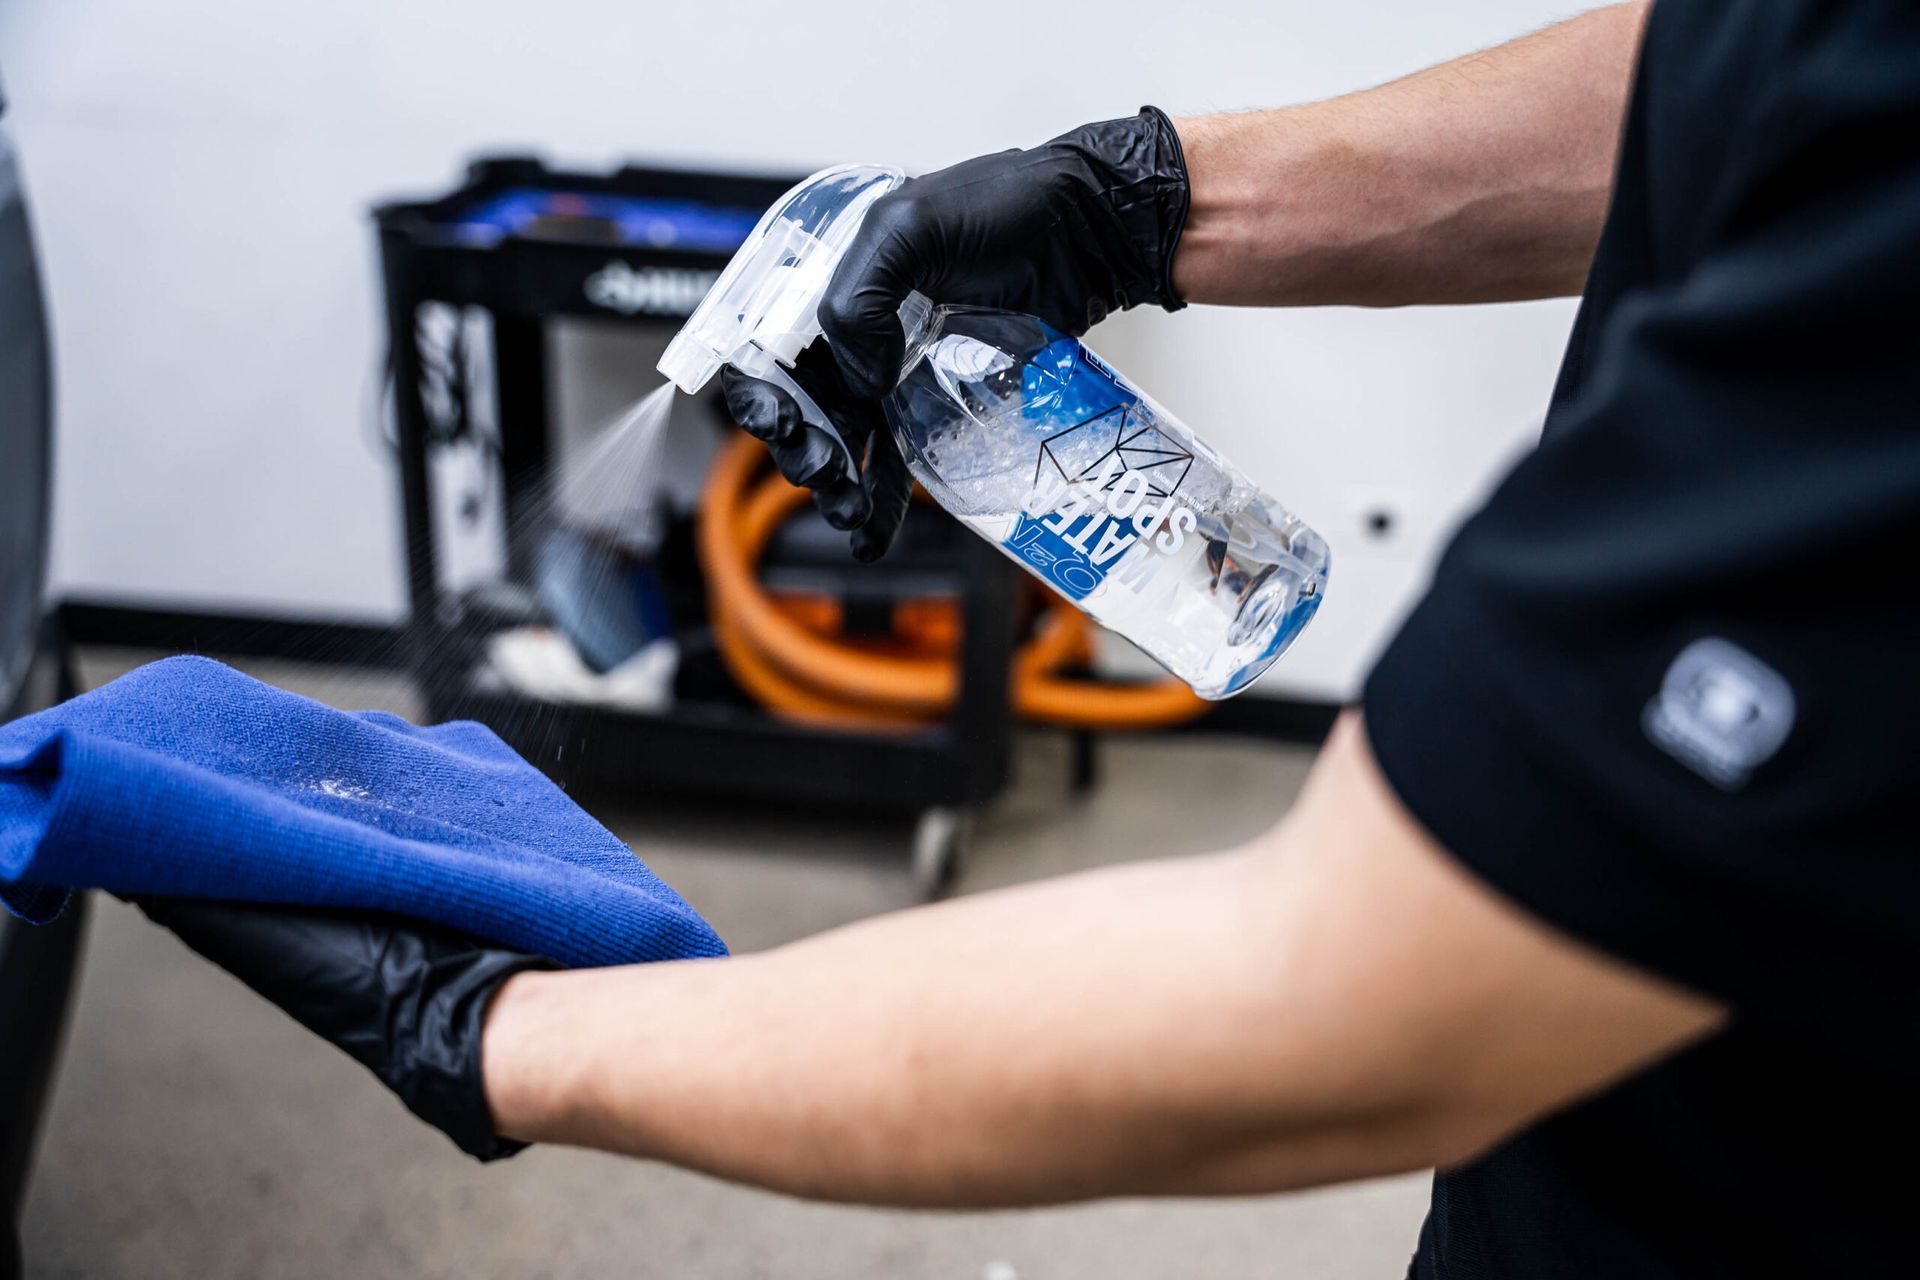
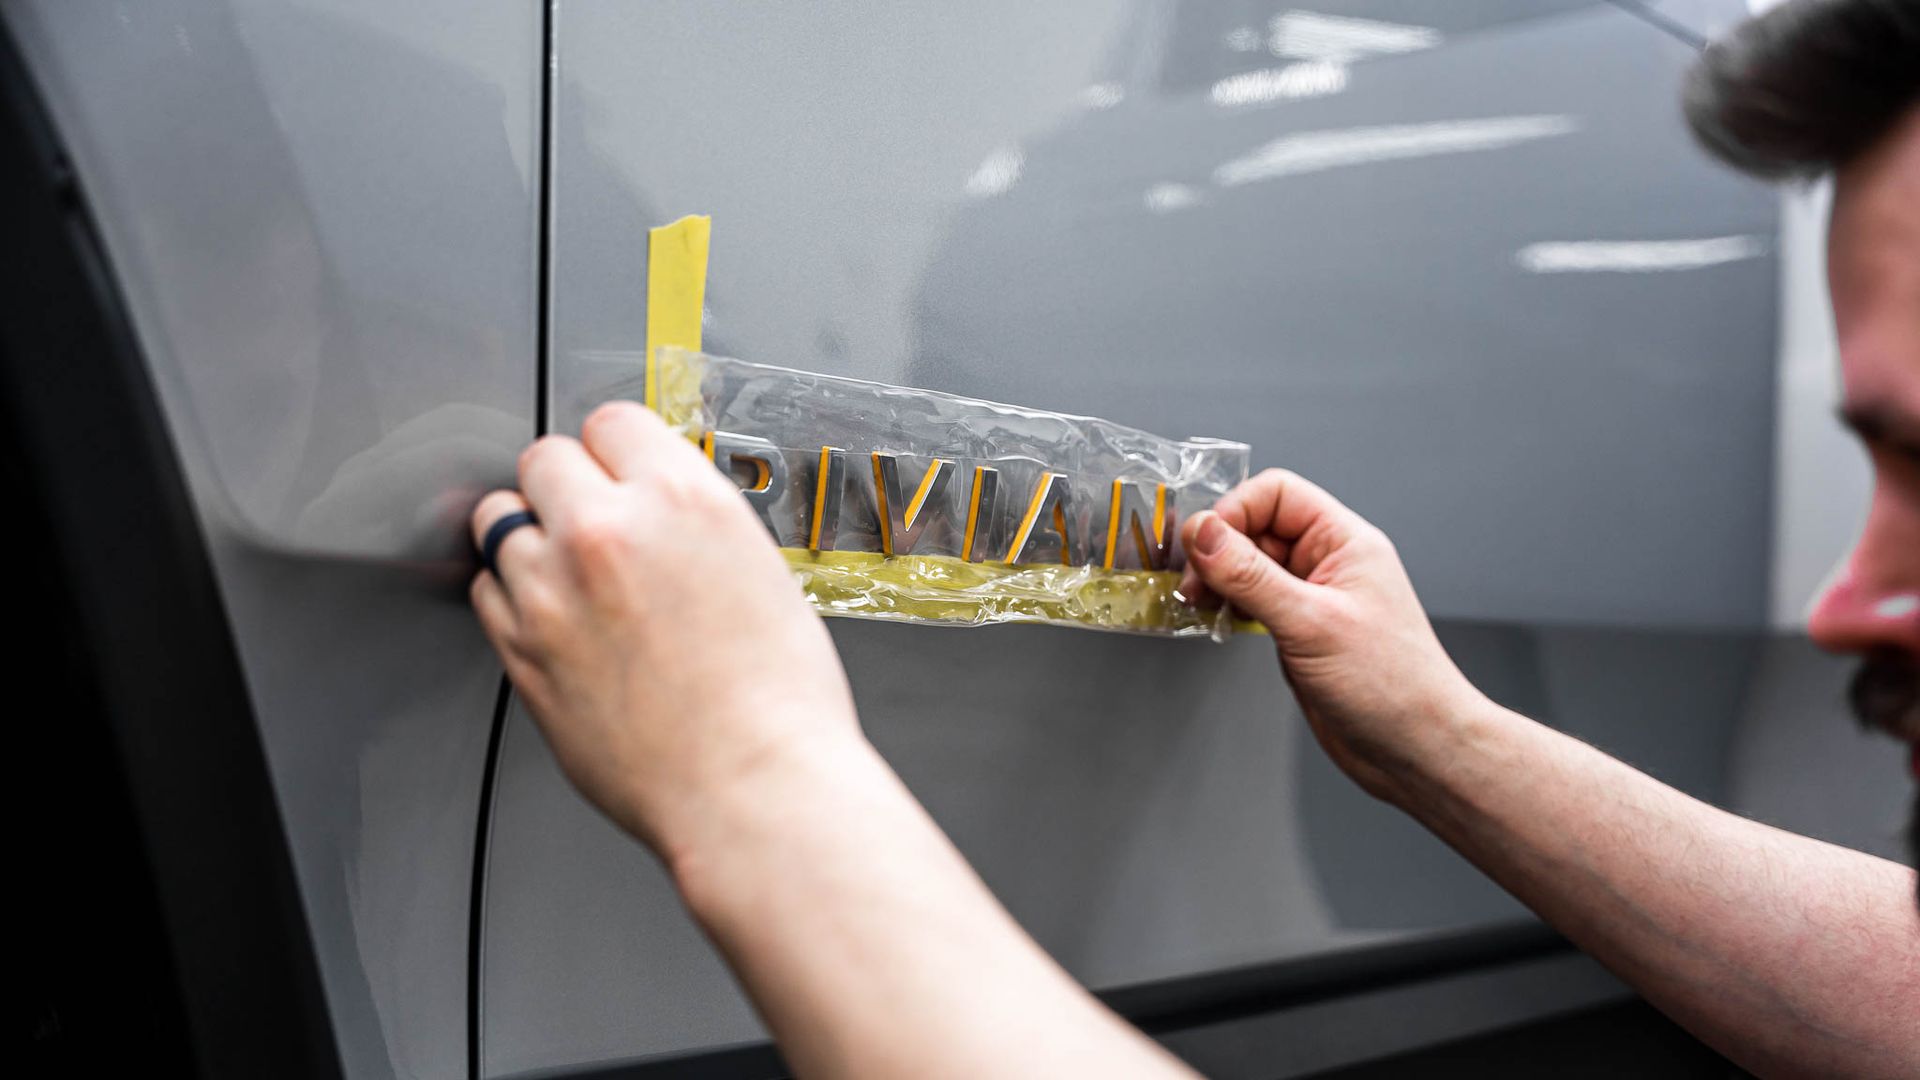
Since the vehicle has full-body PPF, there’s no need to do any paint correction. We use Q 2 M Prep and Q 2 M WaterSpot to remove any water spots, remaining lubricants or grease from the PPF to give the ceramic coating the best possible surface to bond with. At this step, we will also re-install all of the emblems on to the vehicle.
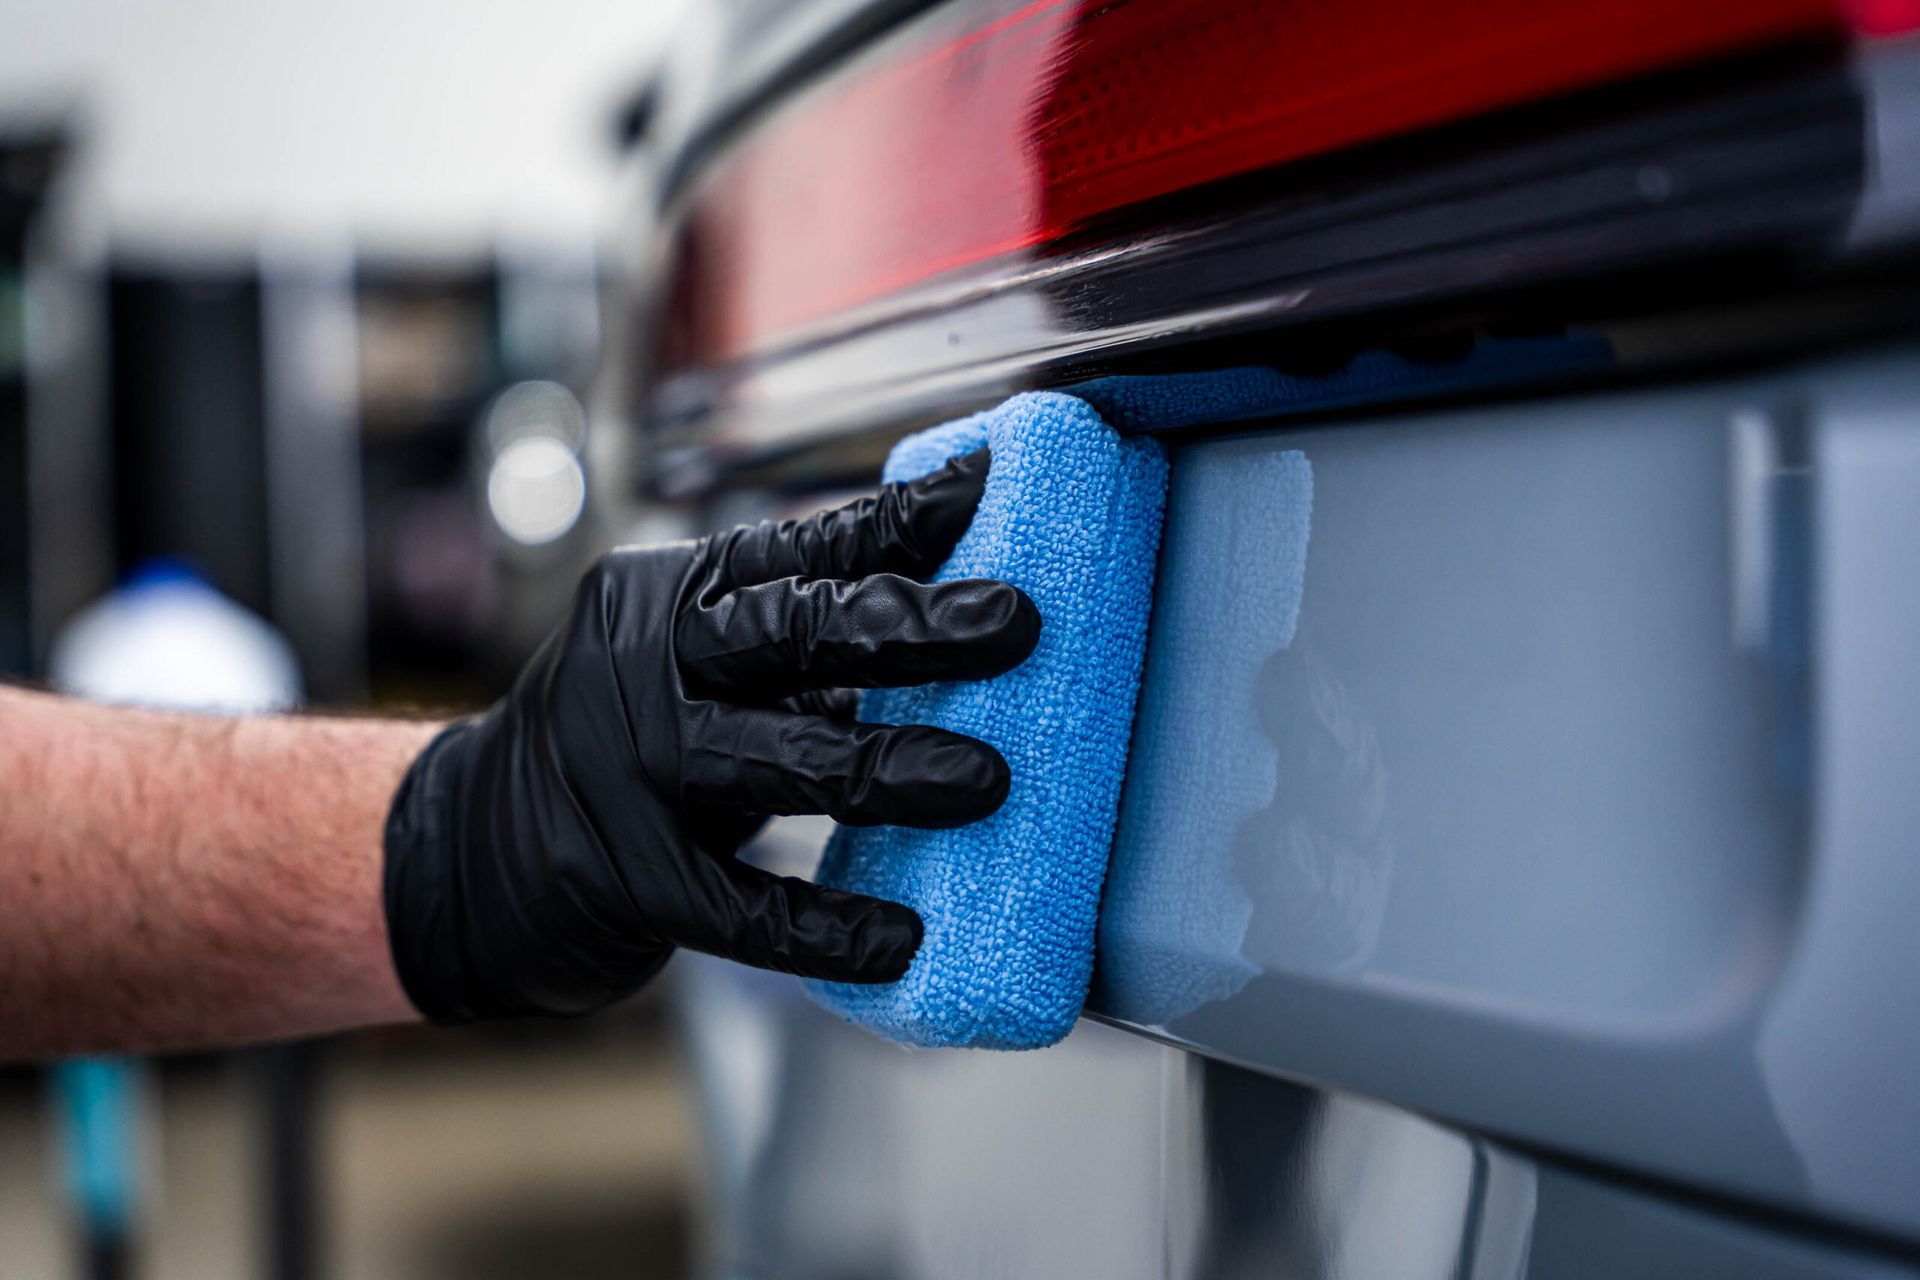
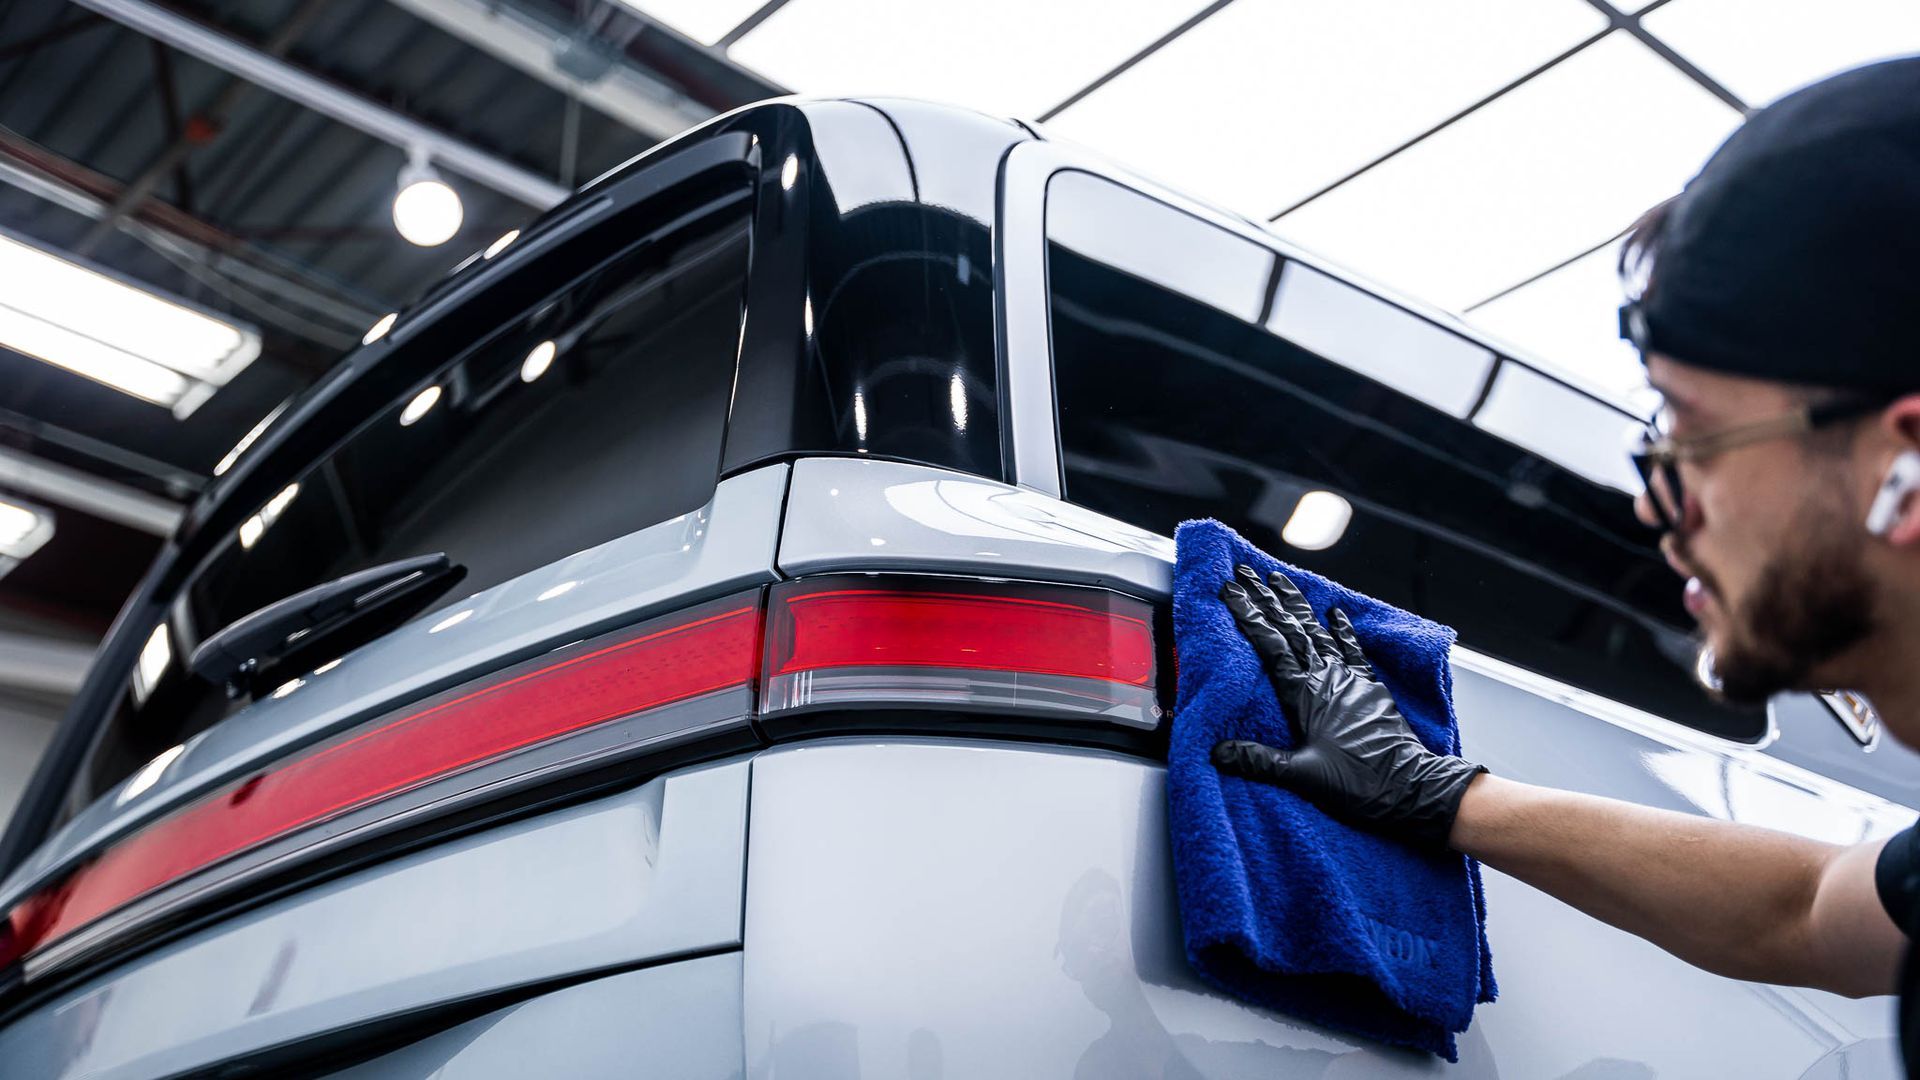
Using a brand-new applicator, the coating is applied to the surface of the vehicle. Moving one panel at a time, our professional detailers apply the coating and then remove the excess. For removal, we first use a short-fiber towel followed by a long-fiber towel, ensuring that there is no excess still left on the car.

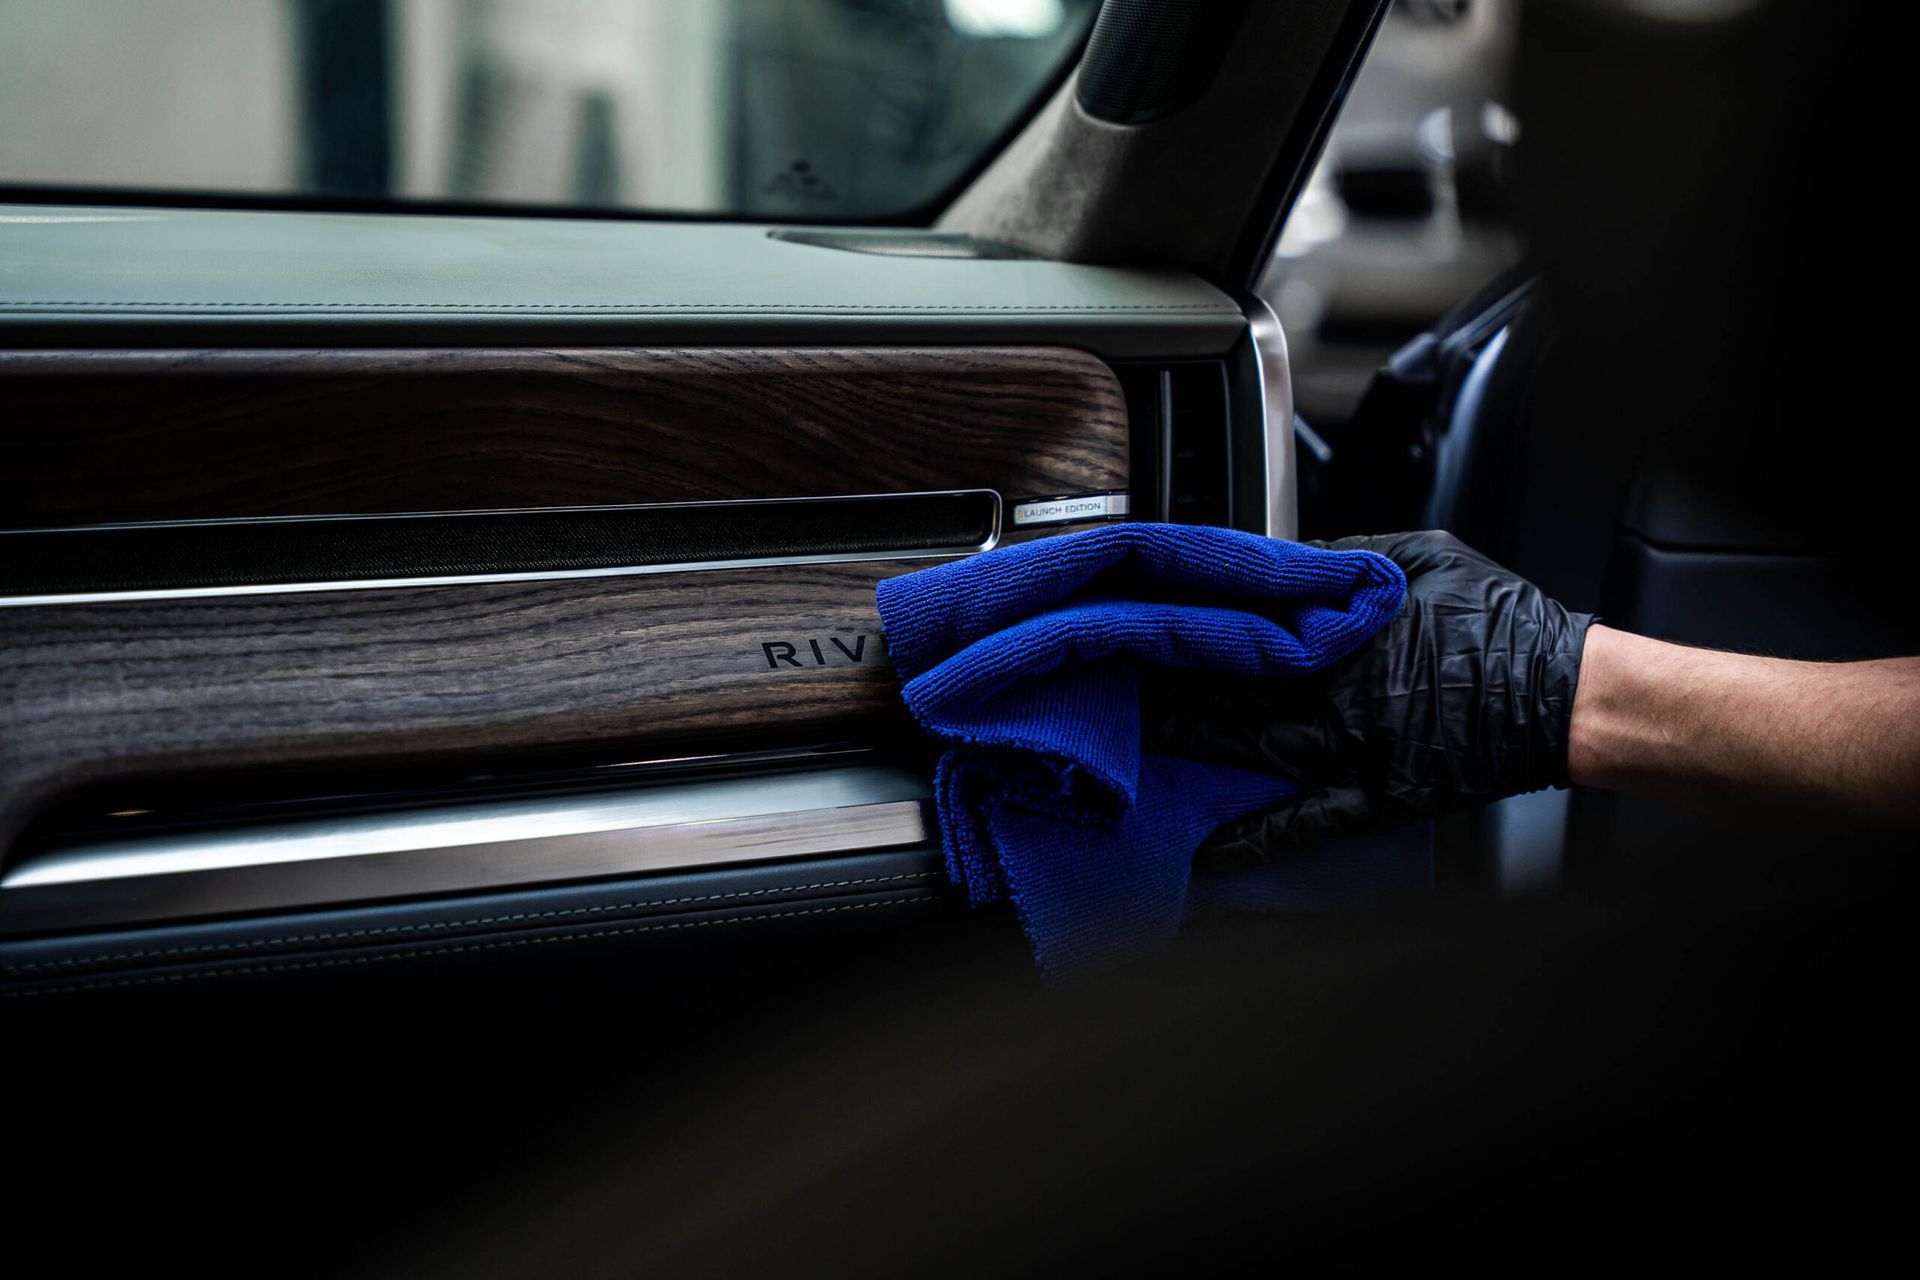
We’ll finish up this full process by wiping down all interior surfaces and giving the interior a thorough vacuum.
The paint on this EV is completely protected form the elements and this Rivian R1S is now ready to hit up some of Colorado’s best trails without having to worry about damaged paint. This LA Silver paint has never looked this good.
The post Rivian R1S gets protected with Clear Bra and Ceramic Coating appeared first on Denver Auto Shield.