Porsche 992 Carrera 4S in for PPF and Ceramic Coatings
CALL (720) 662-8520
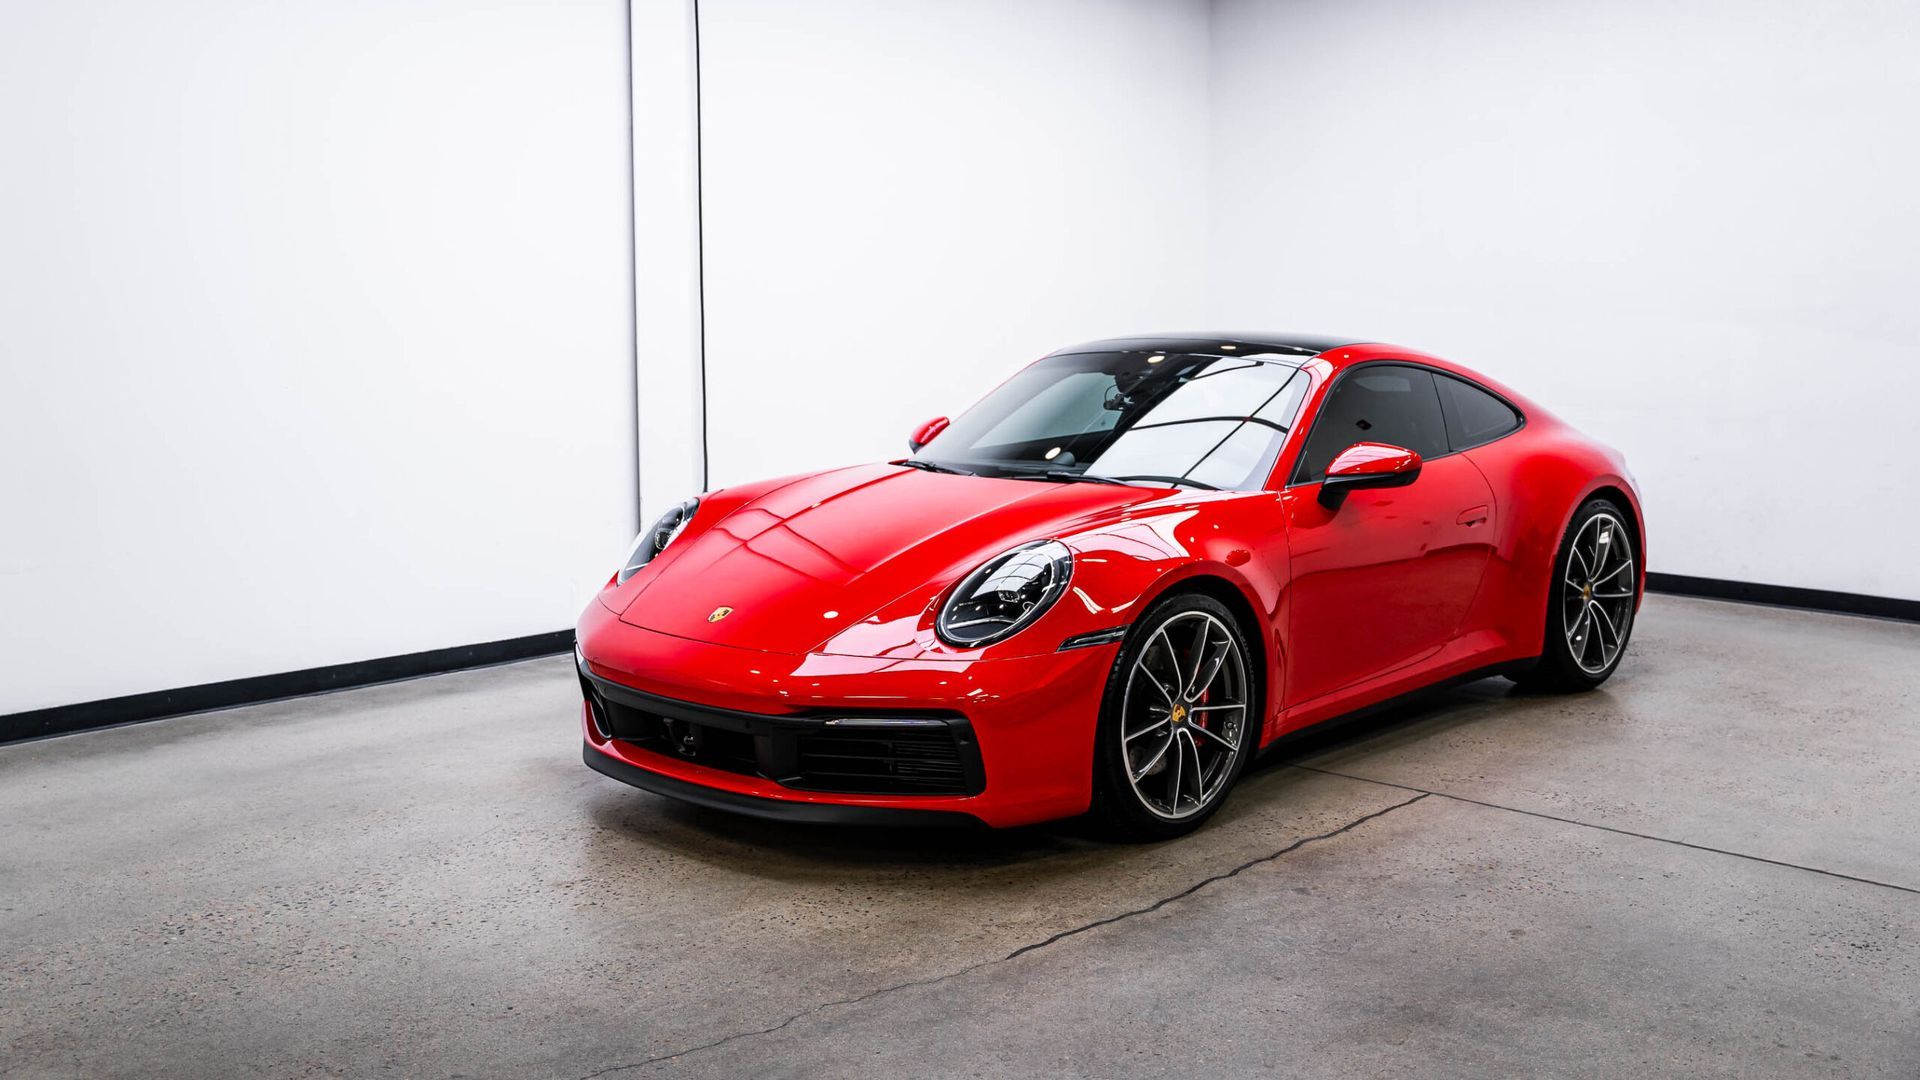
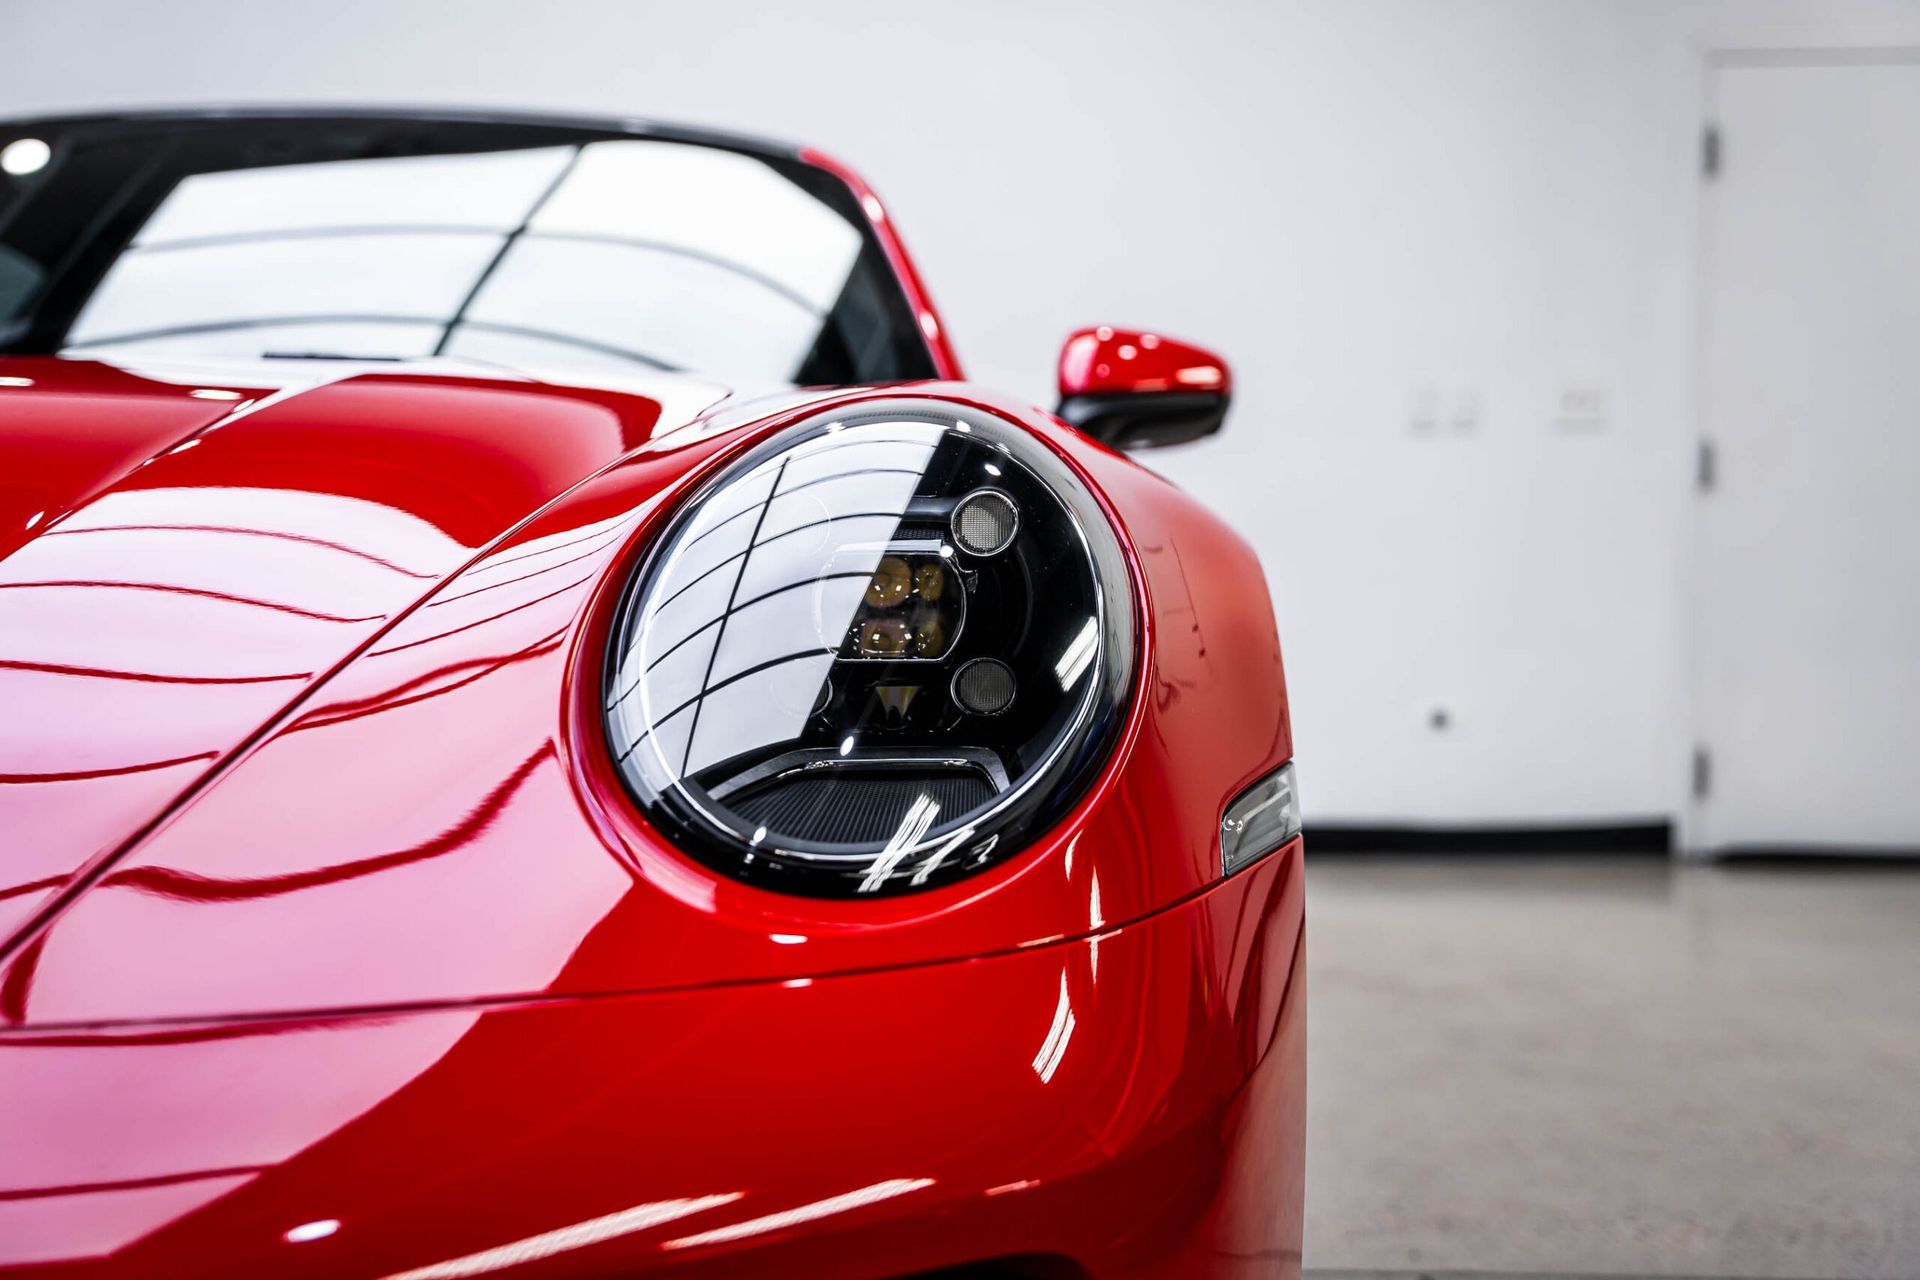
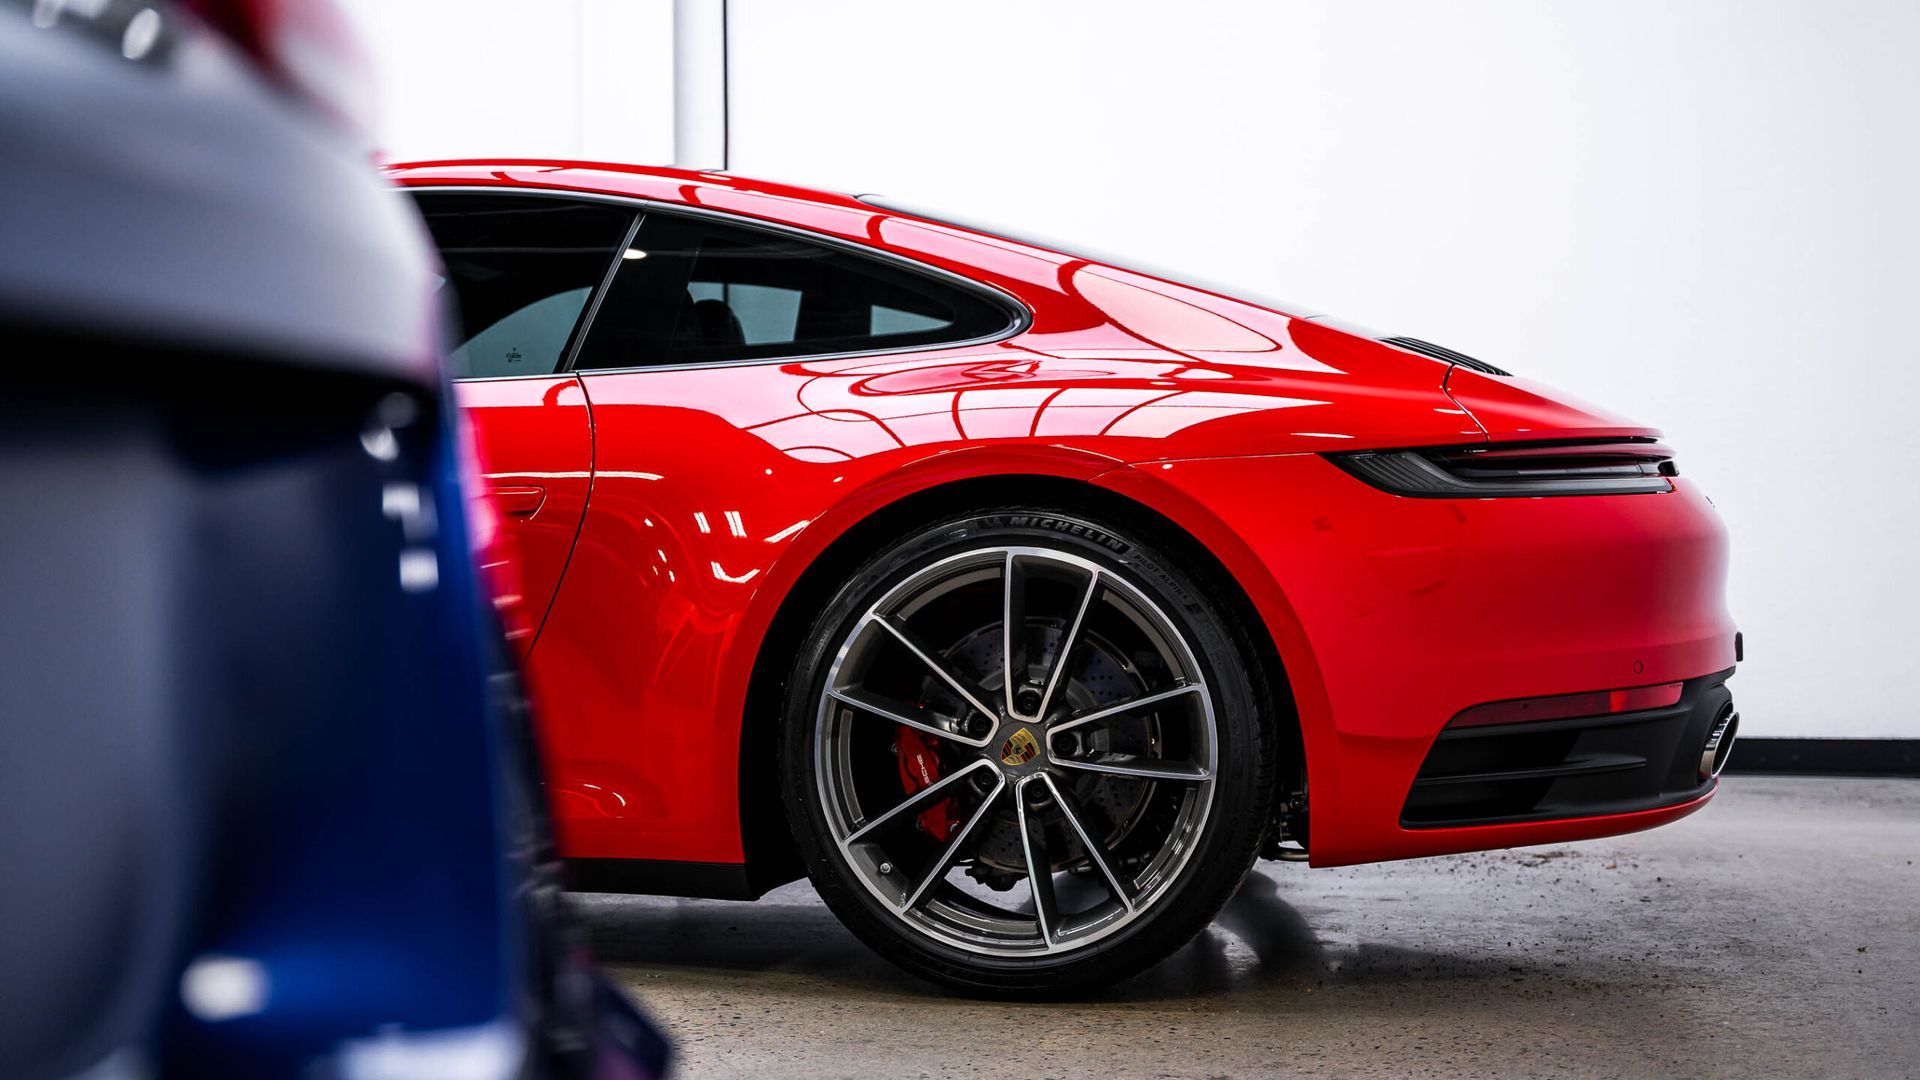
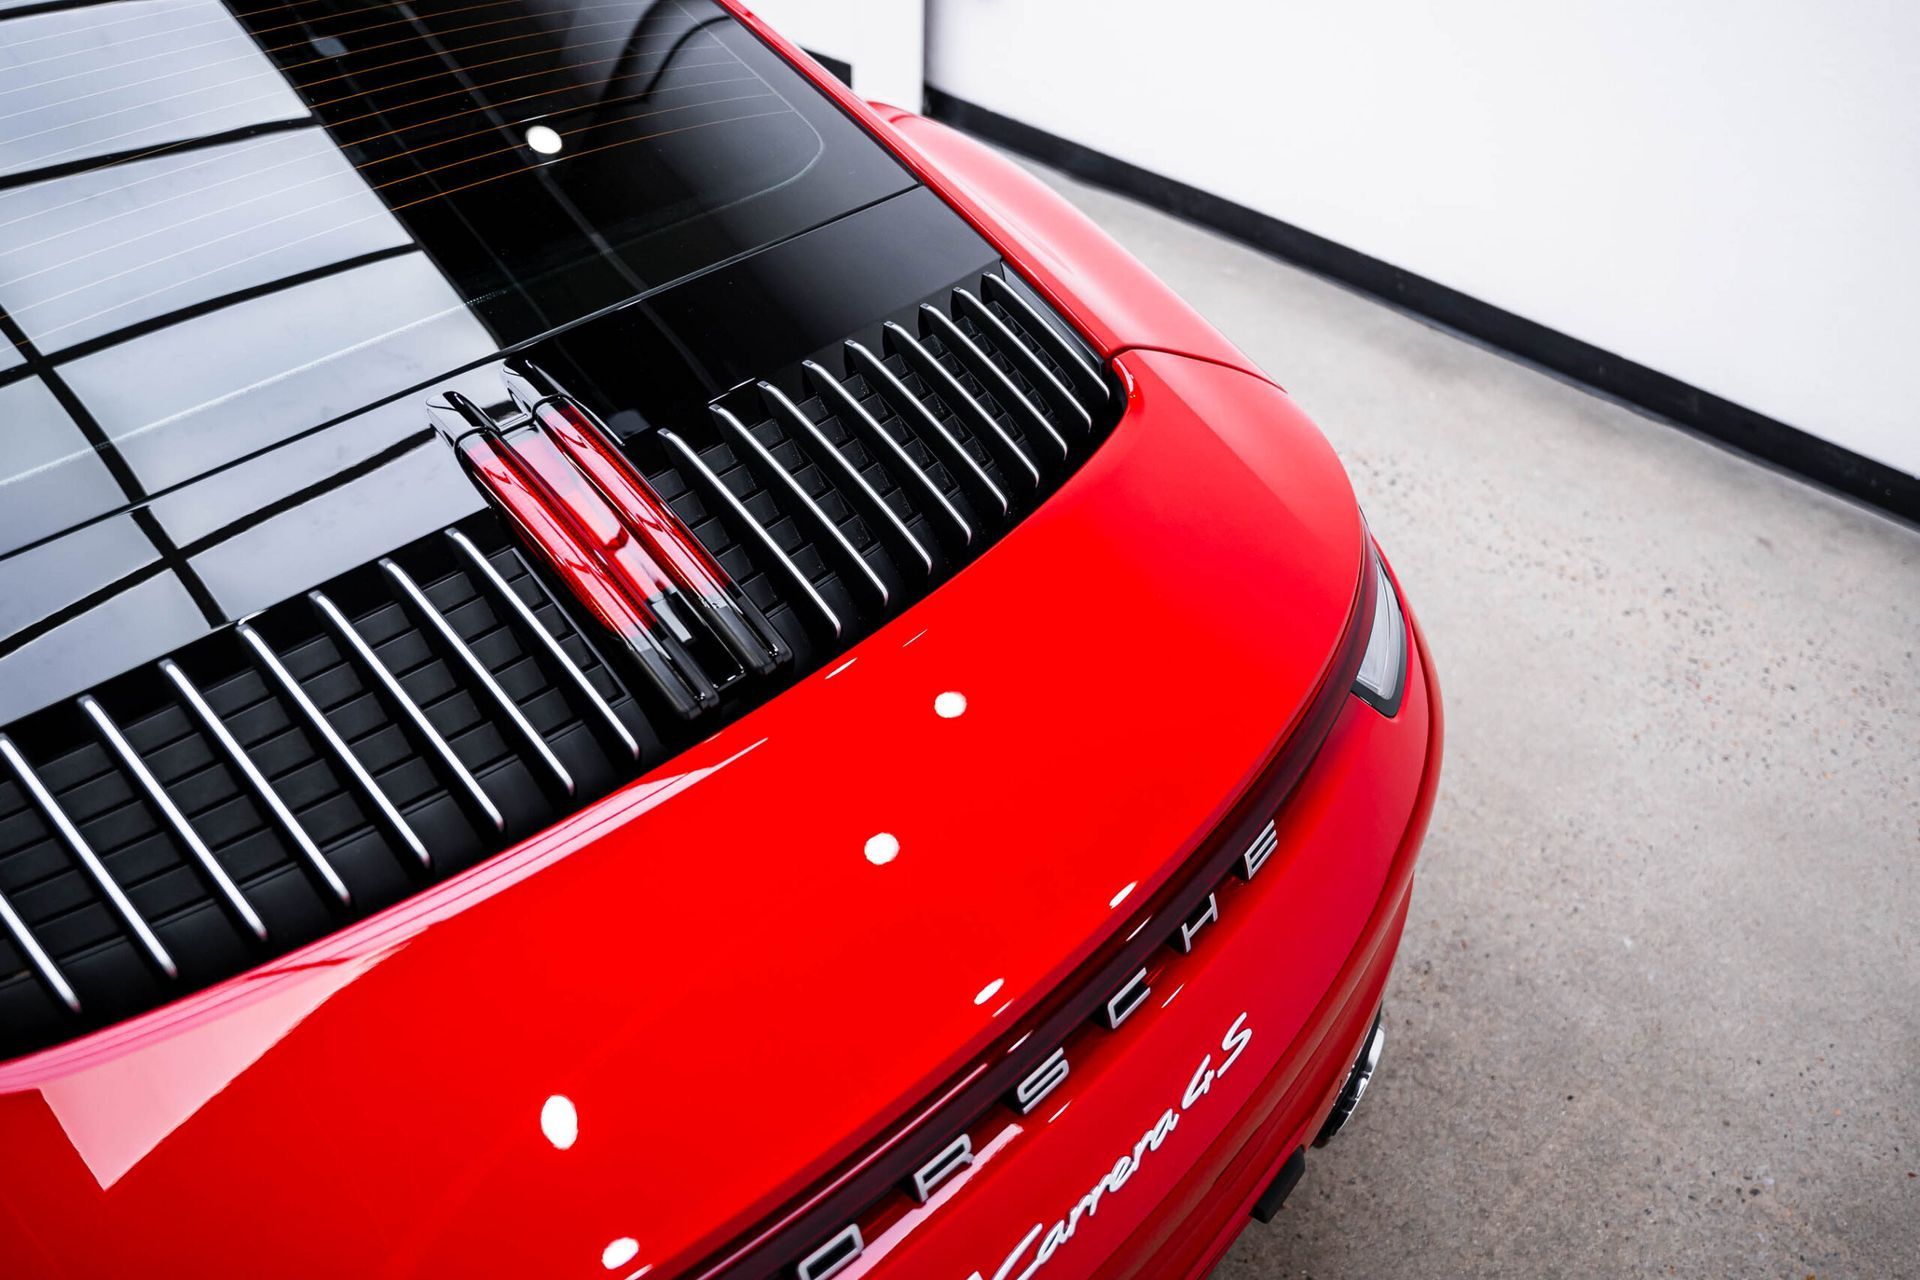
GET A FREE ESTIMATEThe Porsche 911 is arguably one of the most iconic sports cars of all time. Initially released in 1963, a rear engine configuration provided unique driving dynamics that were unprecedented at the time. Even 60 years later, this platform has remained largely unchanged across modern 911s. This Guards Red 992-Generation Carrera 4S is a great modern interpretation of a classic sports car.
The owner of this 911 wanted his car protected for every season so he decided to install our Driver’s Package PPF, Level 2 Ceramic Coating System and Sides and Rear Ceramic Tint. For most sports cars, this is an ideal combination of protection solutions.
Step 1: Decontamination Wash
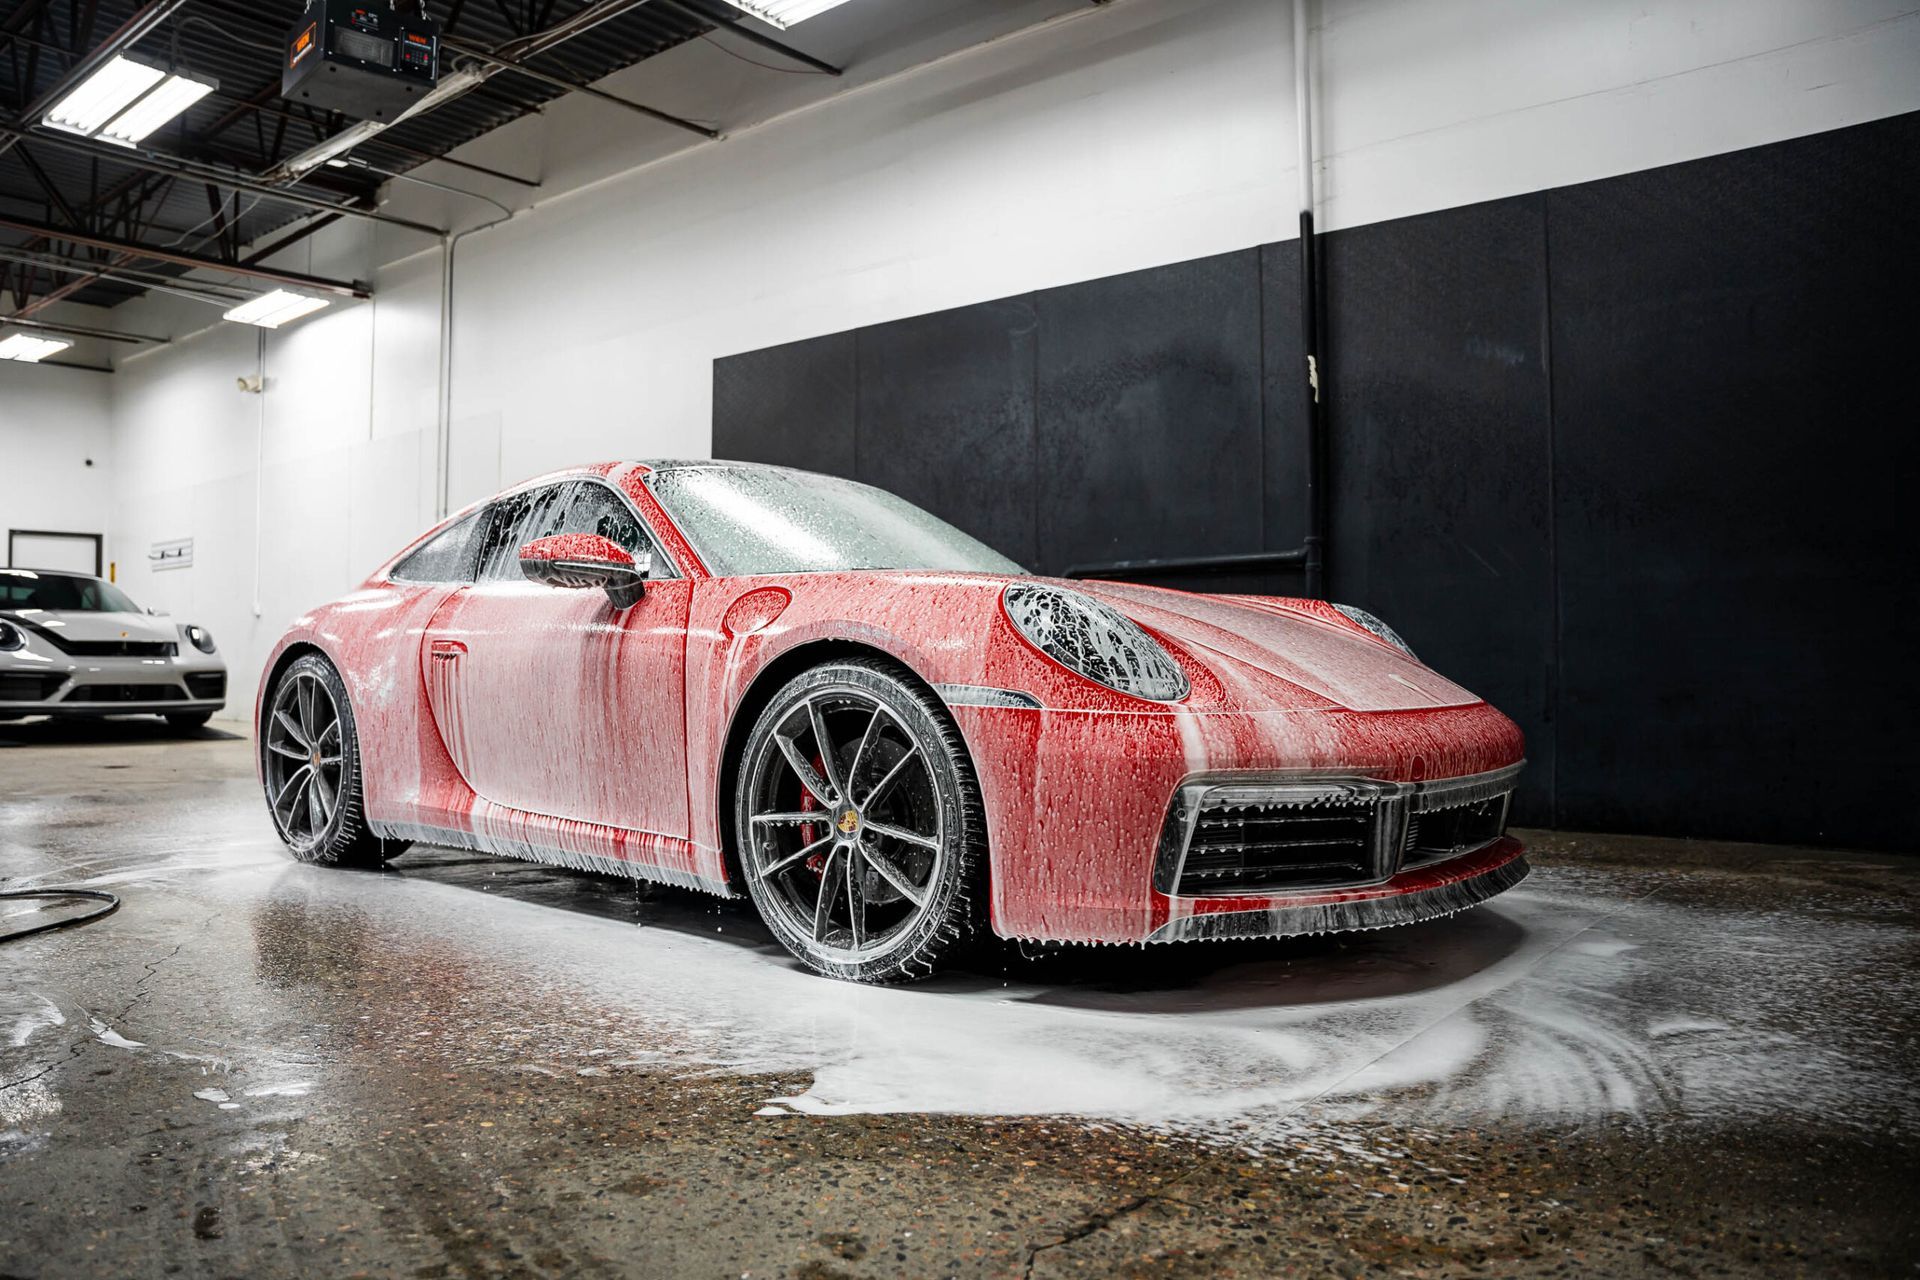
To start off this project, we’ll do a complete decontamination wash on the vehicle. This begins by soaking the car with Gyeon Q 2 M Foam and Q 2 M Iron. These two products remove much of the surface-level debris and chemical contaminants, making our contact wash safer for the paint later in the wash process. While the foam and iron remover are resting on the paint, we’ll clean the wheels with specialized brushes and Gyeon Q 2 M Iron WheelCleaner.
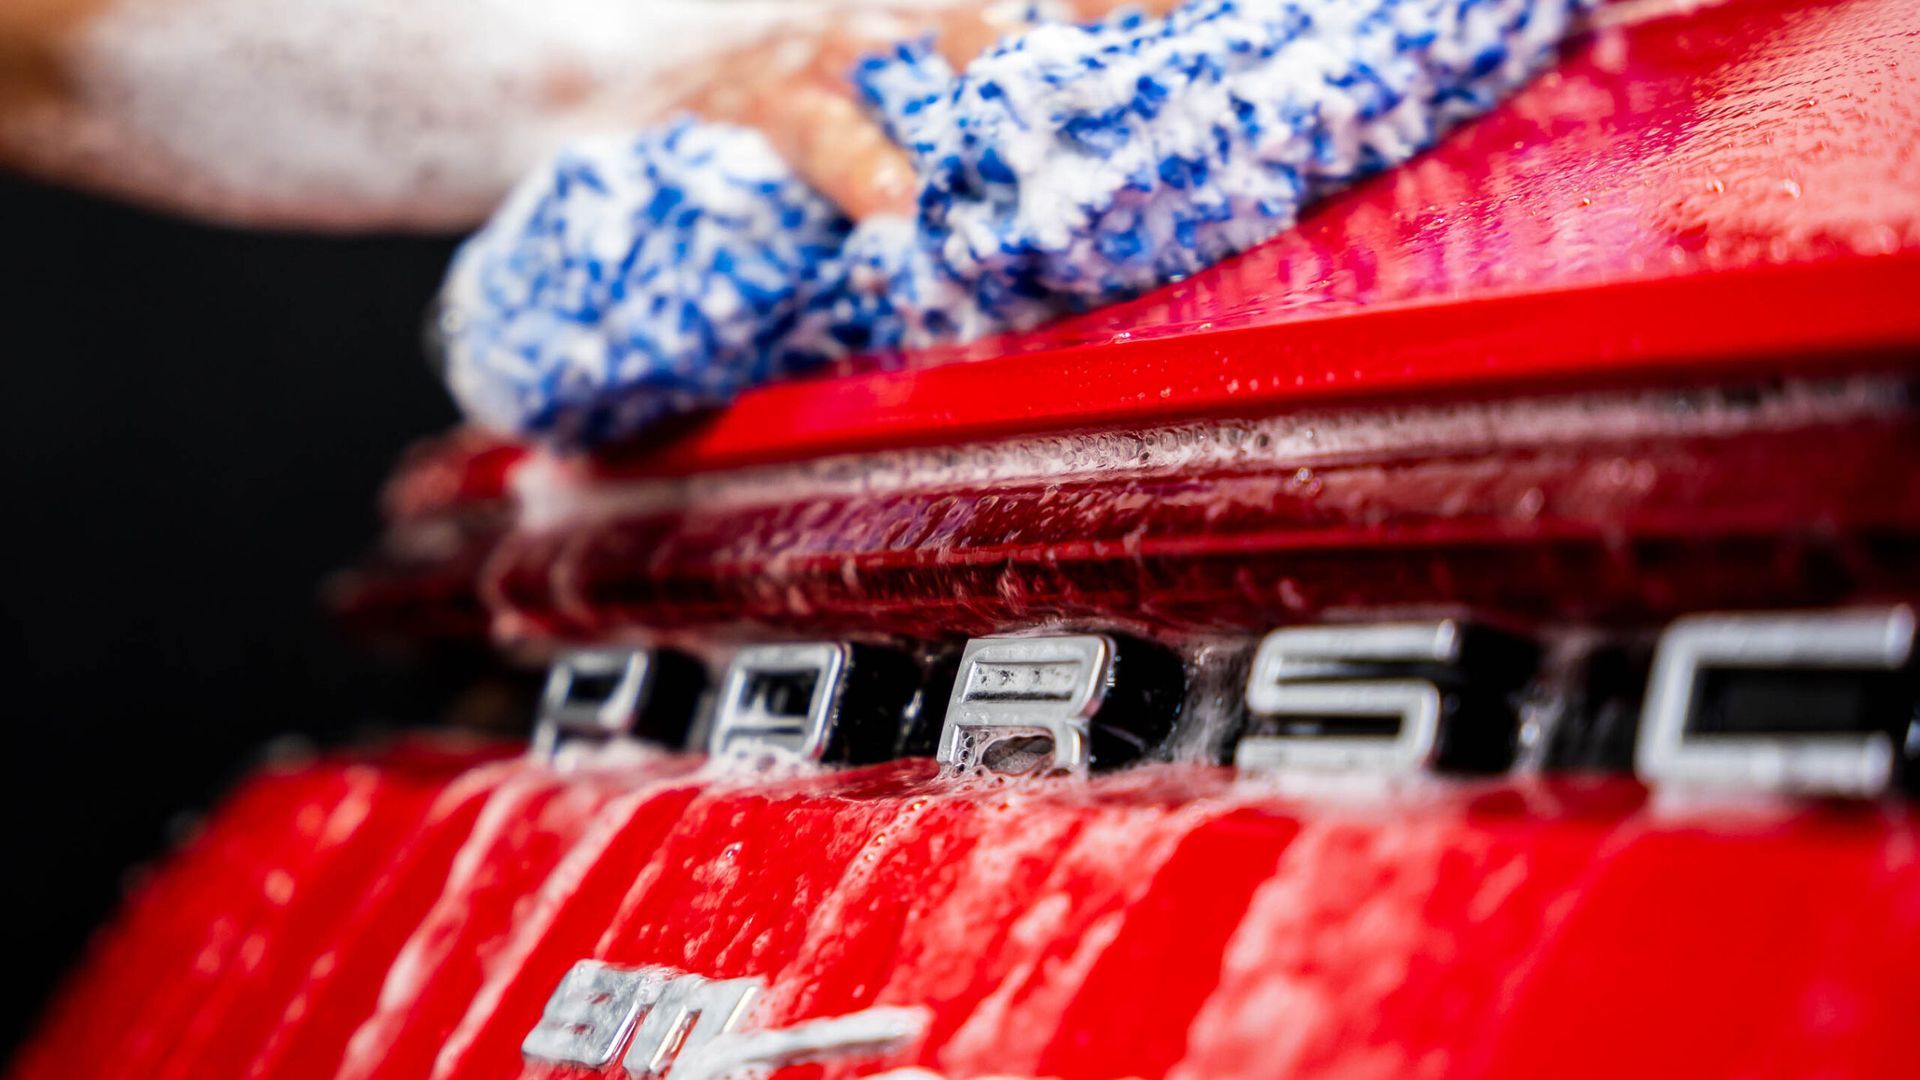
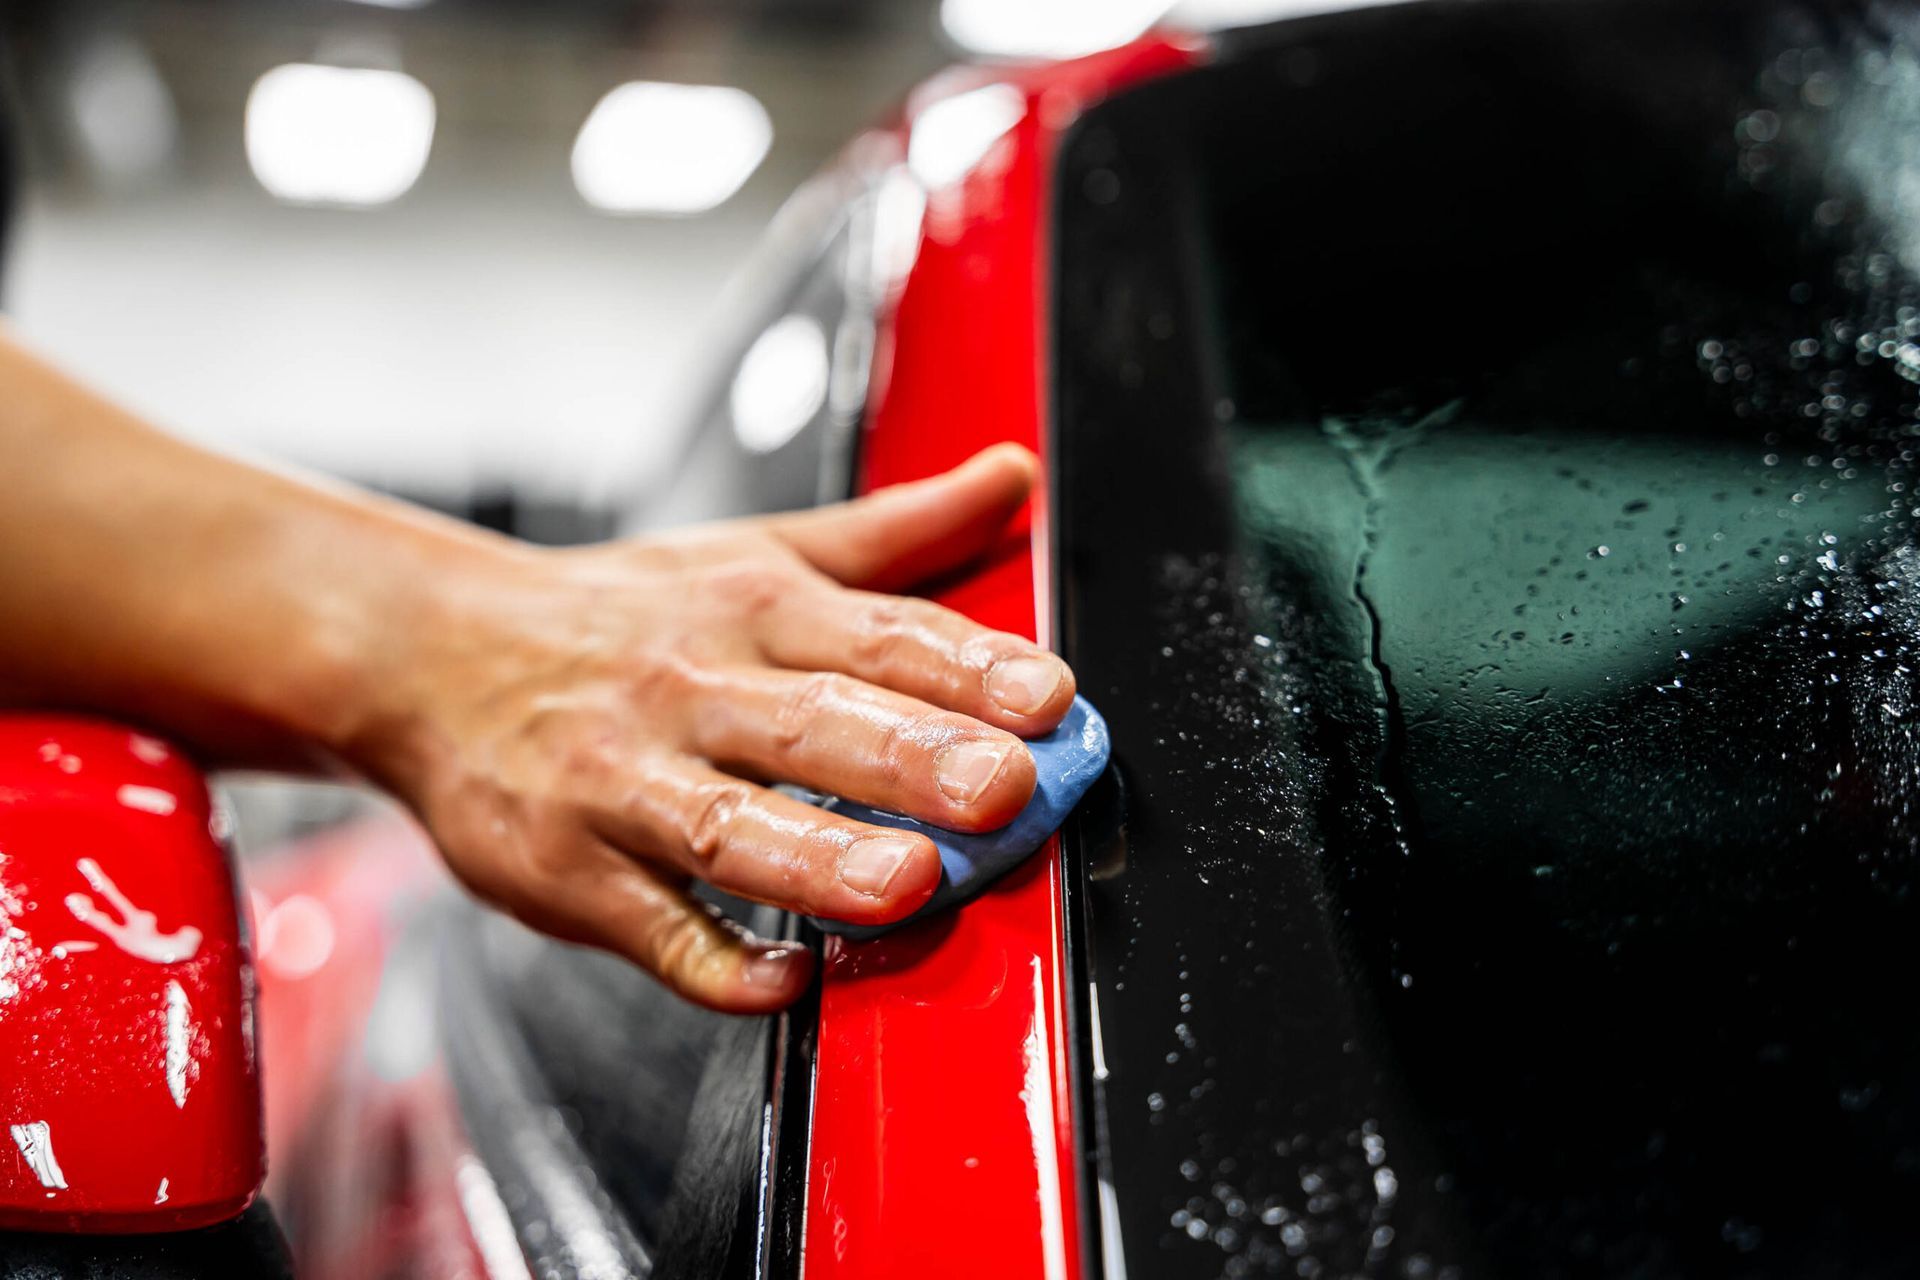
Once we have rinsed these products off the vehicle, we’ll begin our hand wash. We always utilize the three-bucket method to avoid introducing any light scratches or swirl marks to the paint. Since we have clean paint, we can safely clay bar this 911 to remove any remaining, embedded contaminants. To finish out this wash, we’ll use a BLO Car Dryer to touchlessly dry the car.
Step 2: Ceramic Window Tint
Now that this 911 is clean and decontaminated, our expert tint installer will begin his application of our Sides and Rear Ceramic Tint Package. This is our most complete tint package and comprehensively protects both the interior of your vehicle and your skin. Ceramic tint has superior rejection of UV rays and heat, keeping your interior cool and protecting it from UV damage.
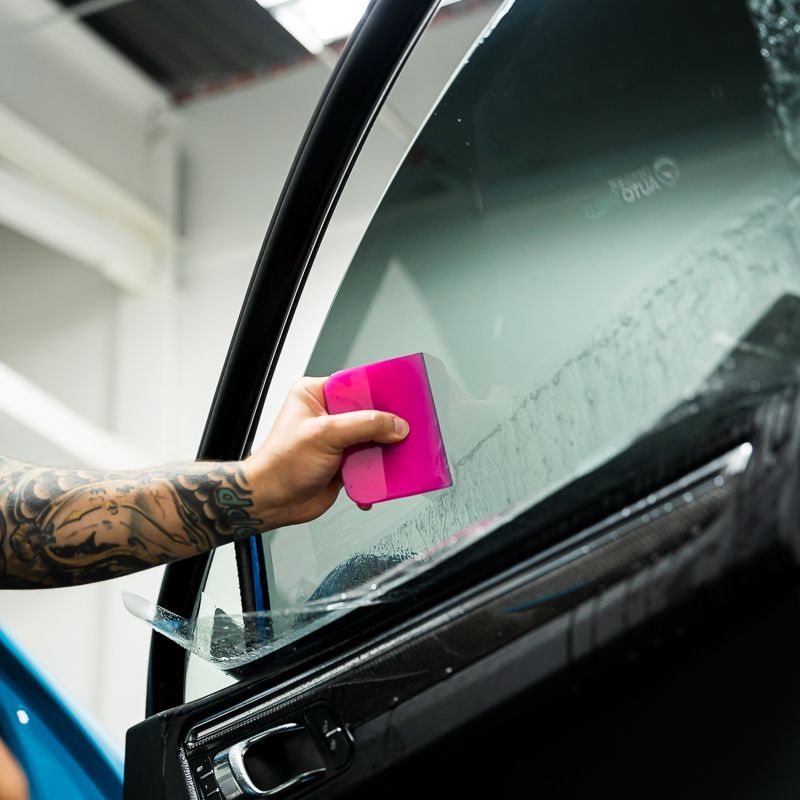
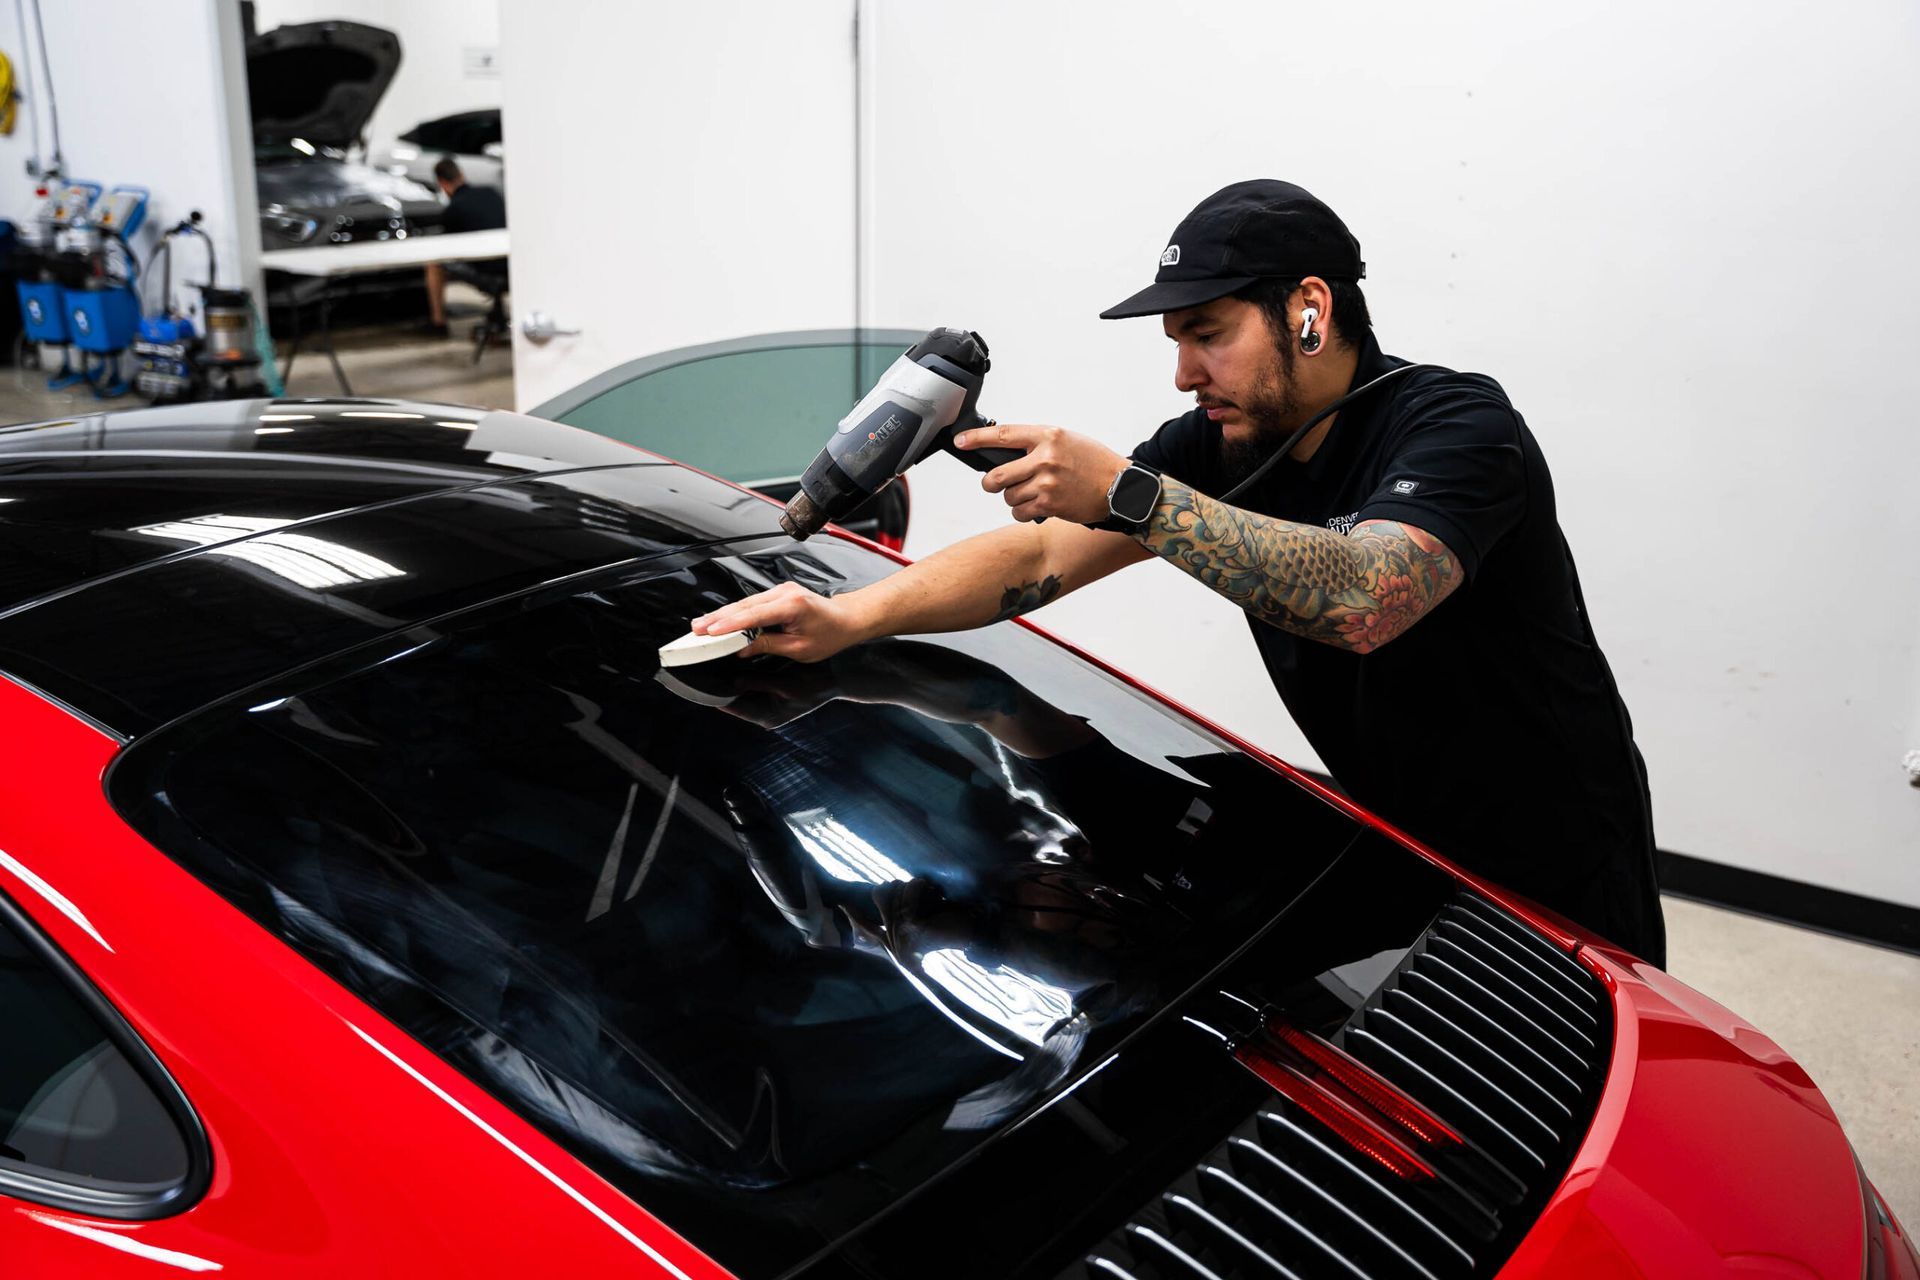
Here at DAS, we use a specialized computer software and a plotter to design and print tint patterns specifically for each window. Once the film is printed, we lay the tint on the outside of the window and use a heat gun to precisely shrink it to the size of the window, ensuring a seamless application.
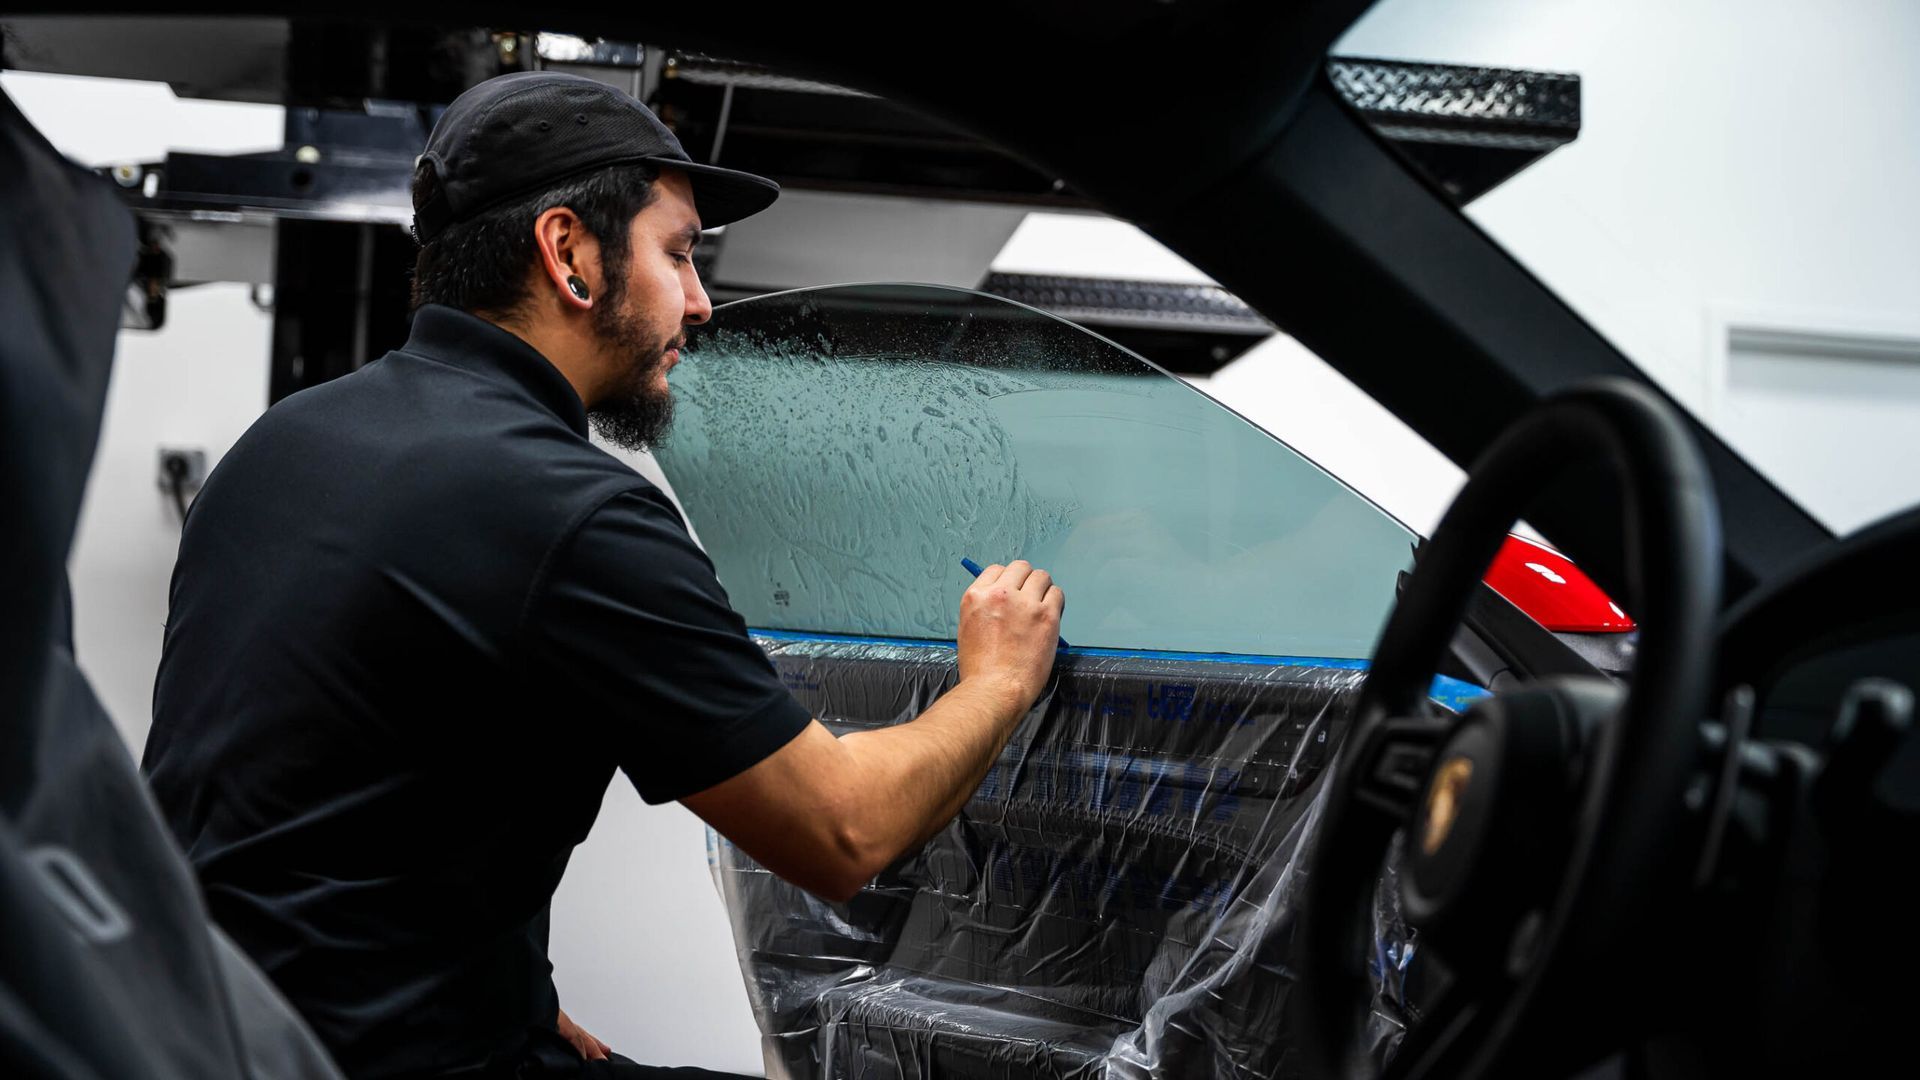
After the tint is shrunk to the correct size, spray the inside of the window with a slip solution before laying the tint on the window. Using a squeegee, the slip solution is pushed out from underneath the film, allowing it to adhere to the glass.
Step 3: Paint Protection Film
With interior protection out of the way, we can move on to exterior protection with our Driver’s Package Paint Protection Film. This package is an excellent choice for enthusiast-driven cars as it provides a layer of protection on all of the high-impact areas on your vehicle. This is especially the case for a Porsche 911 since they tend to have very wide rear fenders which are susceptible to paint damage.
Paint Protection Film (Clear Bra) is a highly effective solution for protecting your car’s paint from a variety of hazards such as road debris, bird droppings, rock chips and swirls. PPF has a high level of scratch resistance so it can also protect your vehicle from light scratches and swirls. Clear bra also has a lifespan of 5-10 years if maintained correctly, so it is an excellent long-term investment in your vehicle.
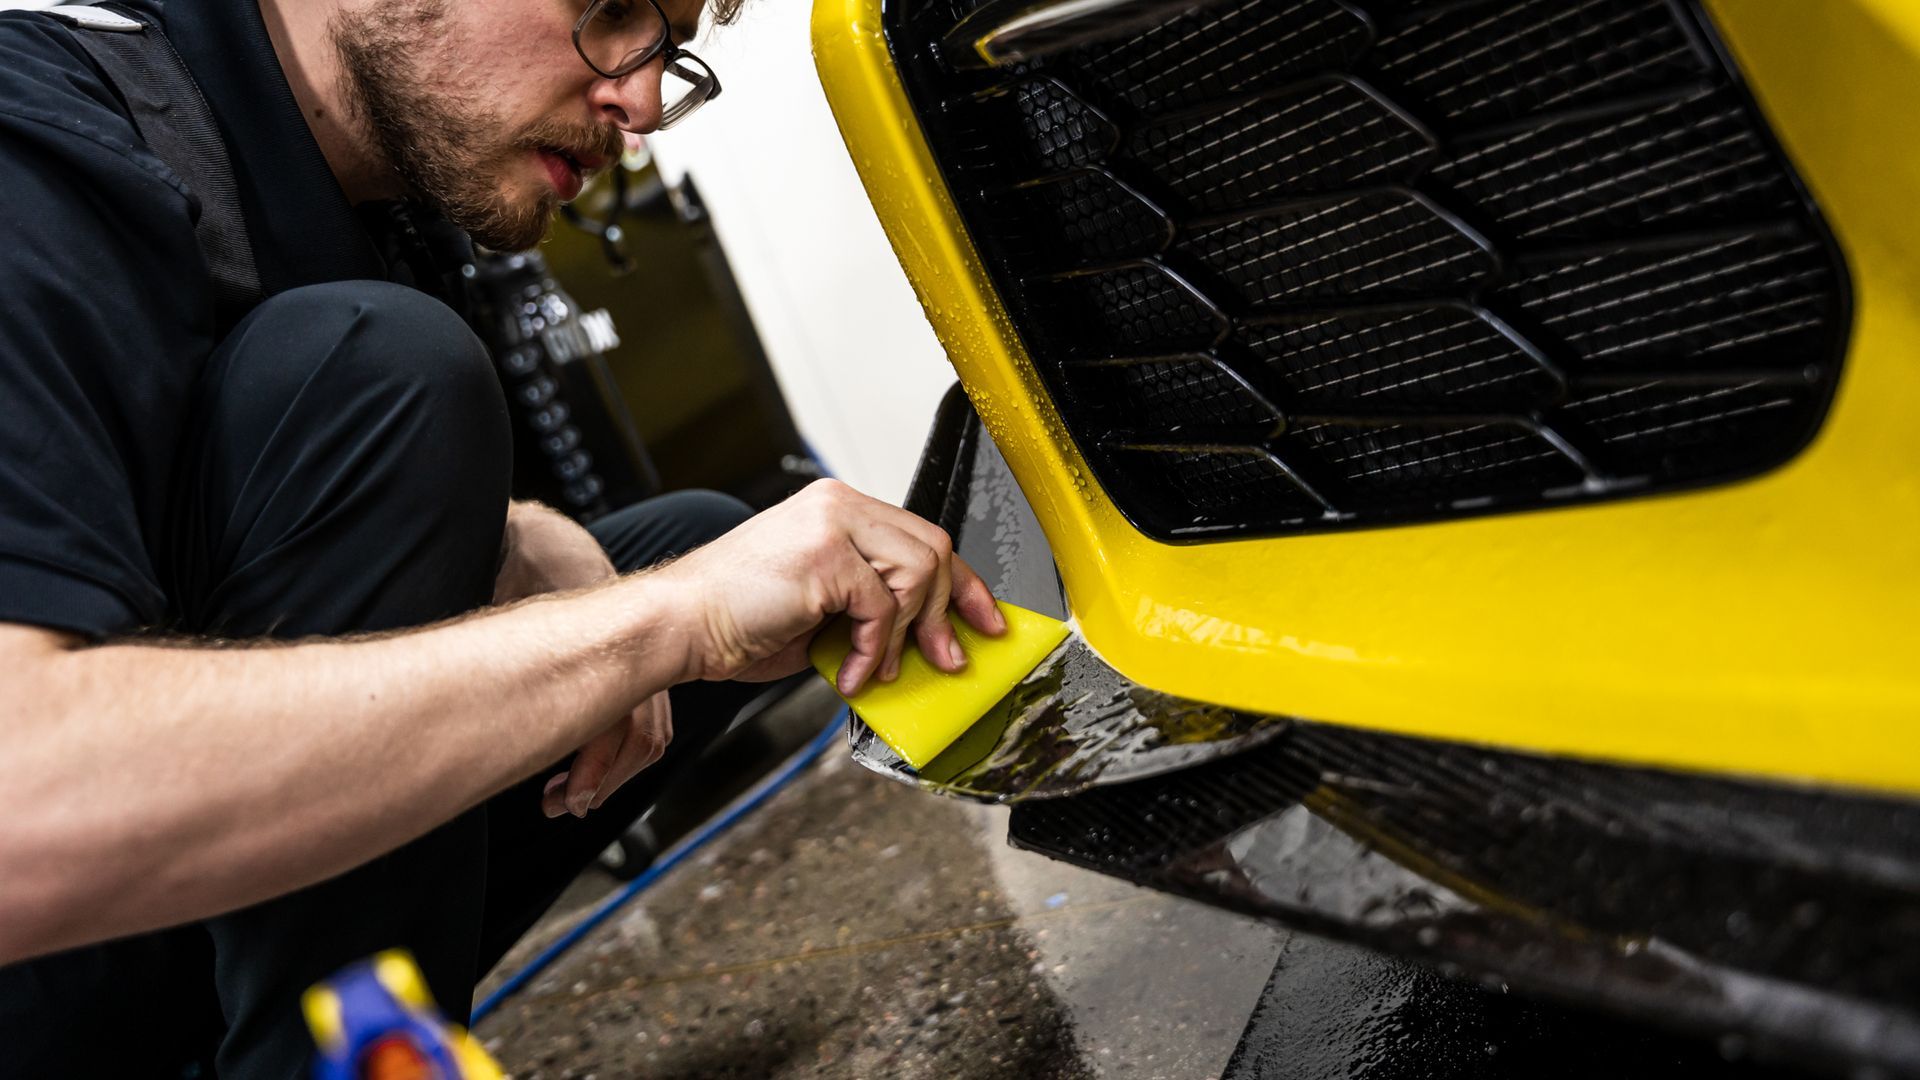
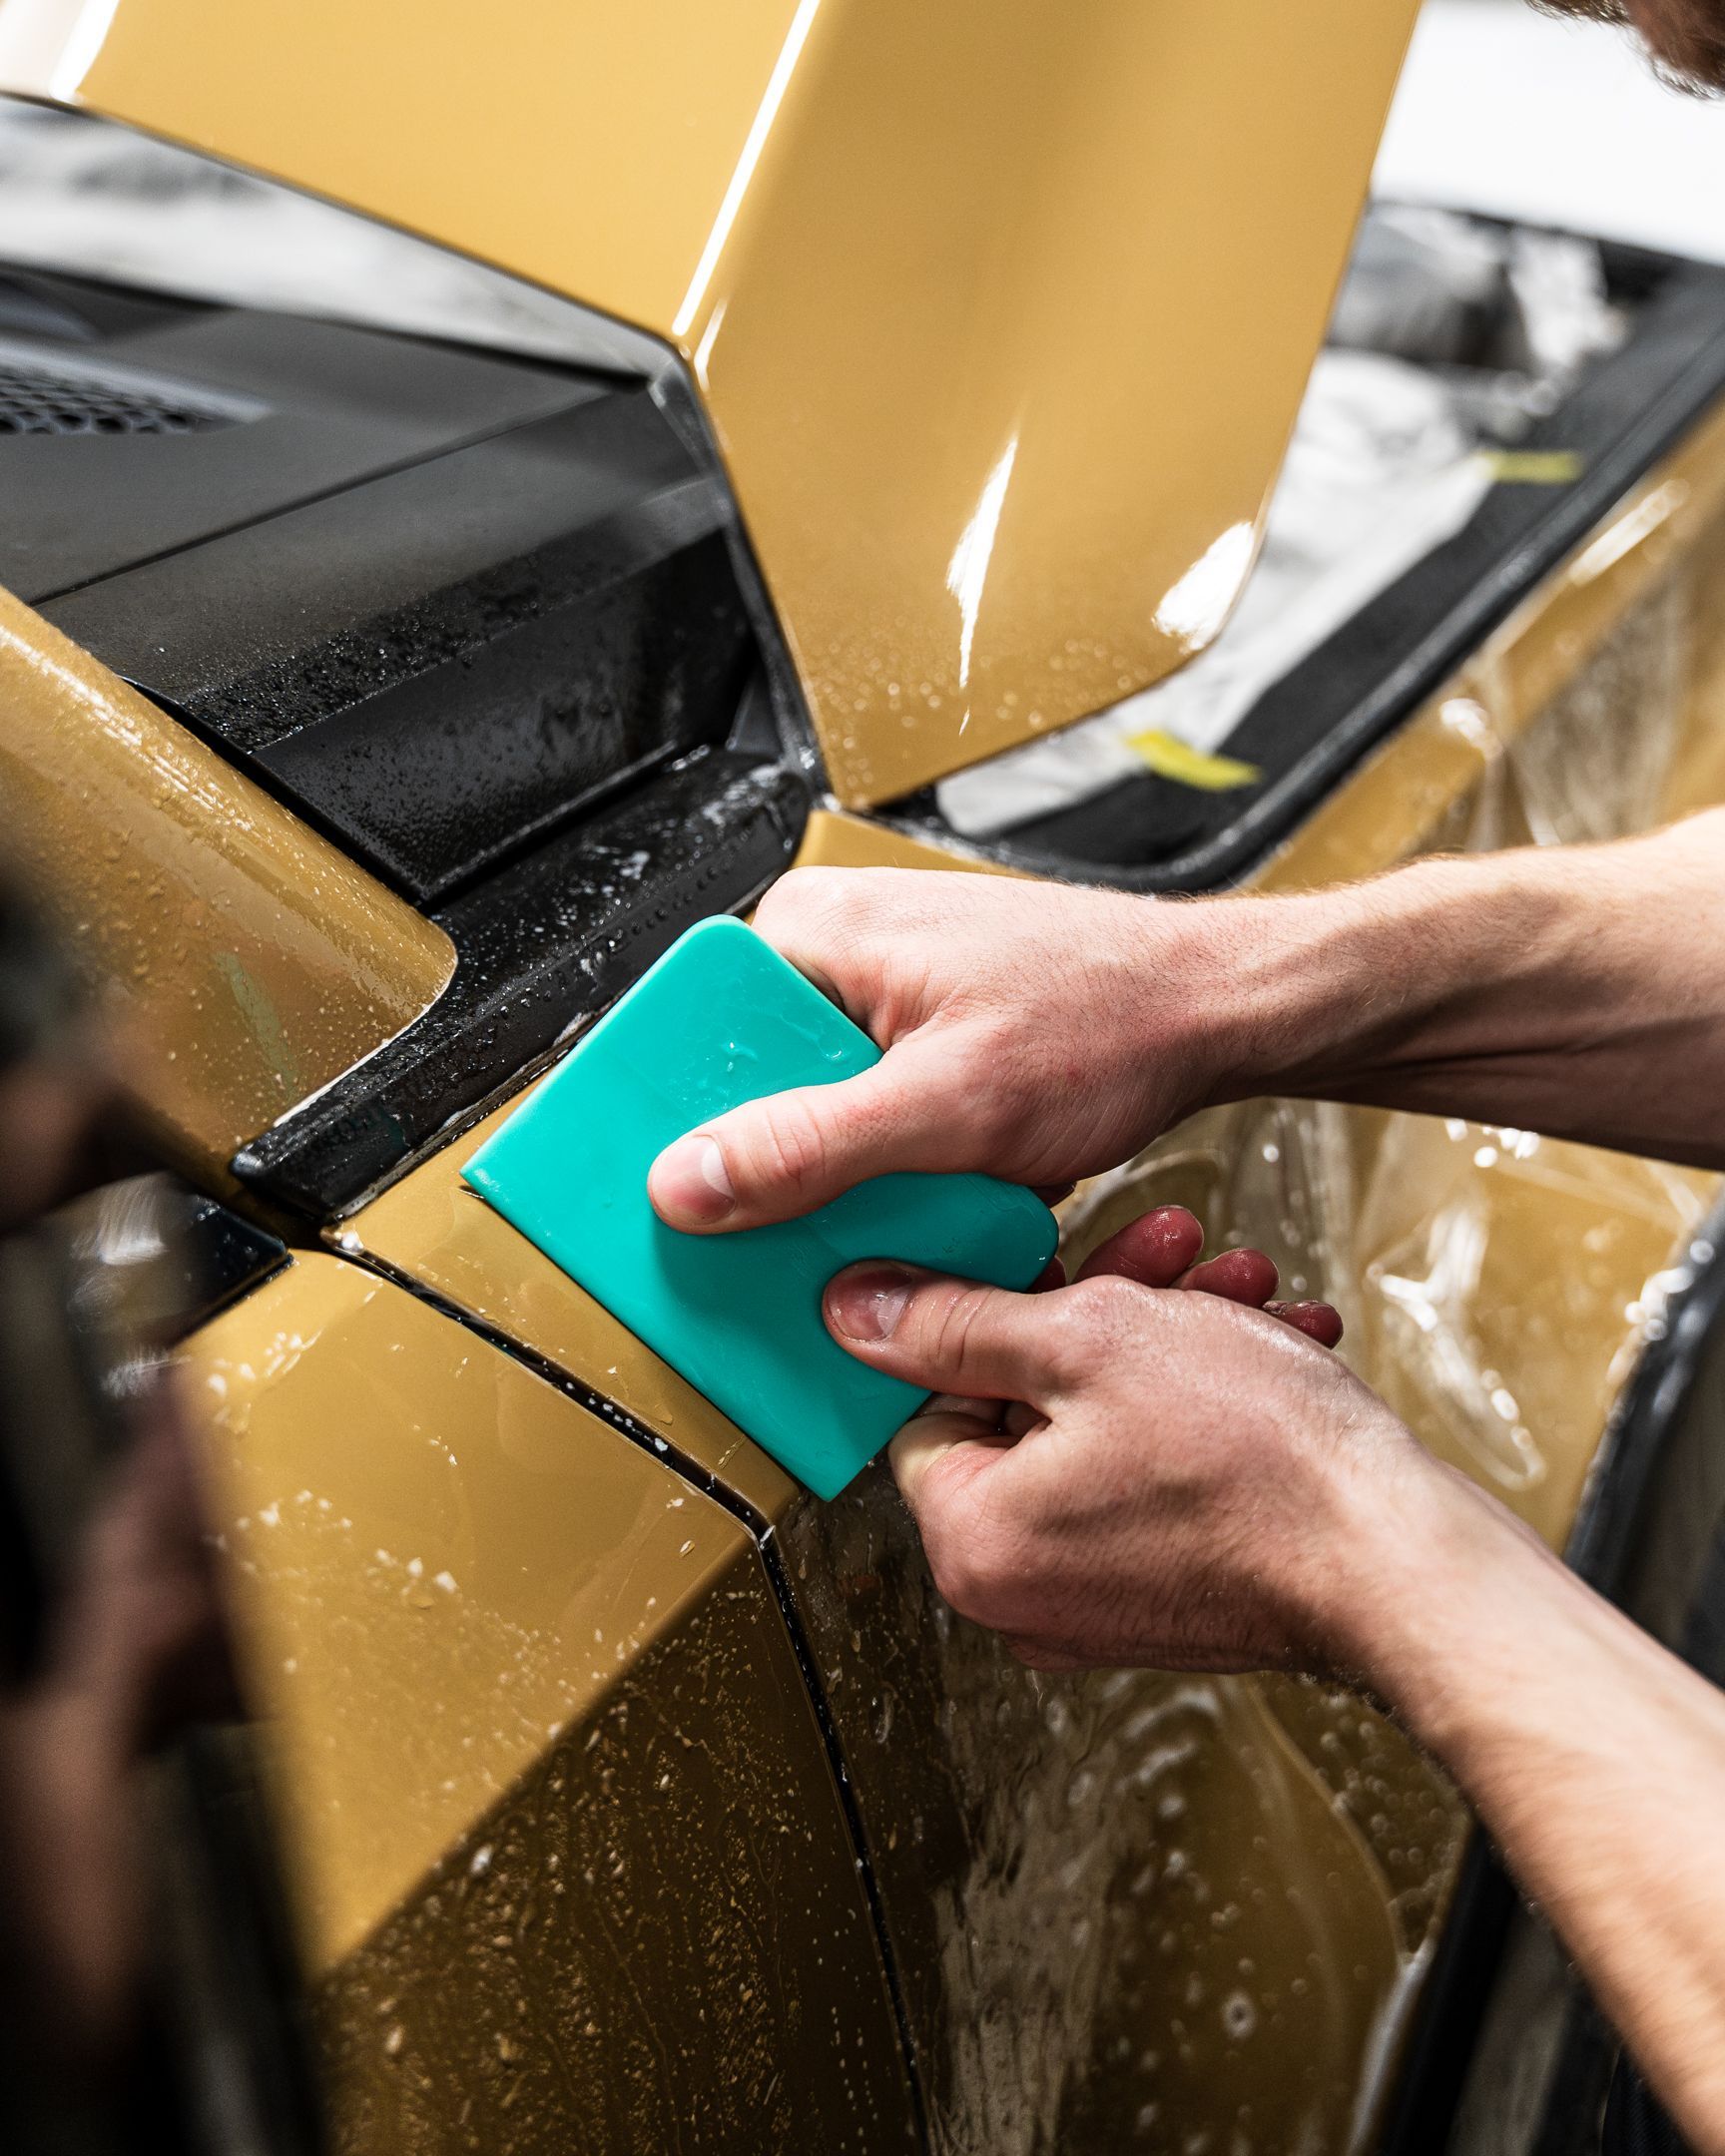
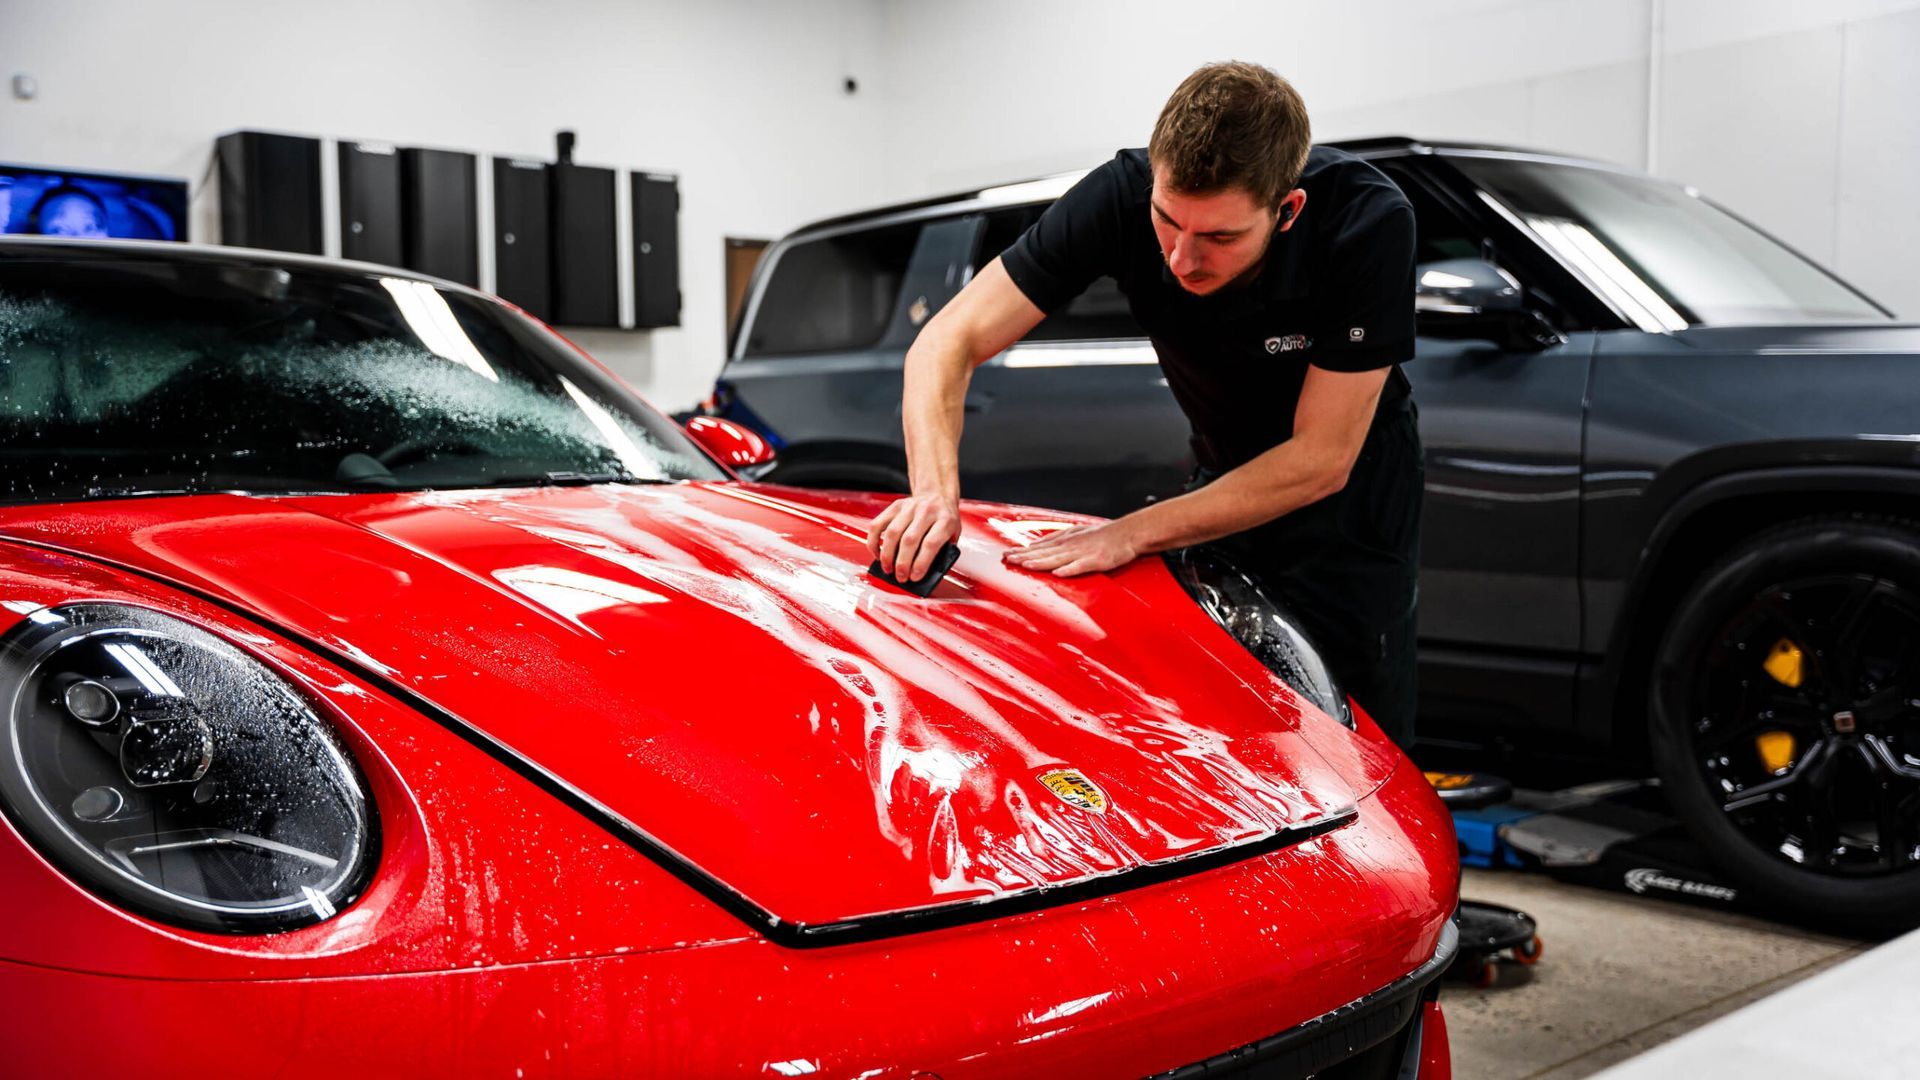
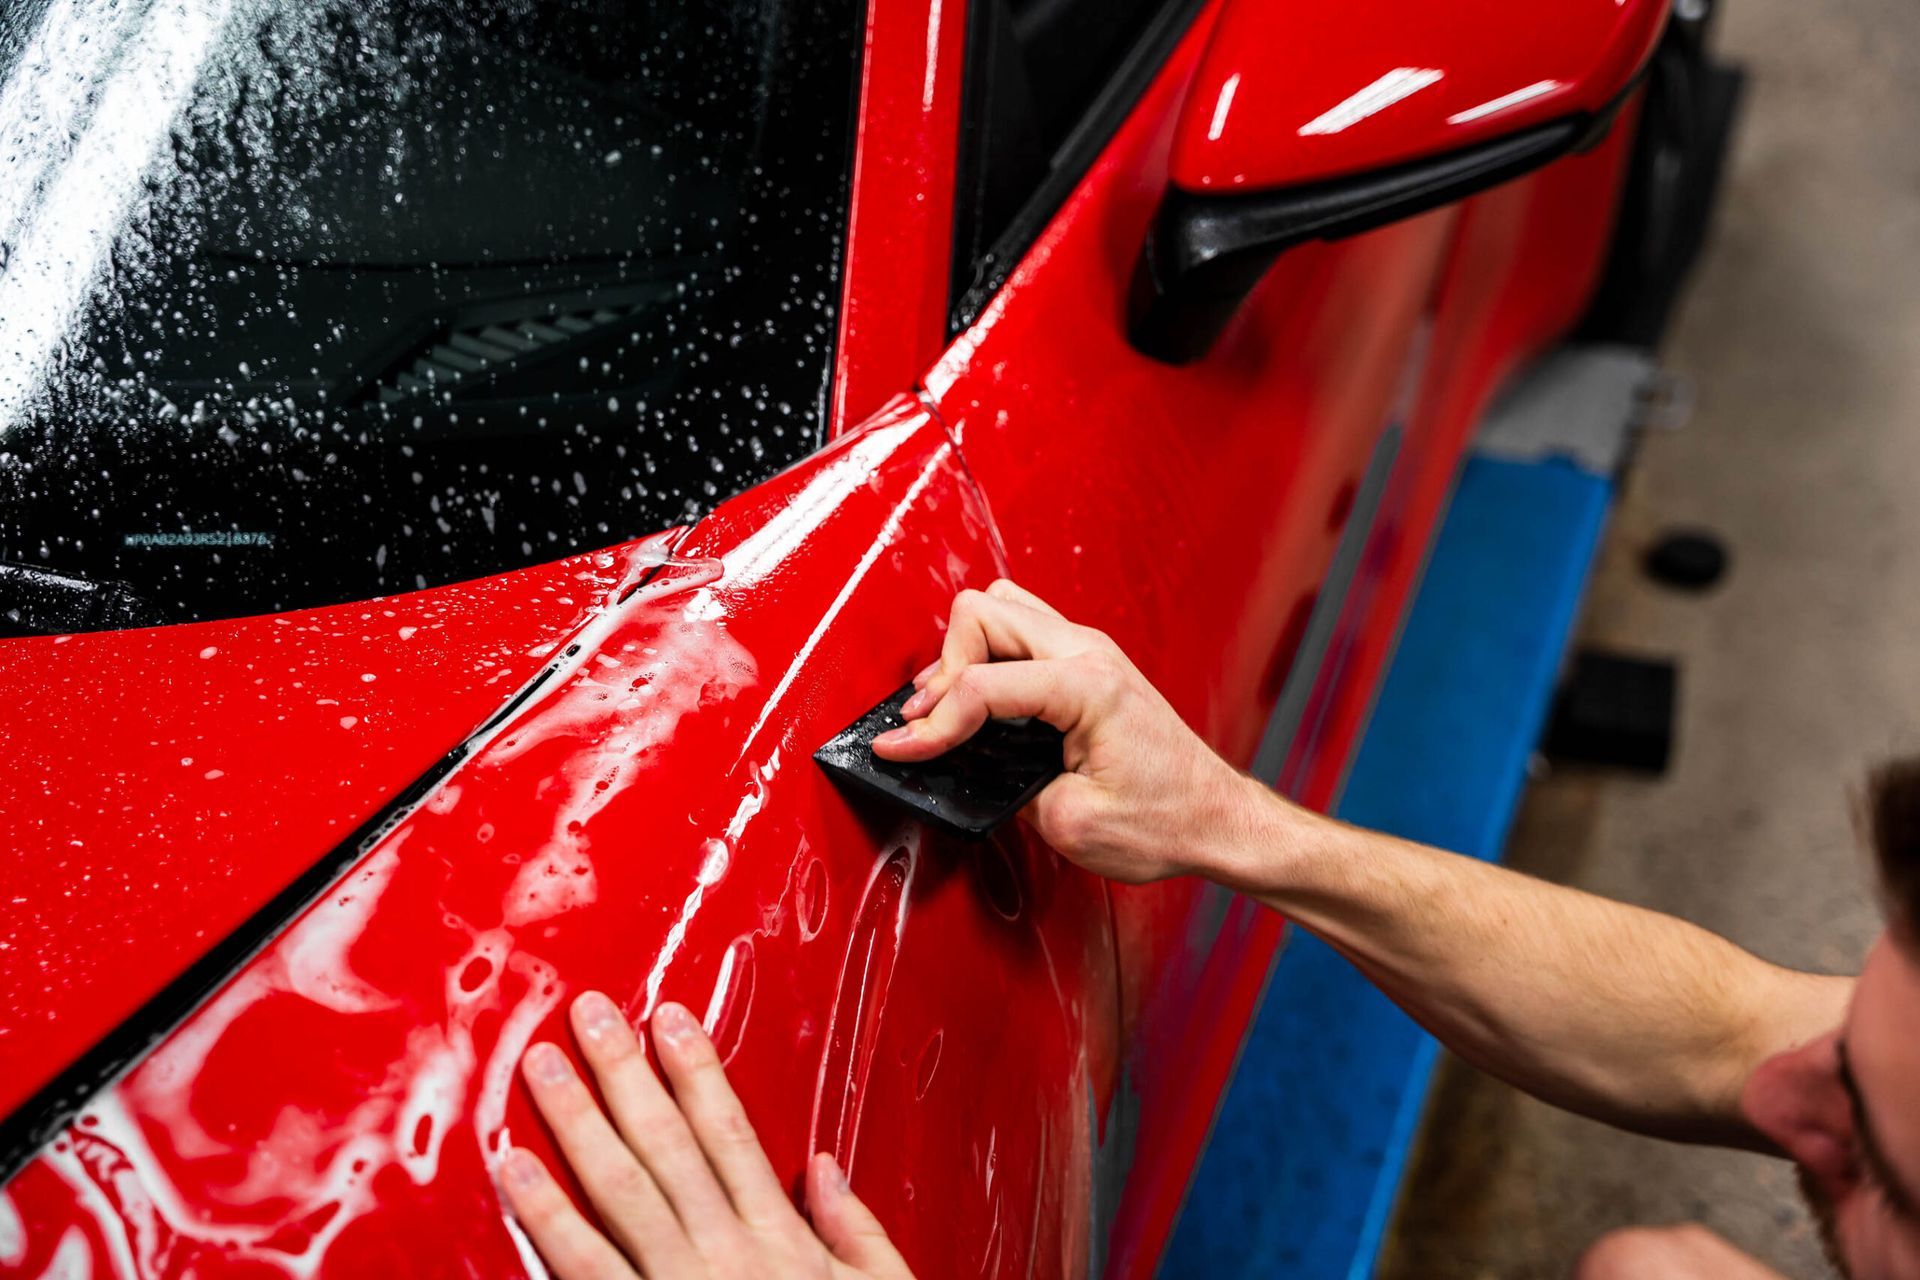
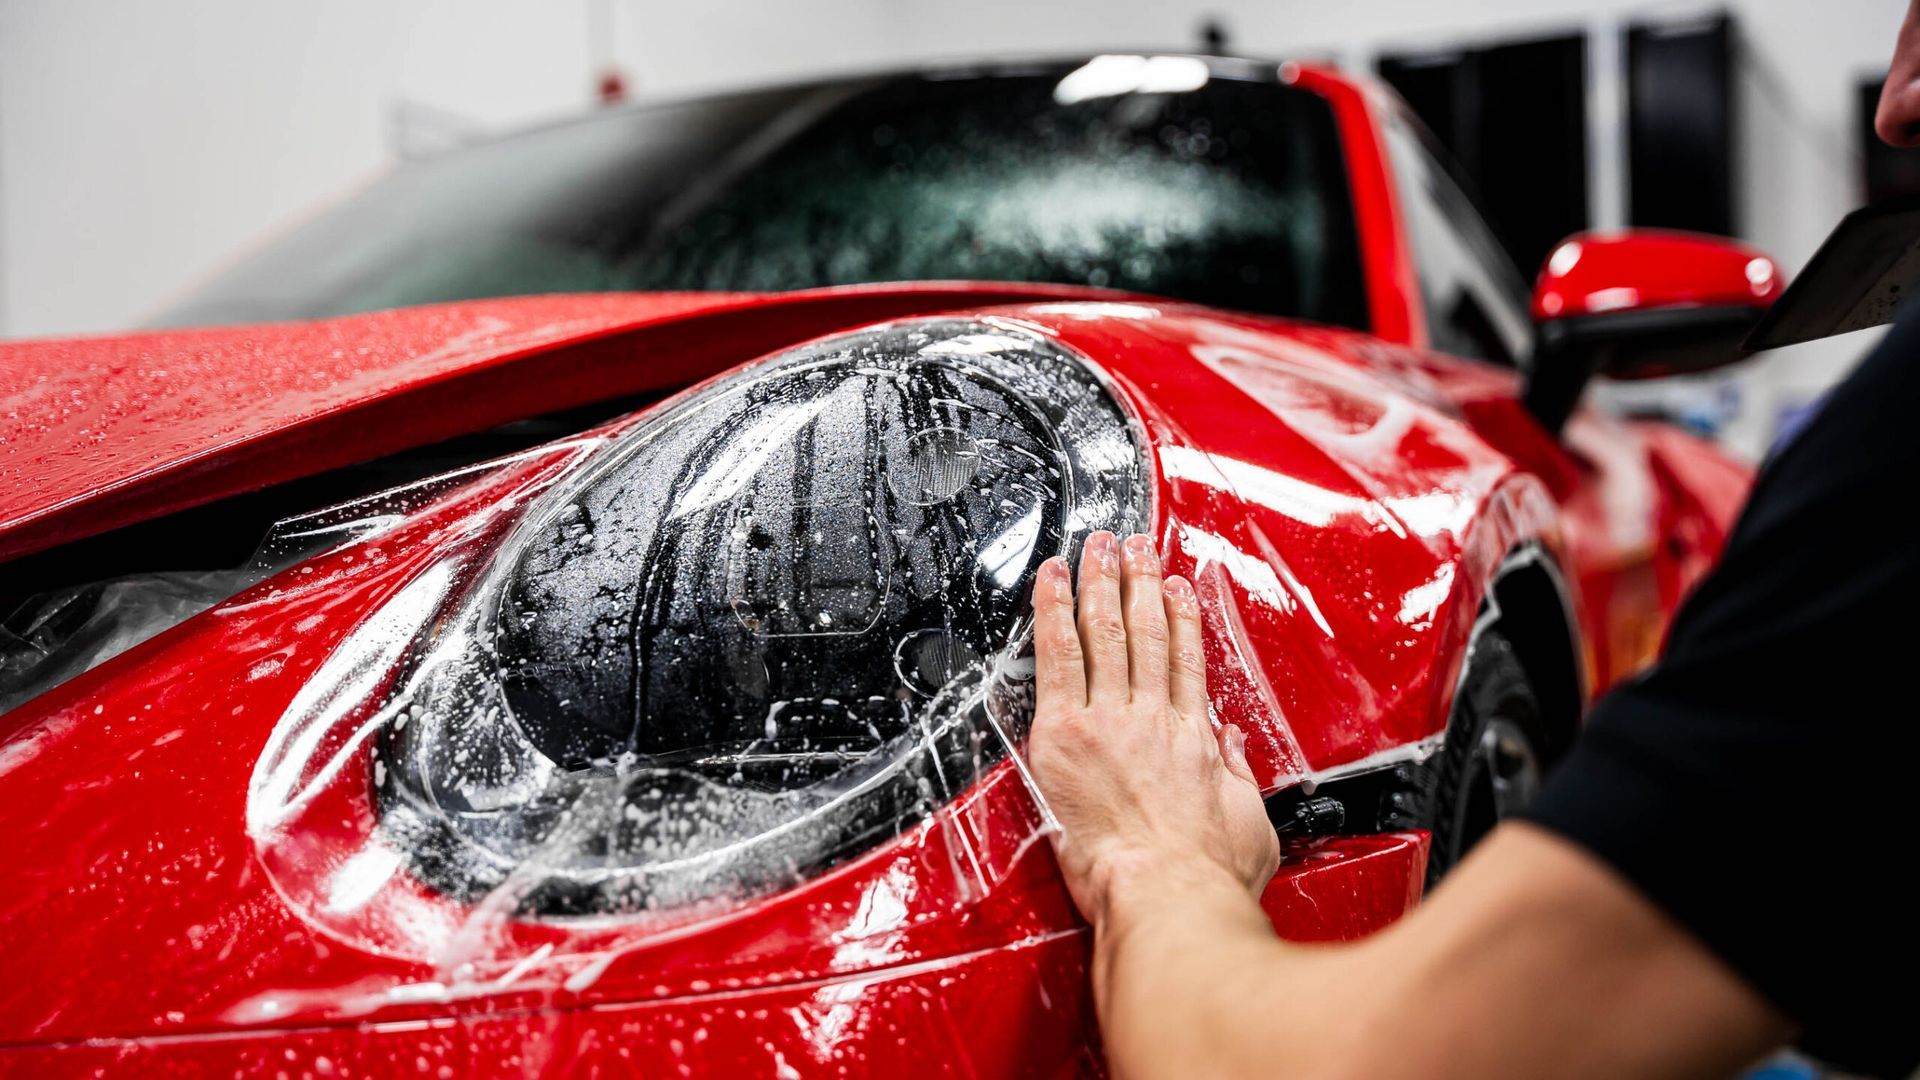
The installation process for PPF is very similar to that of Ceramic Tint but with a few key differences. To start, we’ll print out film patterns designed specifically for each body panel. Then, we’ll spray a slip solution onto the panel and lay the clear bra down.
Here is where this process differs greatly from tinting. Since body panels generally have much more curvature and detail than a window, the PPF installers must line the film up perfectly with the edges of the panel. They also need to use a squeegee to set ‘anchor points’ so that the film does not slip out of place while they are working. From here, they squeegee the slip solution out from underneath the film. It’s also important that they wrap each edge around the body lines for a seamless installation.
Once we’re done installing, the car will sit for 12-24 hours to allow any moisture to dry and reveal any imperfections that we need to fix. Once we are completely happy with a perfect installation, this 911 will land in the hands of our professional detailers for a ceramic coating.
Step 4: Ceramic Coating
Now for this 911’s final service: Paint Correction and Ceramic Coating. This car is receiving our Level 2 Ceramic Coating System. While there are many benefits of ceramic coatings for cars, some of the key advantages are protection from UV rays and chemical damage. Ceramic coatings also introduce hydrophobic properties to your paint, meaning that they repel water. This makes it much easier for car owners to wash their car regularly.
Before we begin applying a ceramic coating, we need to do a paint correction to remove any imperfections from this beautiful Guards Red Paint. Since this is a brand-new car, we will do a single-stage correction. Generally speaking, new cars have some imperfections from transport but are not bad enough to warrant a multi-stage correction.
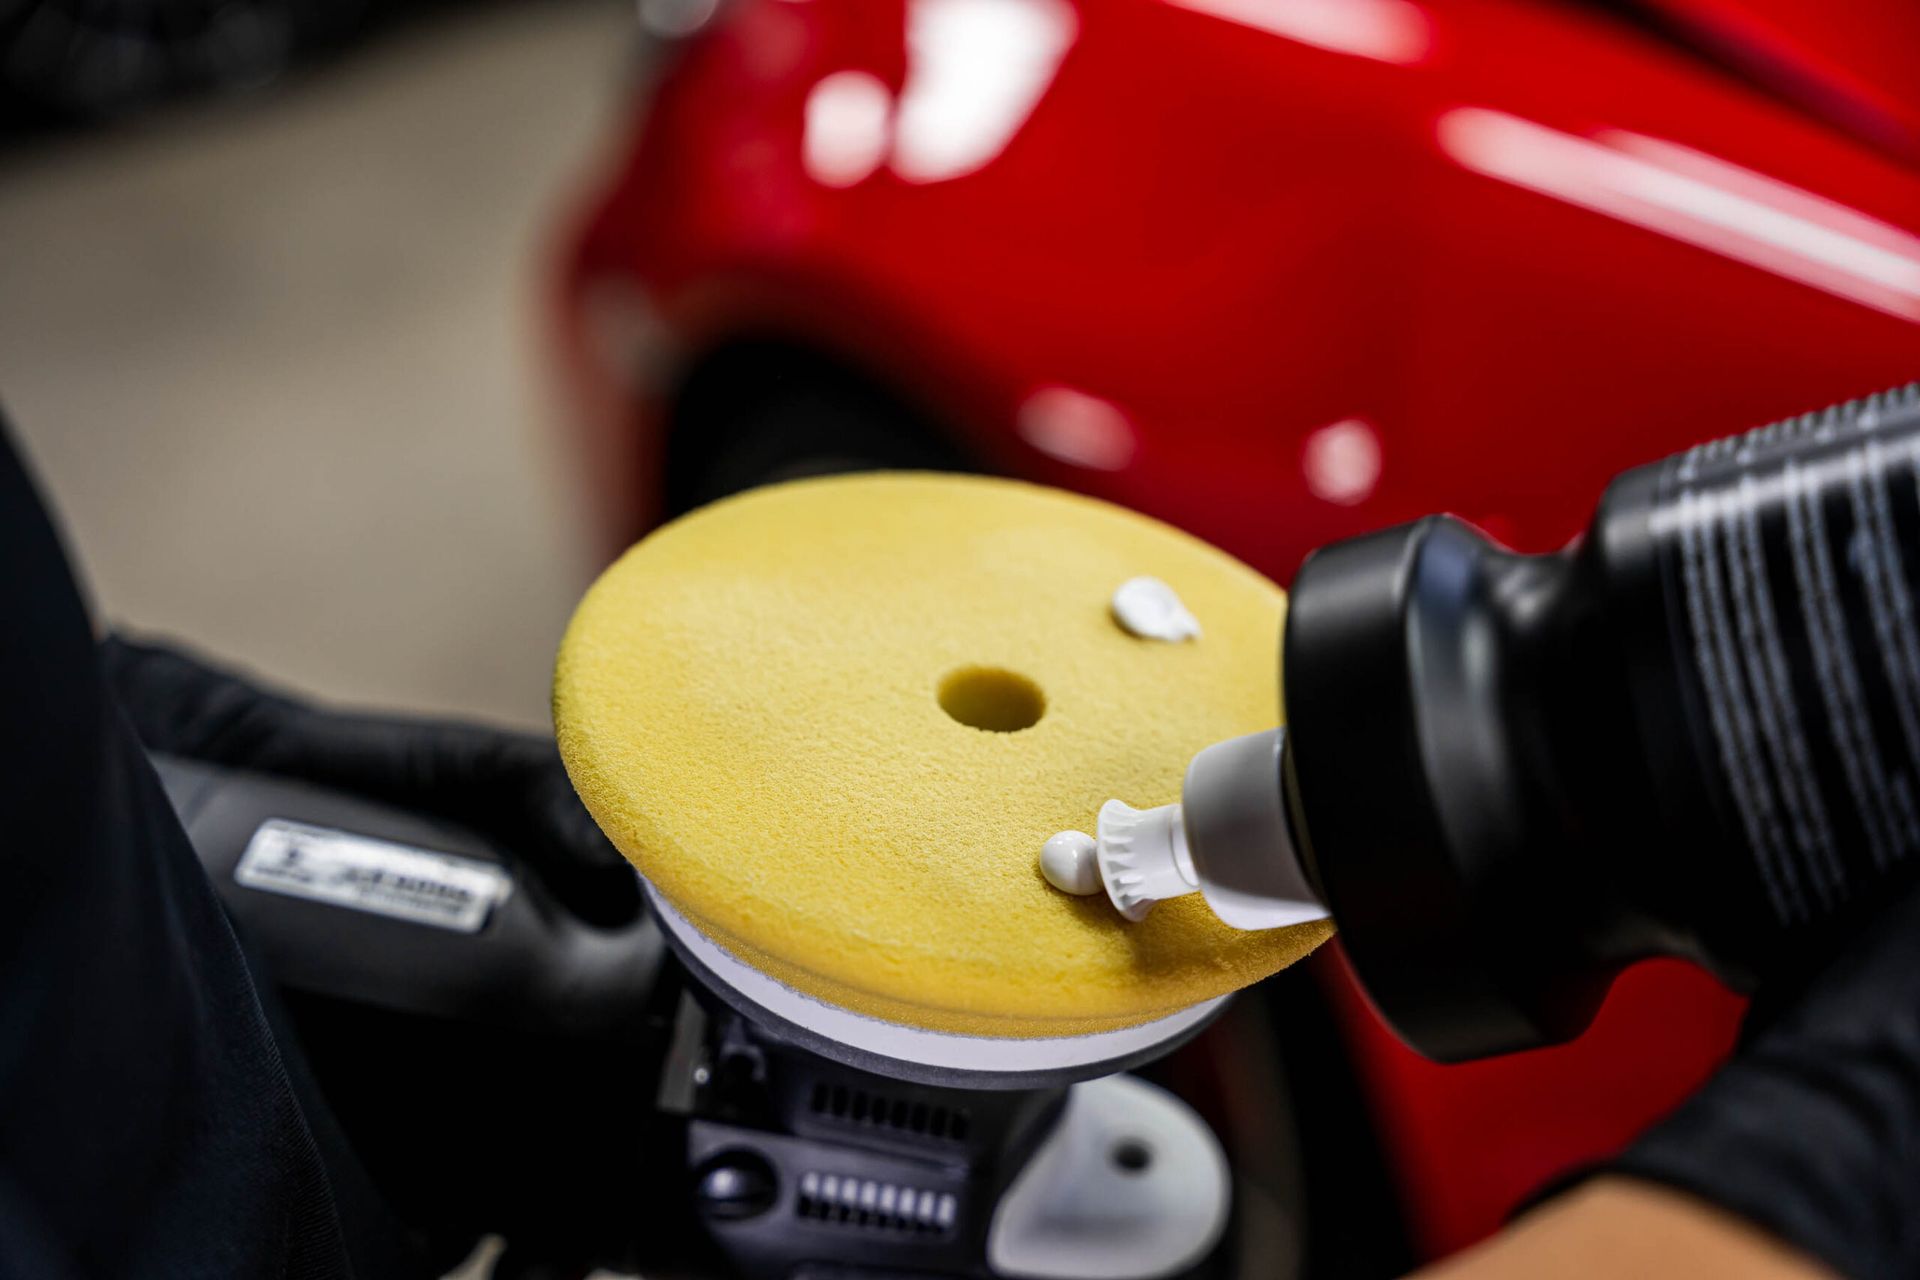
Once the exposed paint is corrected, we will wipe the entire car with Gyeon Q 2 M Prep and Q 2 M Waterspot to remove any remaining lubricants or water spots. This will give the ceramic coating a perfect surface to bond with.
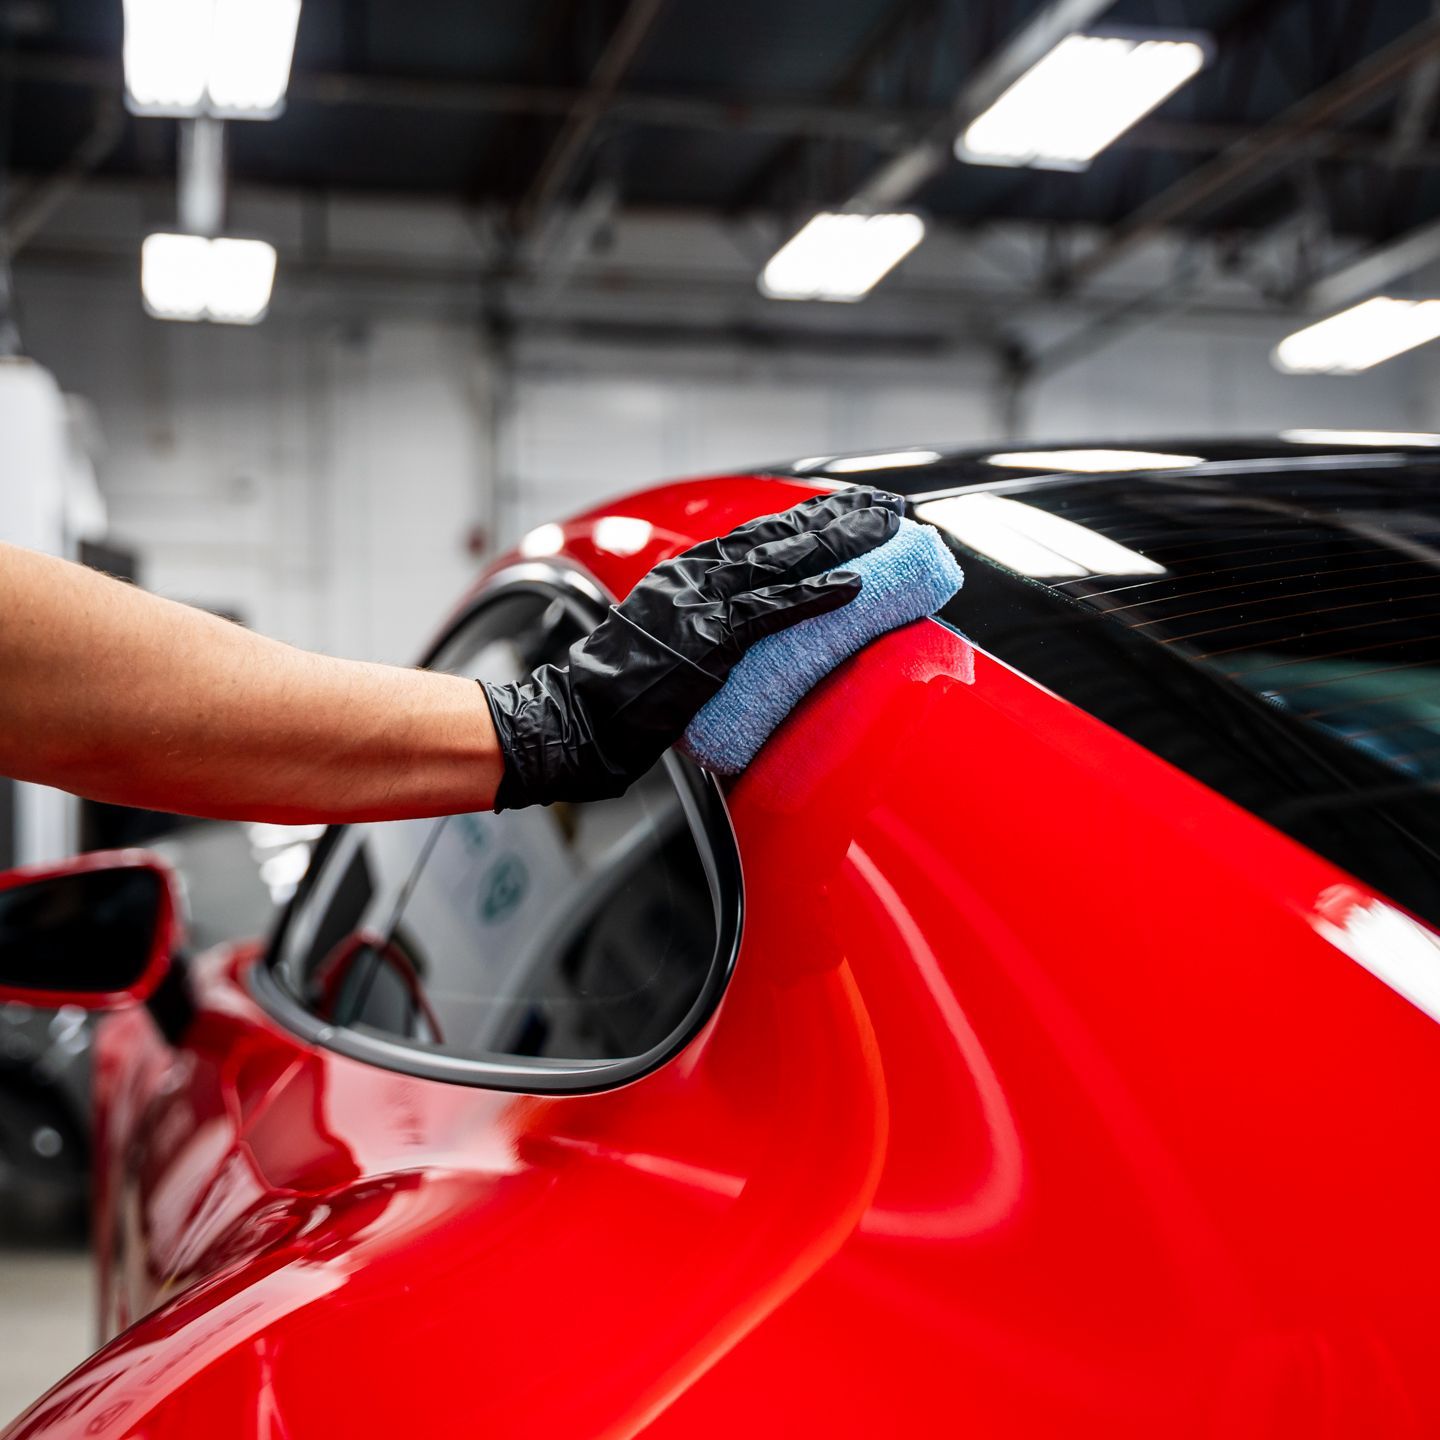
To start the application, we’ll pour the professional-grade ceramic coating onto a specialized microfiber applicator. Our detailers spread the coating onto the car in linear motions, one panel at a time. To remove the excess, we use both a short-fiber and long-fiber towel to ensure we are not leaving any spots of excess coating on the car, commonly known as high spots.
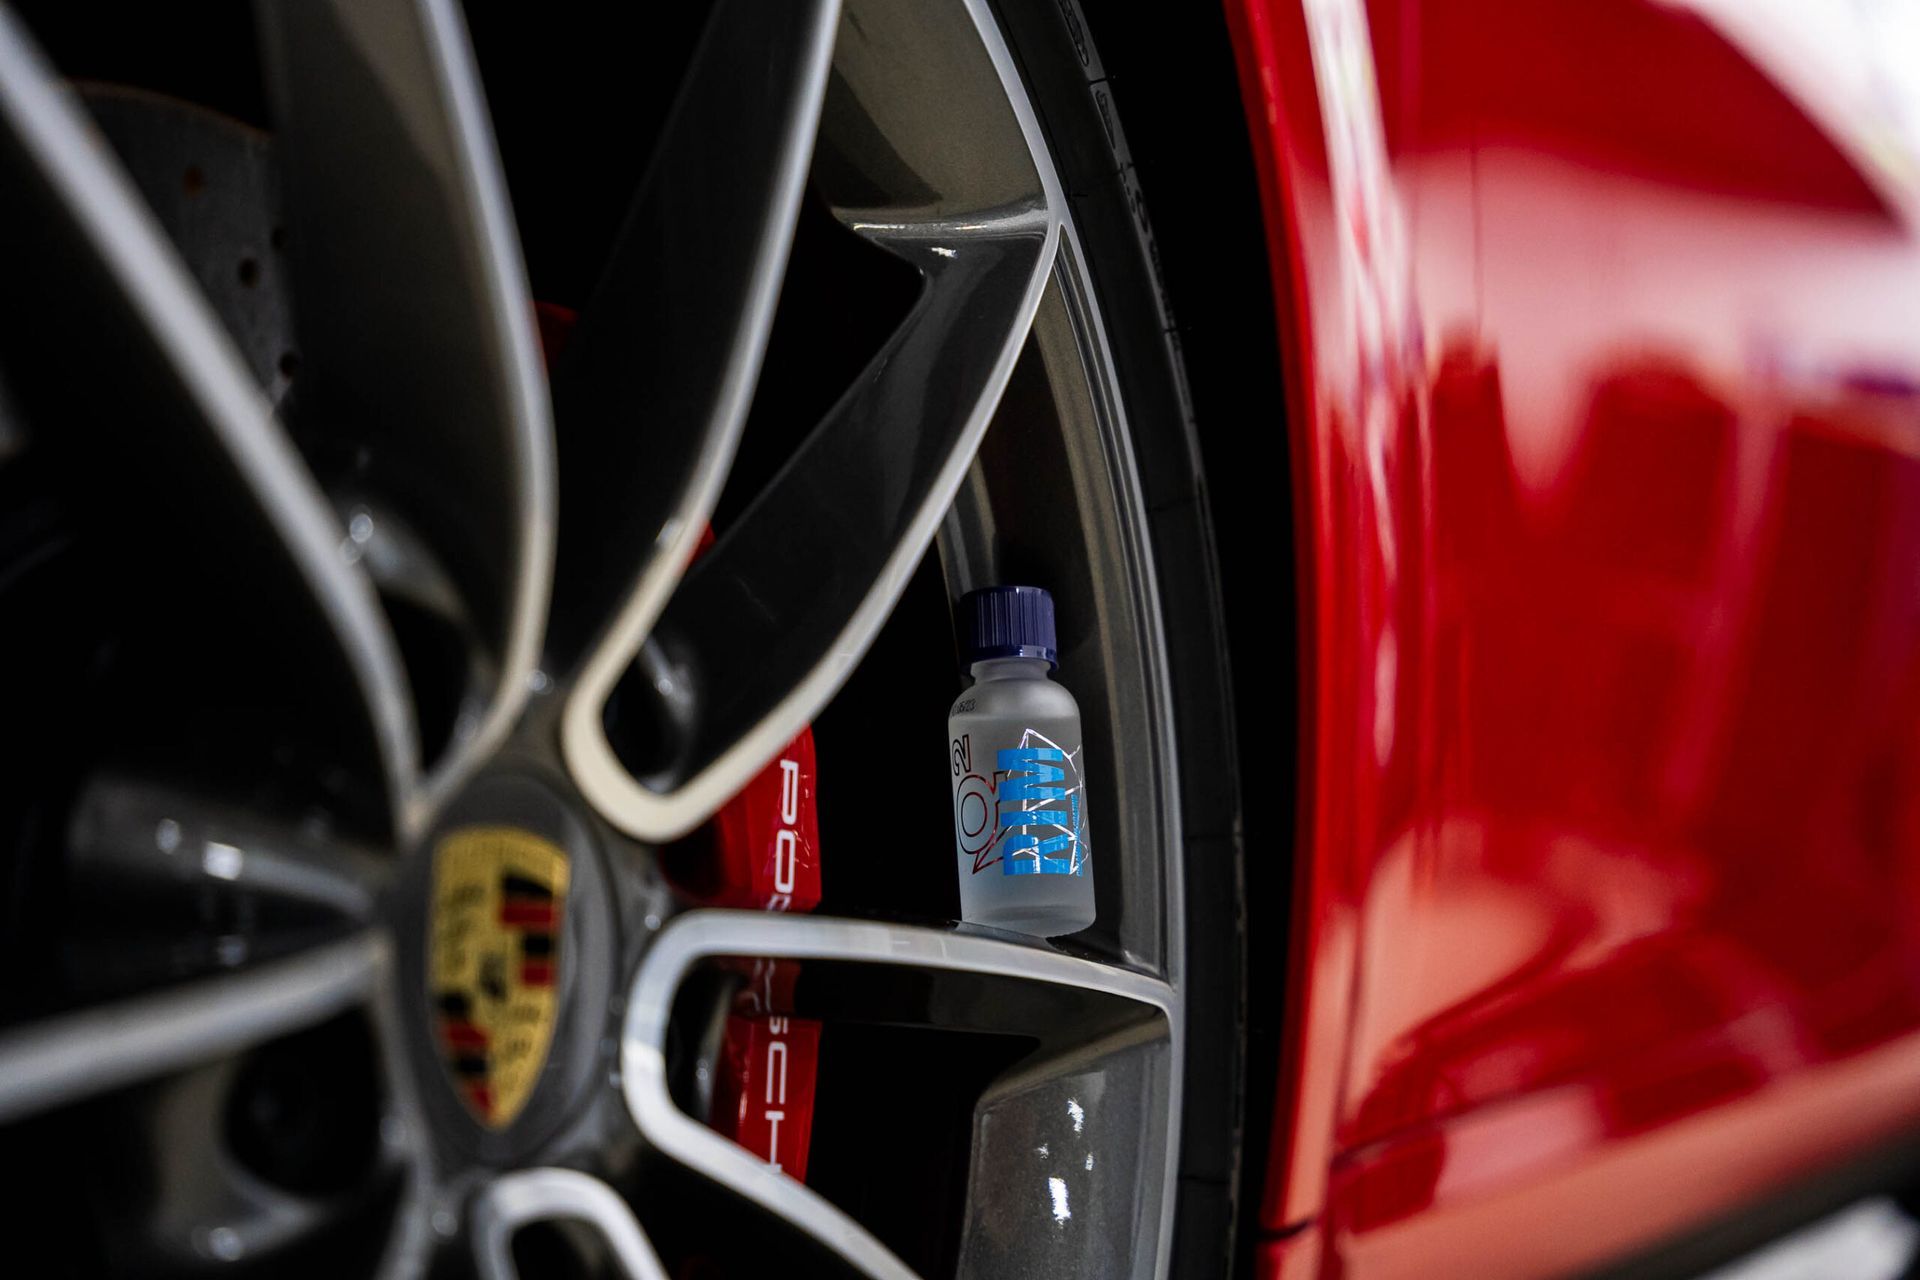
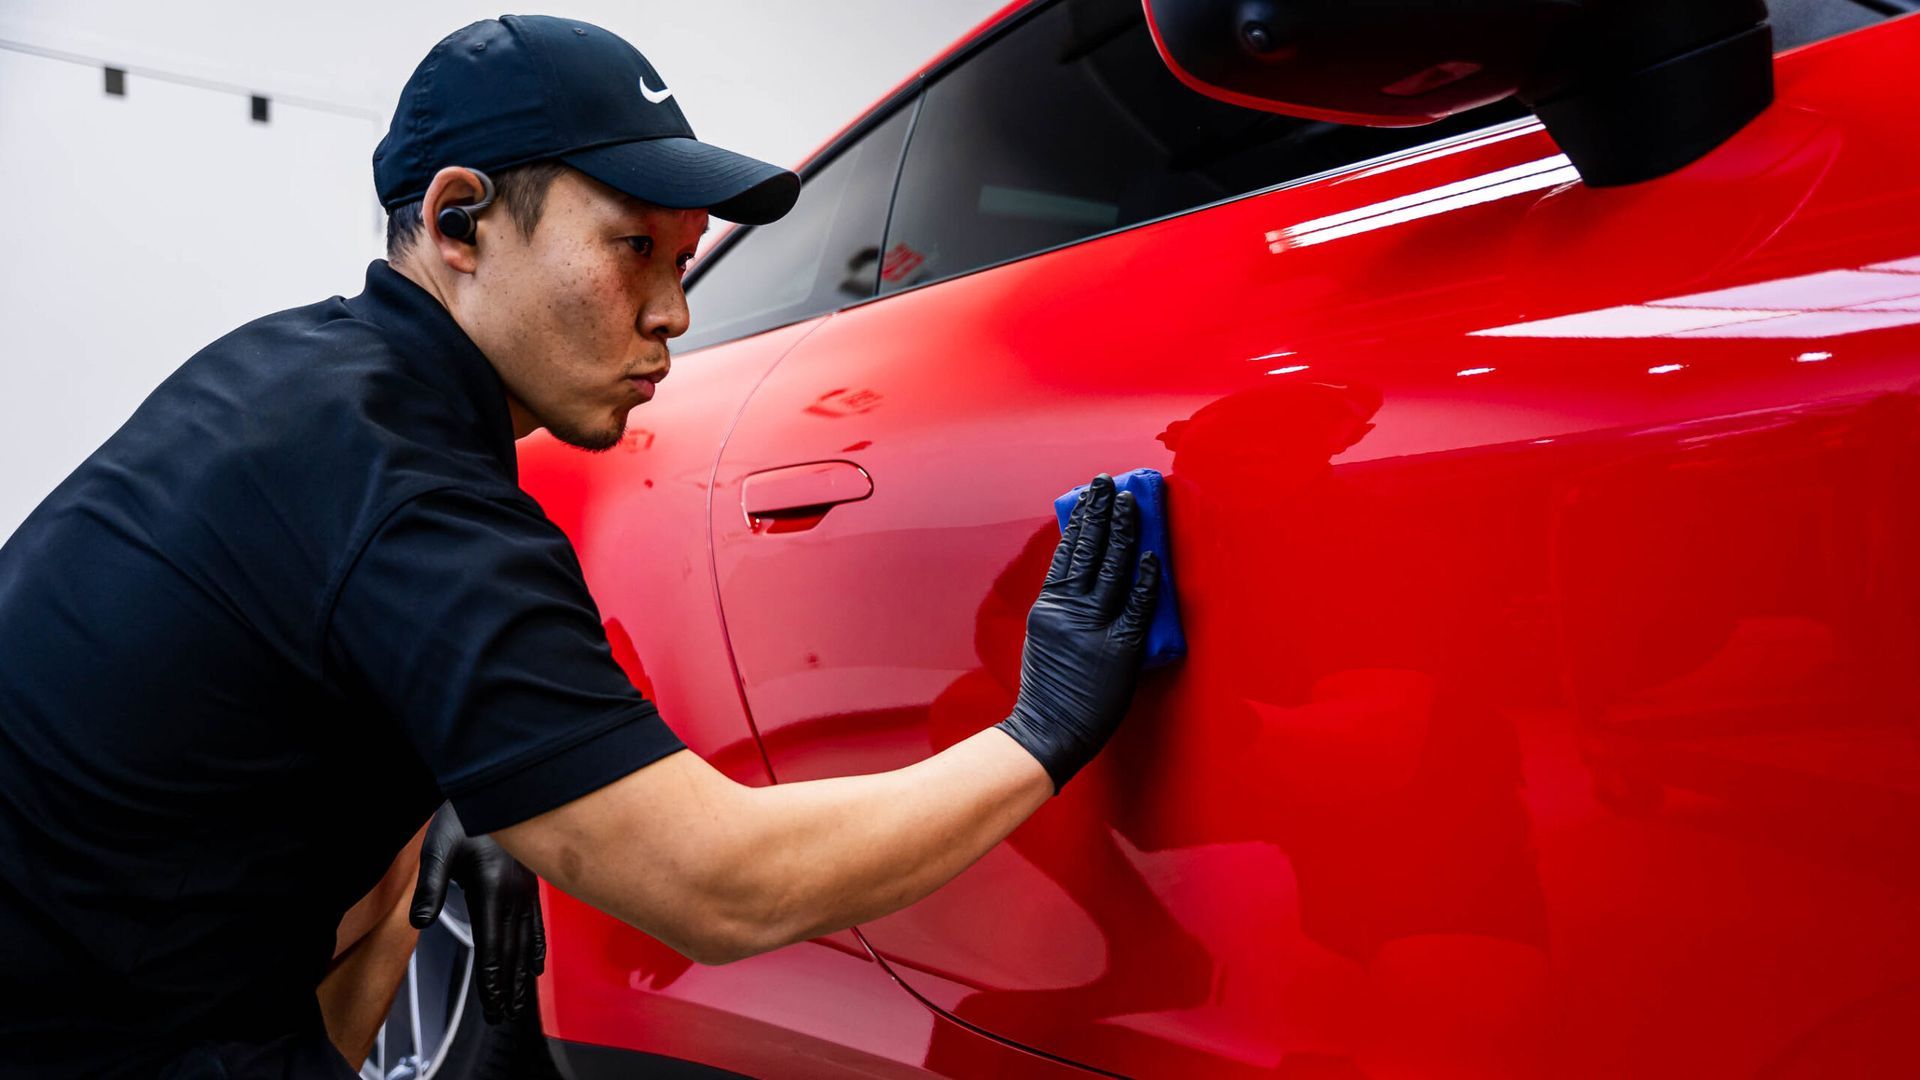
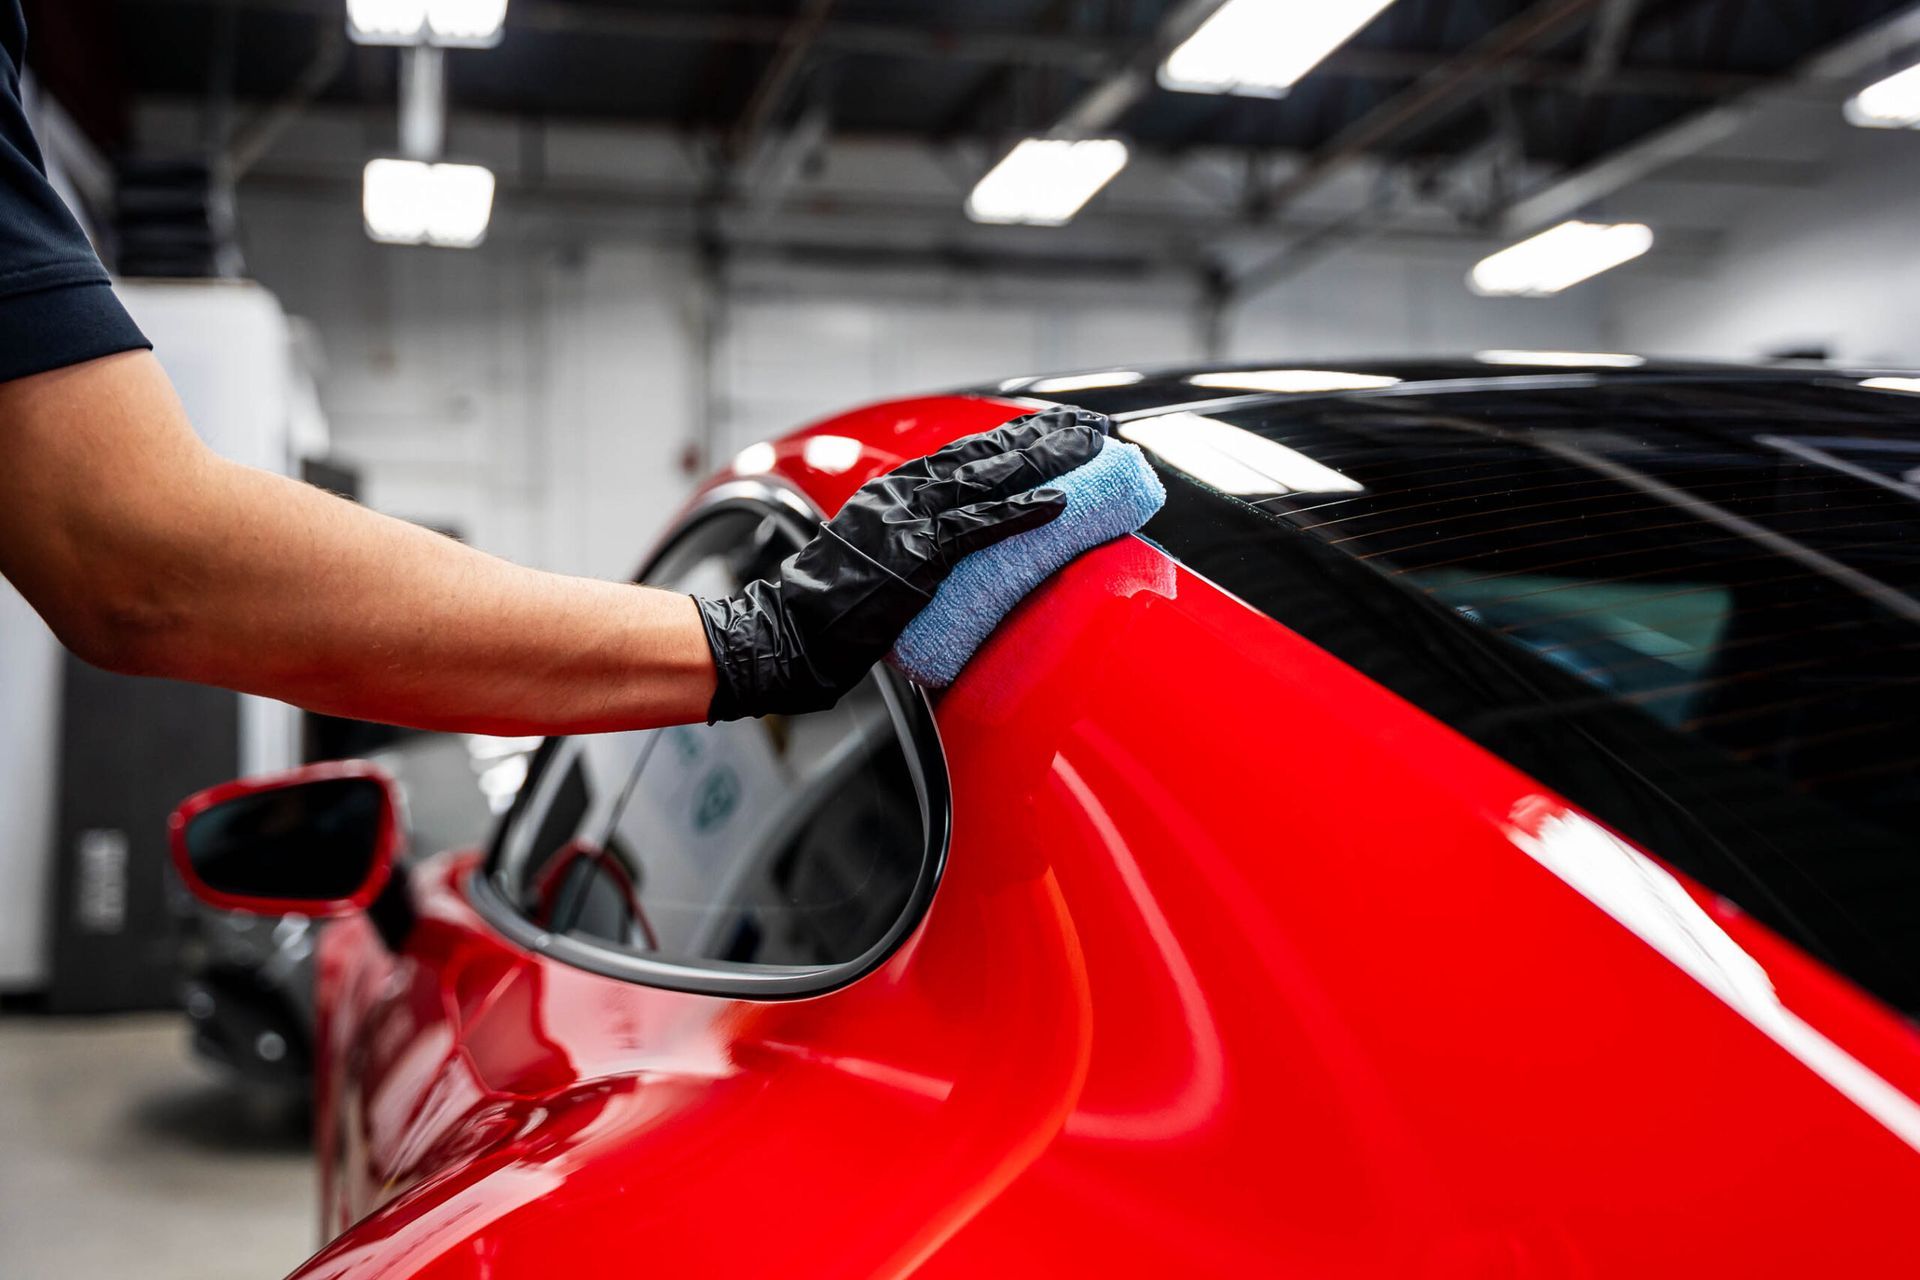
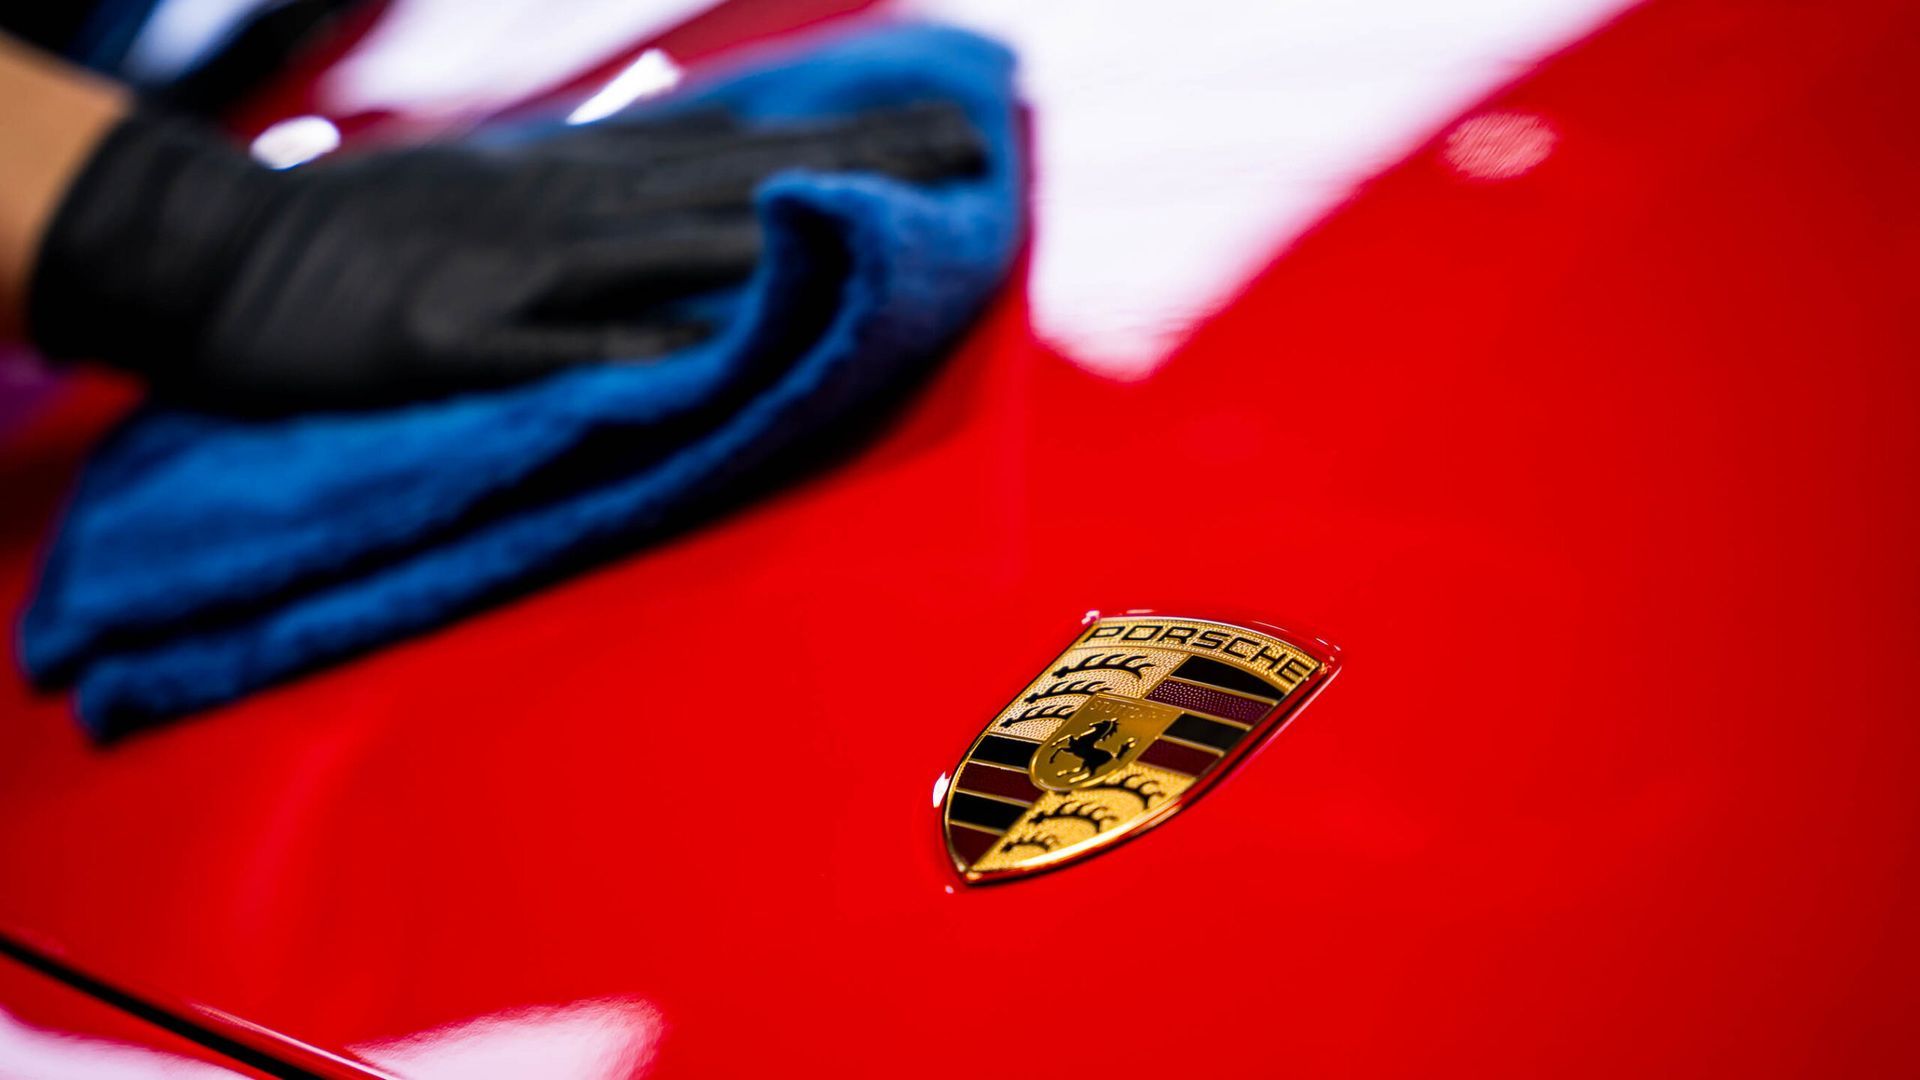
Once we apply a tire dressing and vacuum the interior, this 992 Carrera 4S is ready for delivery.
If you’re interested in learning more about how our services can protect your car, please feel free to give us a call at 720-662-8520 or an email at info@denverautoshield.com.
The post Porsche 992 Carrera 4S in for PPF and Ceramic Coatings appeared first on Denver Auto Shield.

